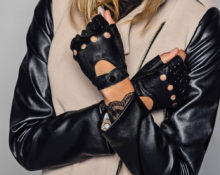
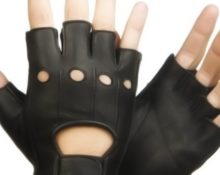
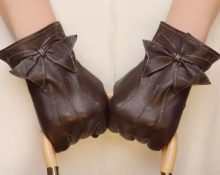
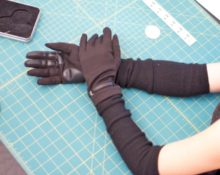
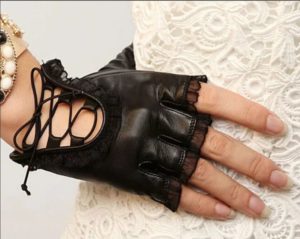
 Gloves with shortened fingers appeared. as an alternative to the usual ones, but they turned out to be more convenient. The second name is mittens. They can be men's, women's or children's, from delicate openwork for women to rough sporty ones. Let's take a closer look at how to sew them with your own hands.
Types of fingerless gloves
This type can be divided by functionality:
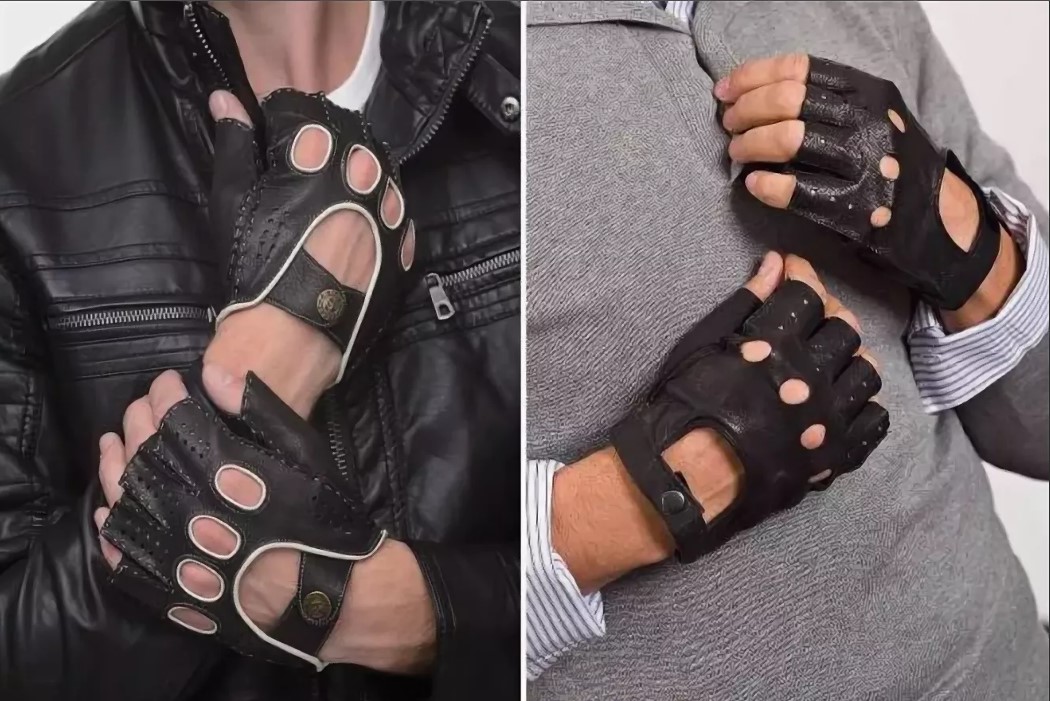
- Hand protection gloves, rough and thick – leggings for hockey players, bicycles, construction. The main purpose is to provide the possibility of precise manipulation and maximum protection.
- Decorative. Thin, highly elastic, often transparent or with inserts. For example, wedding dresses, short cocktail dresses.
- Warm. Knitted or thick jersey. Often with detachable mittens. Or pipes - mitts without jumpers for fingers.
What fabrics are suitable for fingerless gloves?
To sew any type of mitts, materials of varying degrees of elasticity are required. The smaller the thickness of the product, the thinner and more elastic the fabric.
Suitable for rough sports mitts:
- genuine leather, suede, nubuck;
- artificial leather, suede;
- dense nylon;
- vinyl.
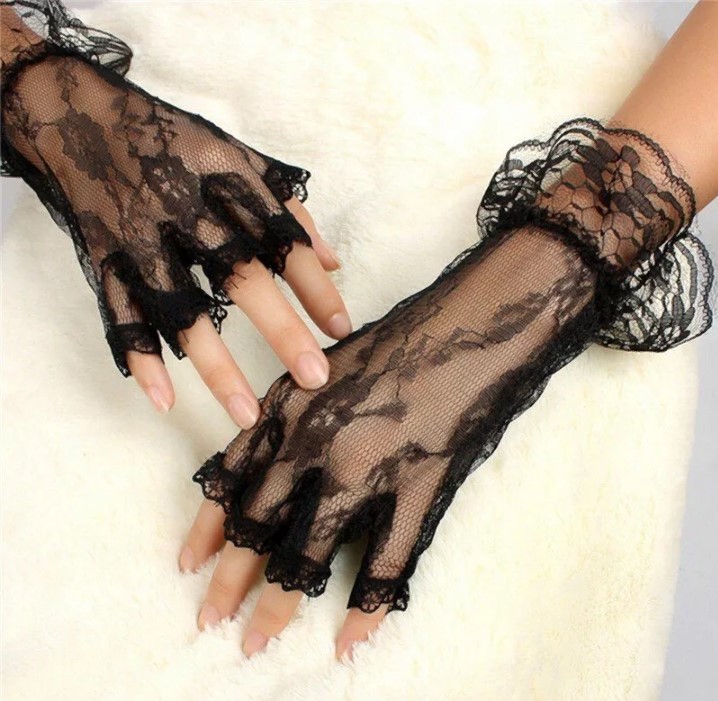 Women's gloves for special occasions are sewn:
- made of bi-elastic mesh;
- elastic guipure and lace;
- knitted fabrics;
- thin perforated suede;
- likes.
In addition, chunky knitwear is used to make cozy mitts. Even sleeves from an old sweater are suitable for this purpose.
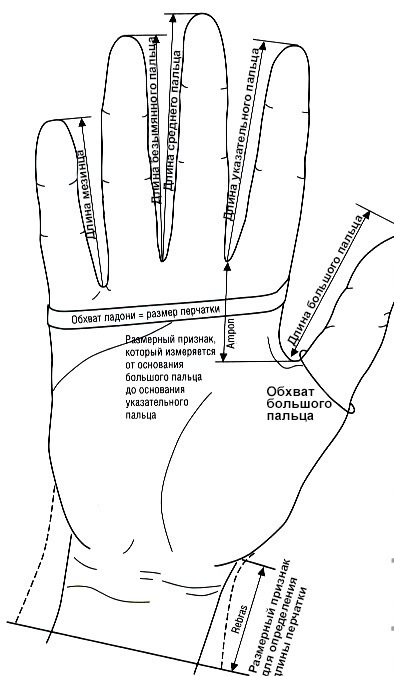
Hand measurements
We need to know:
- palm girth;
- glove height;
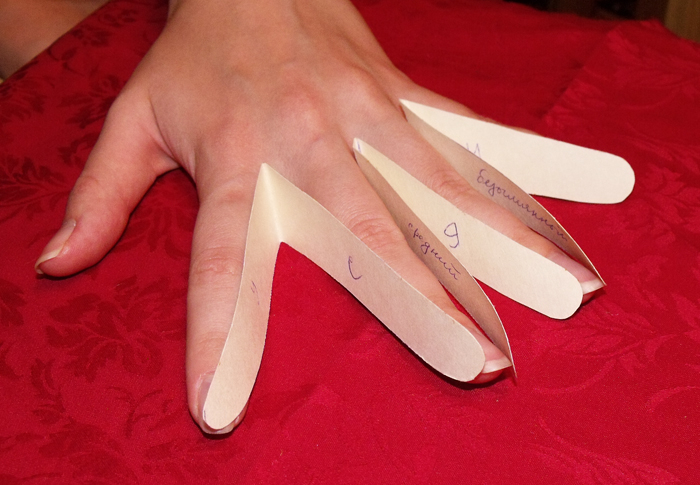
- the length of EACH finger.
We sew gloves
Openwork lace mittens
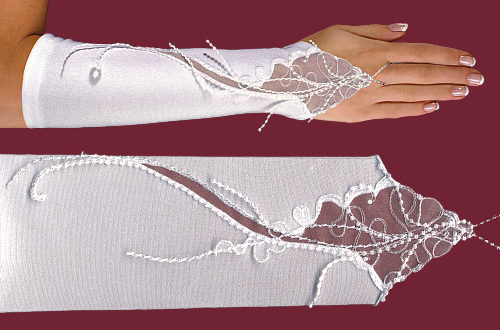 We will need:
- elastic material;
- lace, rhinestones, other decor;
- threads, preferably elastic;
- rubber;
- decorative cord.
First of all, you need to decide what the height of the gloves will be, as well as how much of the palm and hand it will cover.
Important! Only highly elastic materials, preferably stretchable in two directions - bi-elastic.
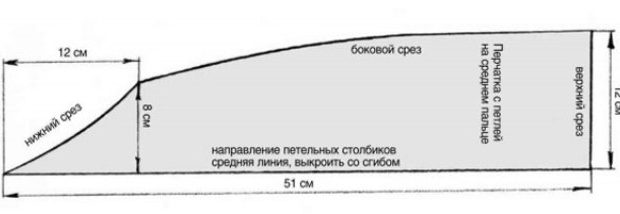 Progress:
- We measure the circumference of the hand at the top edge of the glove, as well as at the wrist.
- We measure the distance from the wrist to the middle finger on which we will make a loop.
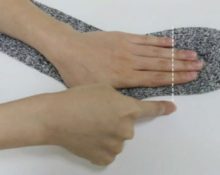
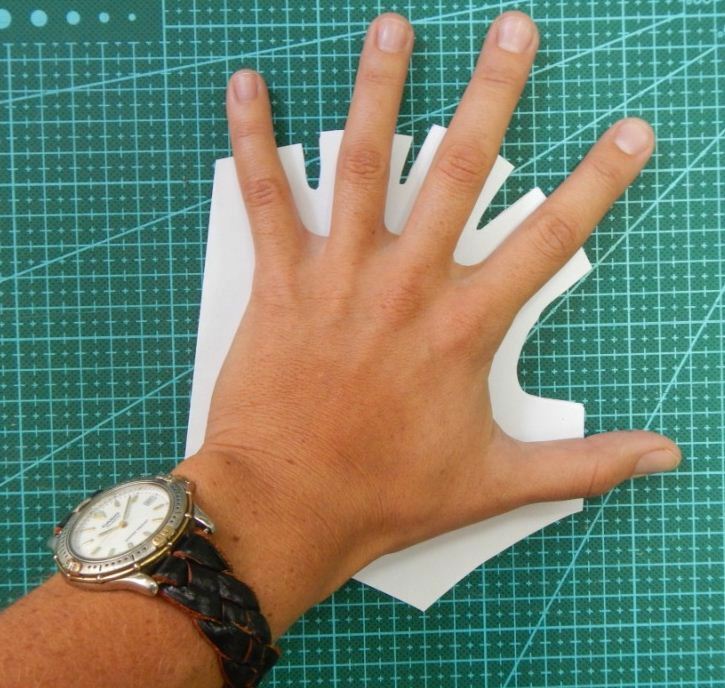
- We outline the outline of the hand and make adjustments to the full volume of the hand.
- The pattern is one piece with a fold.
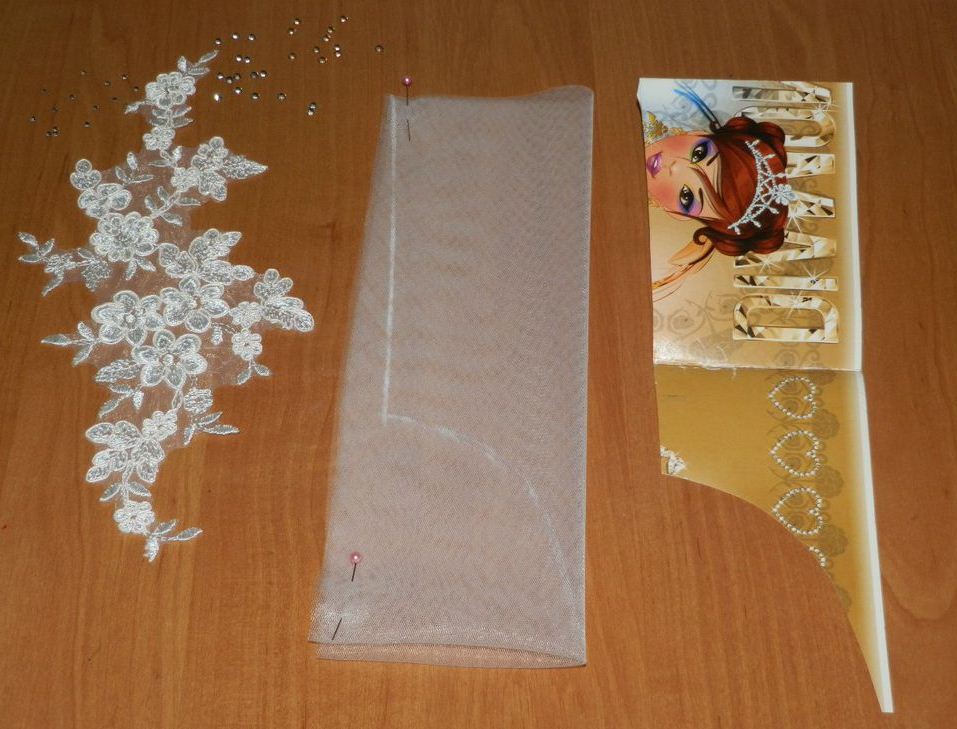
- We cut out the lace and roughly try on its location using the paper pattern.
- We cut out the blanks.
- If the fabric frays, then we process the cuts.
- Sew or glue lace and rhinestones.
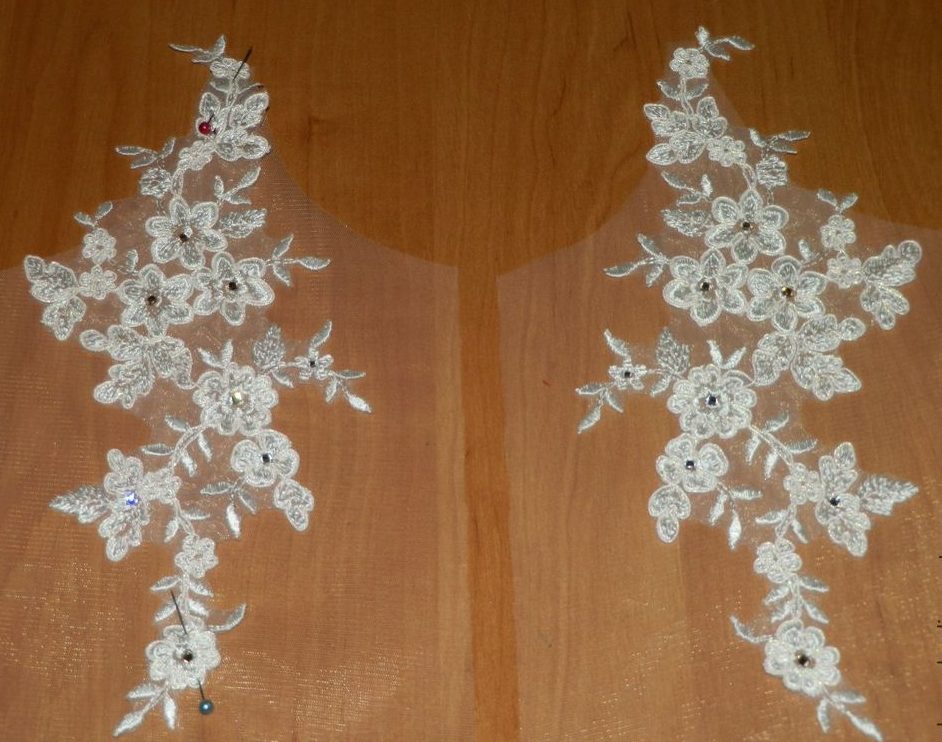
- Sew the side seam.
- We turn the top edge and stitch it.
- Make a loop on the middle finger from decorative cord.
- Let's try it on.
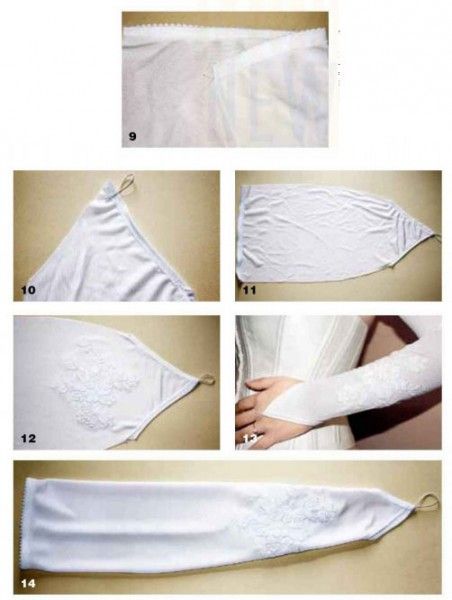
Advice! You can sew lace over the fabric or make slits and sew it into them. Alternatively, sew the lace on three sides first, and then cut out the excess fabric.
Leather sports shoes
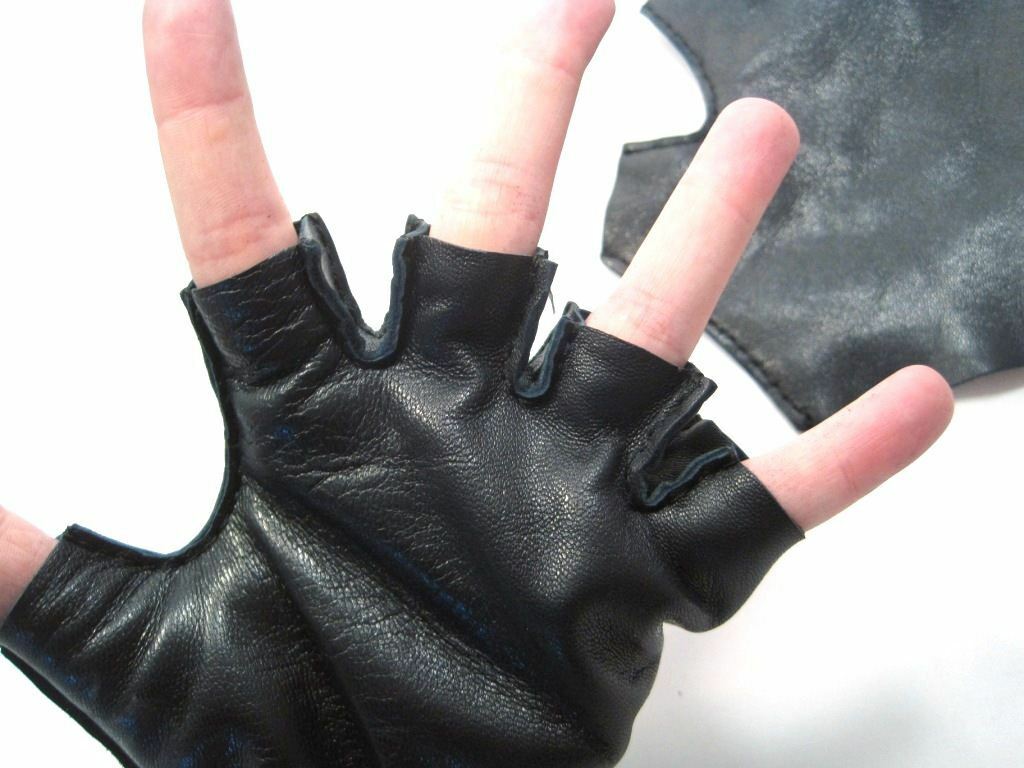 Tools and materials:
- Genuine leather, thickness 0.7-1.0 mm.
- Threads.
- Sewing machine. You need one that can stitch through a double layer of leather. Most Soviet-assembled models will cope with a bang.
- Foot for leather.
- Triangular needle for leather.
- Awl. Especially if you sew by hand.
- Tool for marking holes. If you don’t have it, arm yourself with a ruler and a needle.
- Tool for attaching buttons.
Progress:
- We take measurements.
- We decide on the length of the fingers, as well as the height of the gloves.
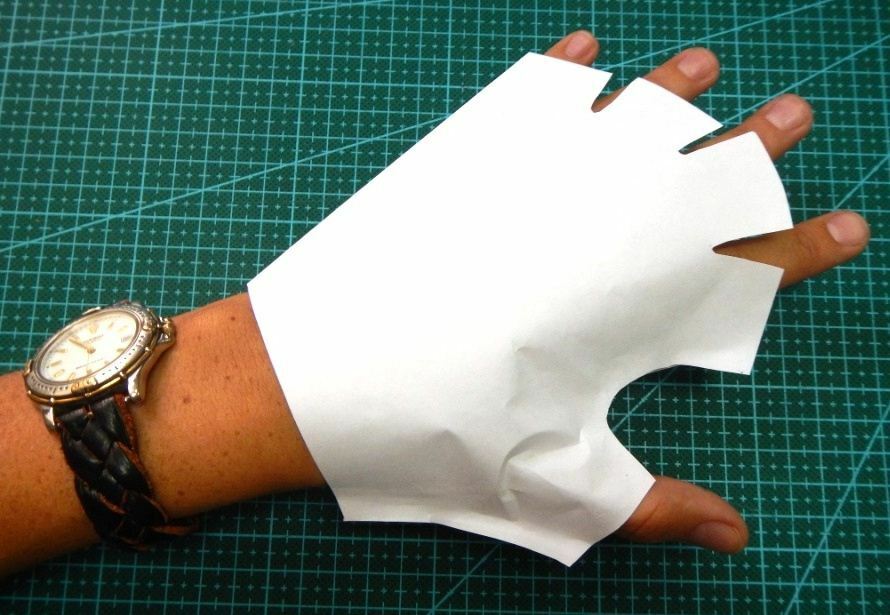
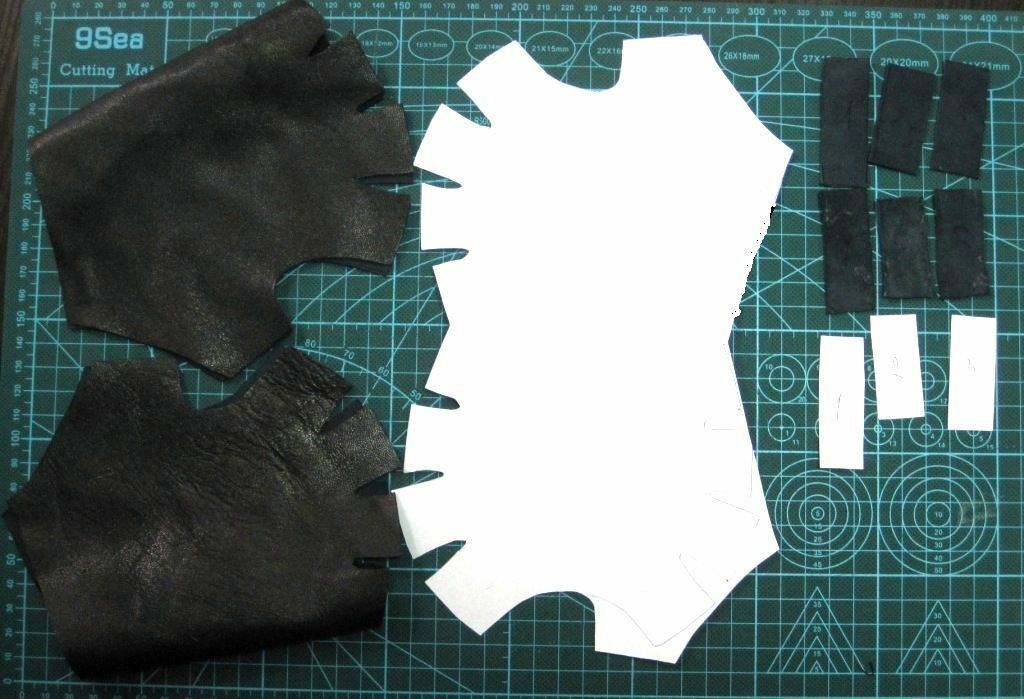
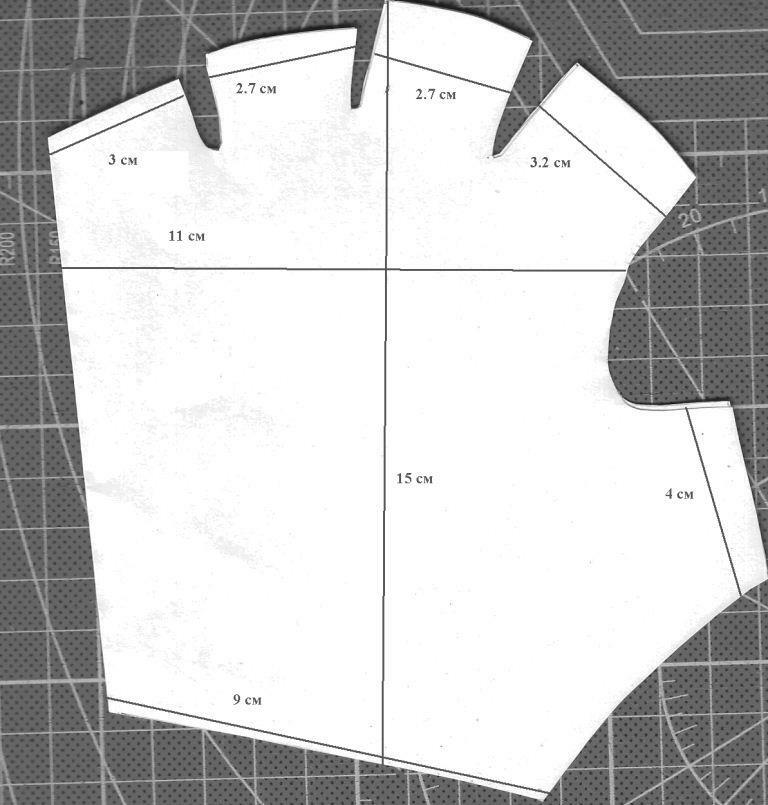
- We trace the outline of the hand onto the paper, while adding 3 cm along the line of the pads.
- We make each finger twice as wide as needed.
- For the thumb, the magnification factor is 2.5.
- The pattern is given for an arm circumference of 18 cm.
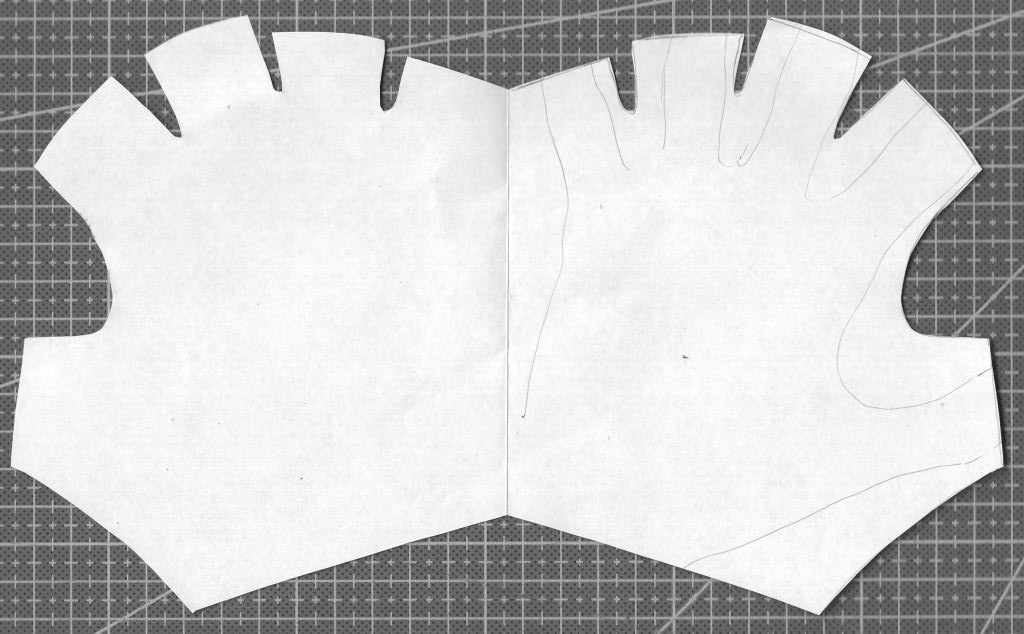
- Fold a sheet of paper in half and trace our drawing.
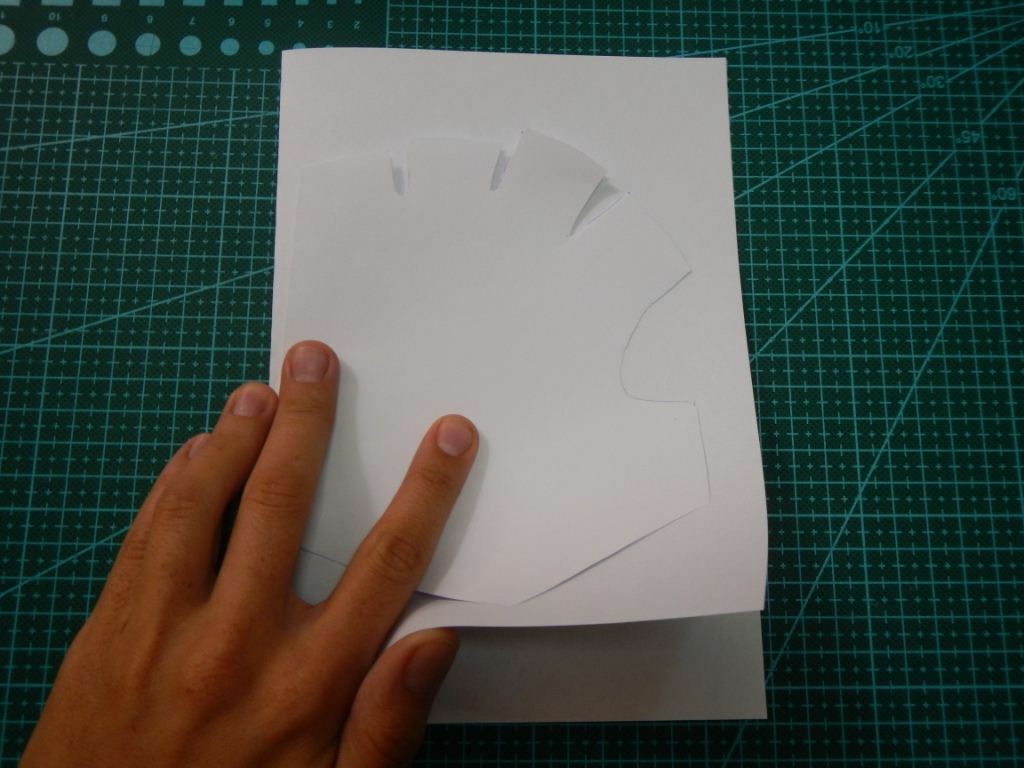
- Cut it out.
Important! Don’t forget that there are a pair of gloves, which means their drawing and all the details must be made in a mirror image.
- We measure the distance from the edge of one finger to the edge of the other. From thumb to index finger, from index finger to middle finger. This is necessary for finger inserts.
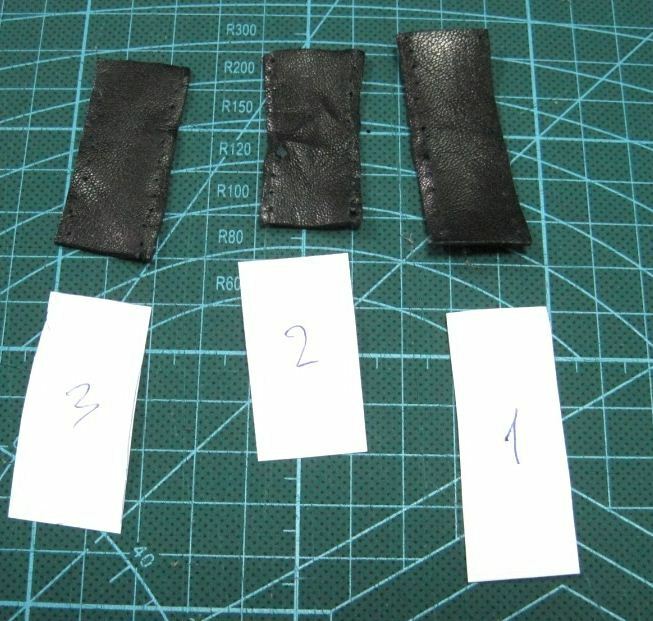
- We make blanks and number them.
No. 1 – 5 cm.
No. 2 – 4.5 cm.
No. 3 – 4.7 cm.
- We cut out all the details.
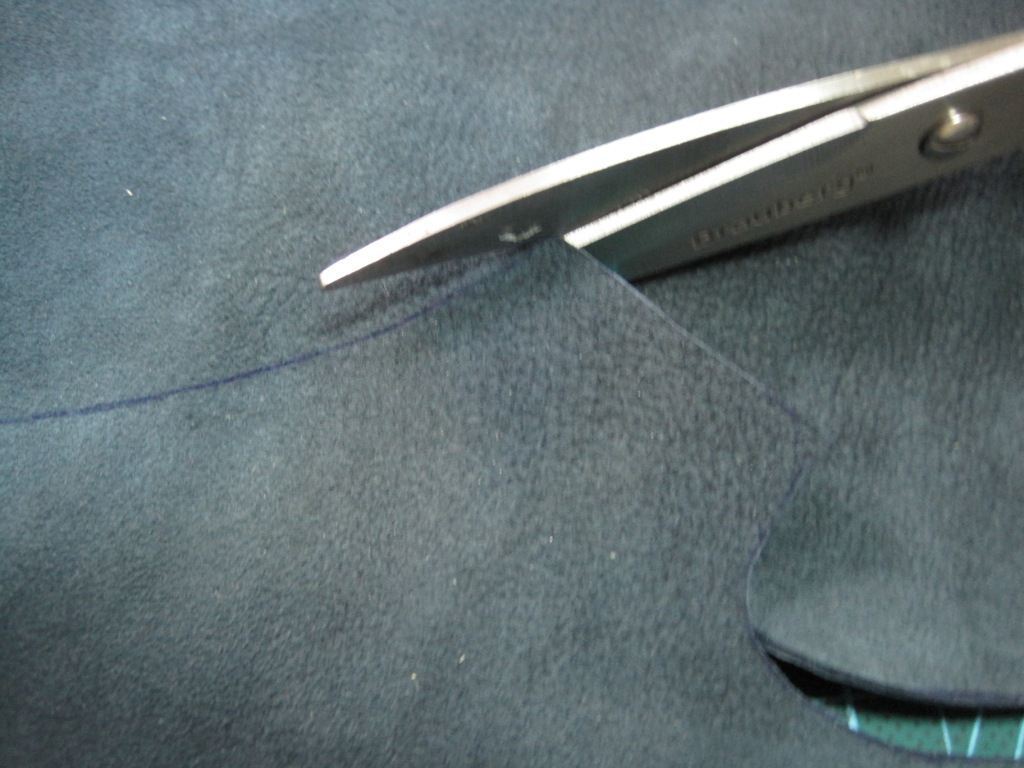
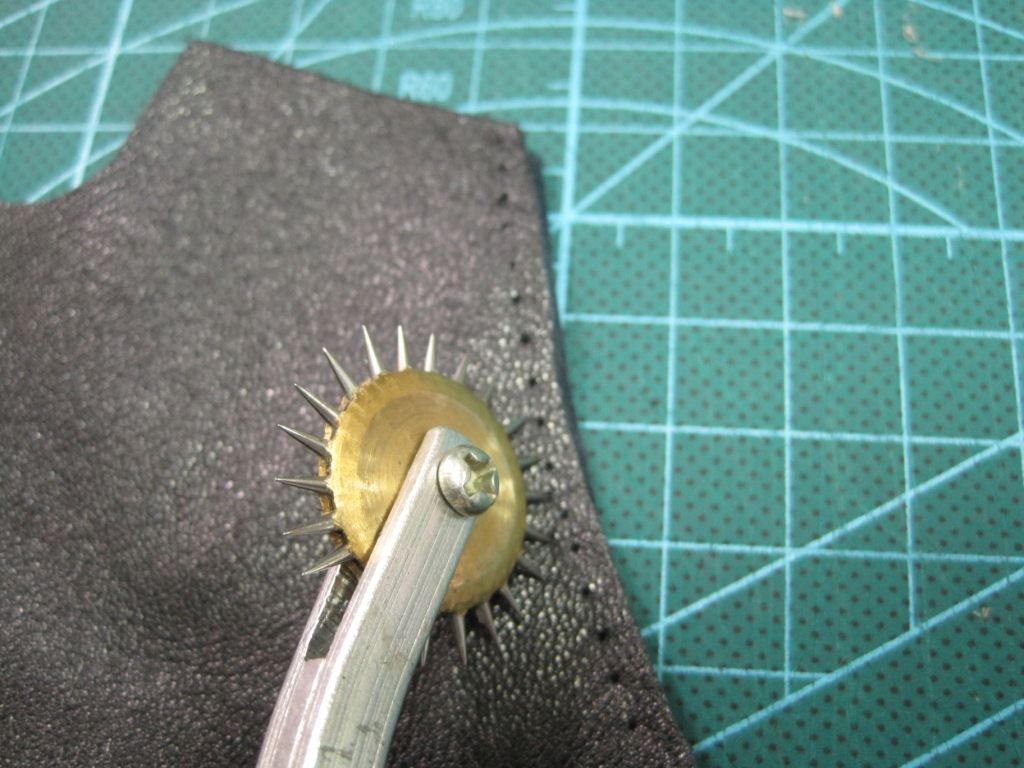
- If you sew by hand, then mark the stitch using a tool with a wheel and needles. If you sew by machine, simply sew the parts of the gloves, starting from the thumb.
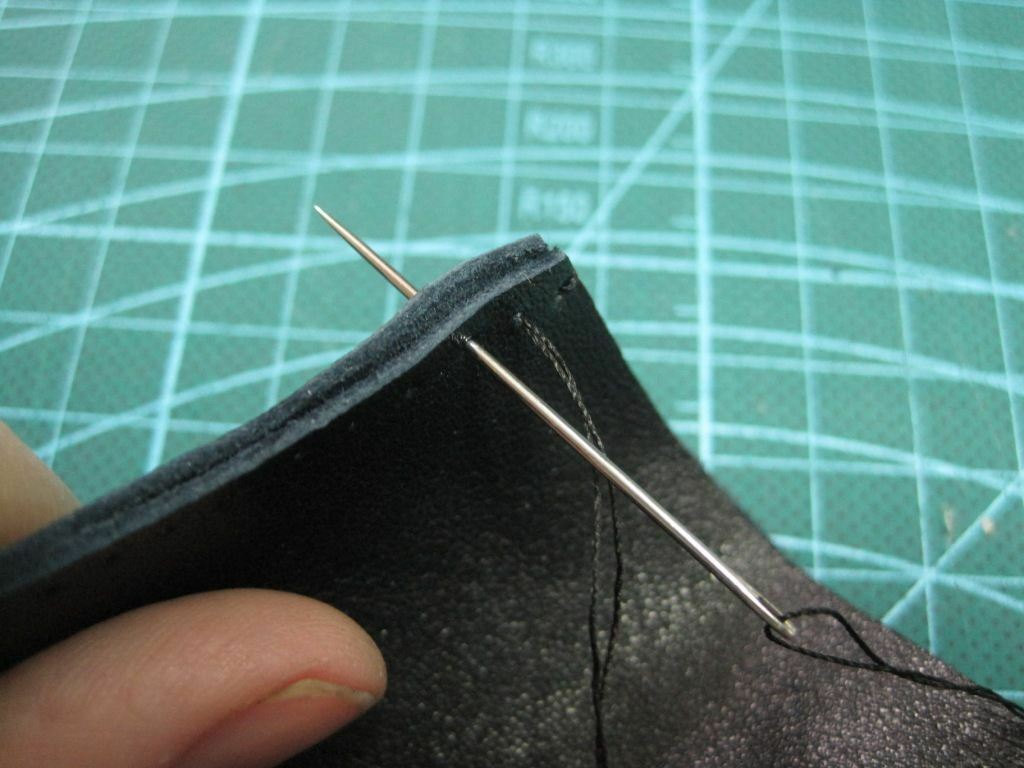
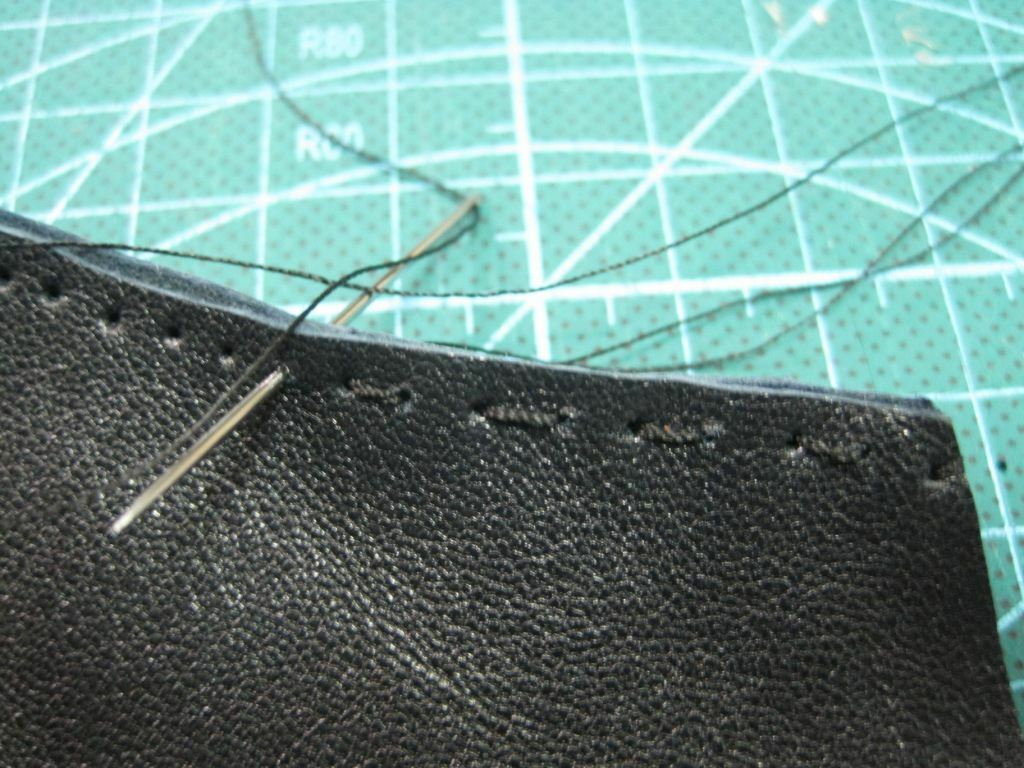
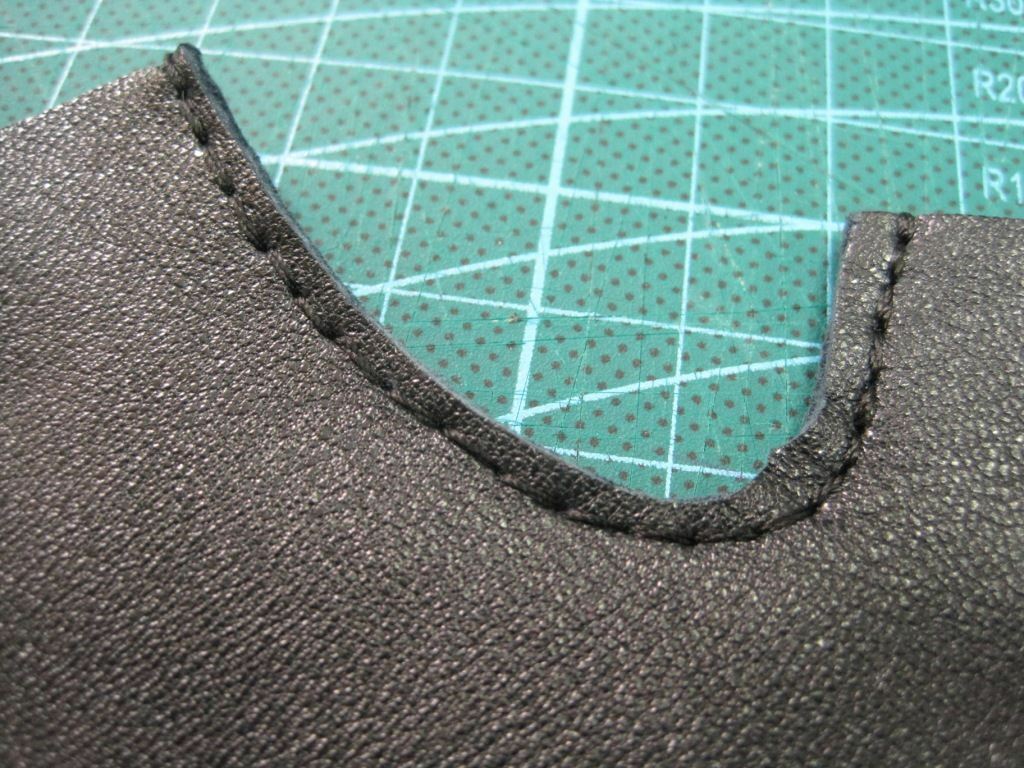
- The steps for manual stitching are shown in the figure.
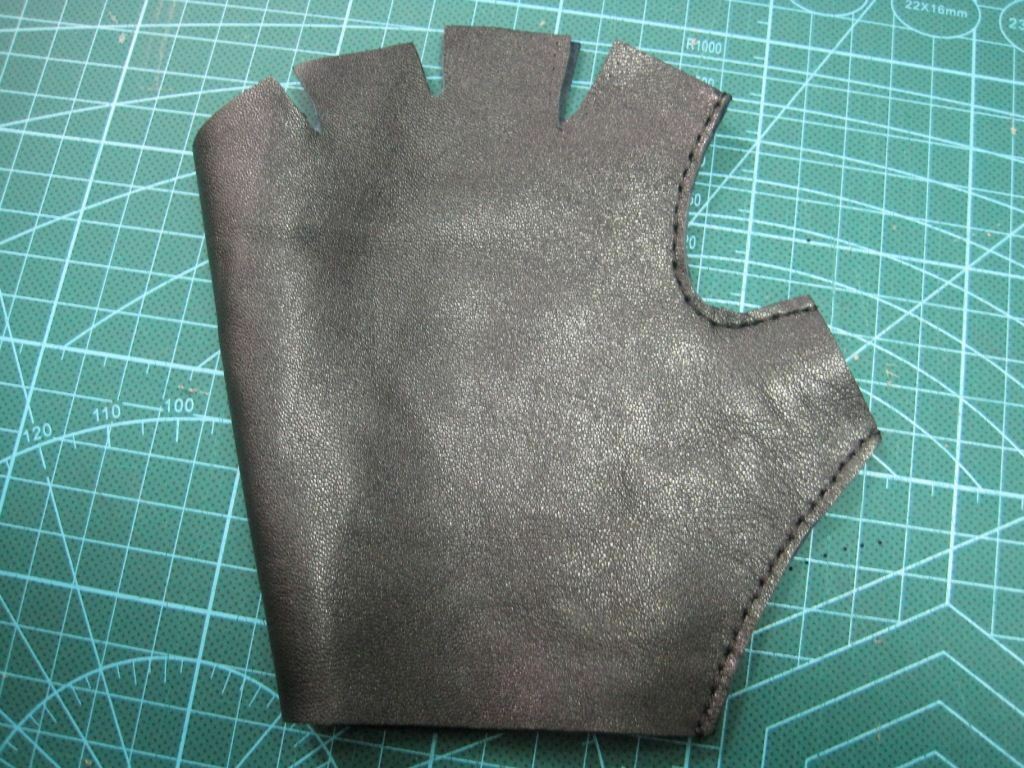
- We sew inserts between the fingers.
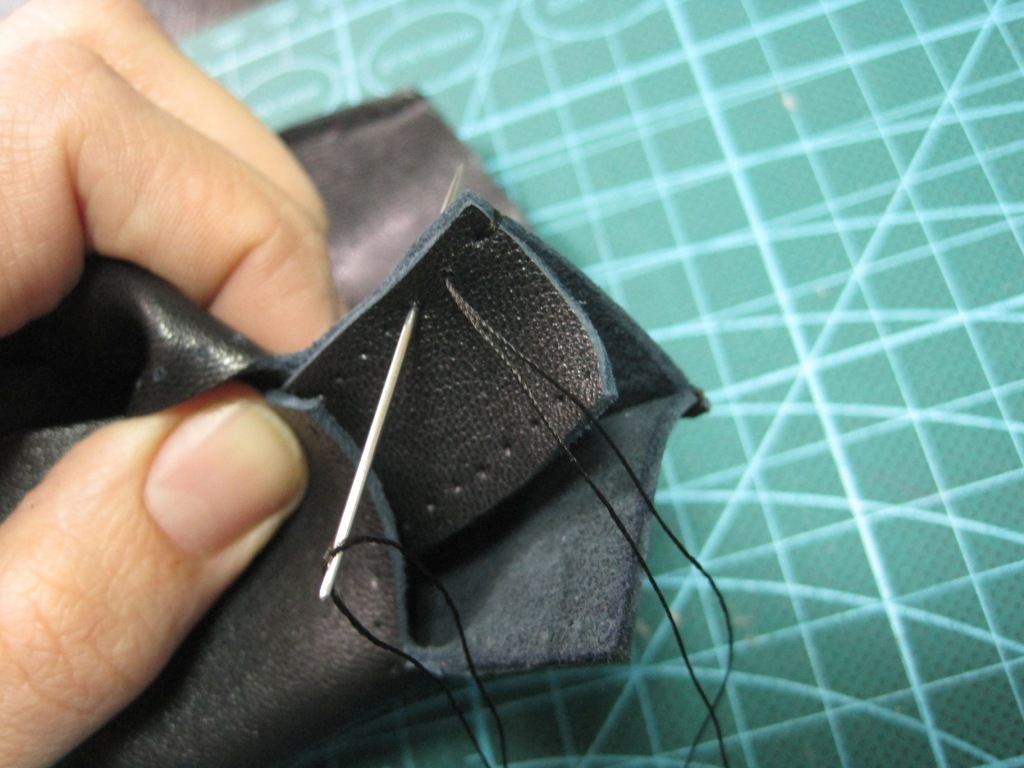
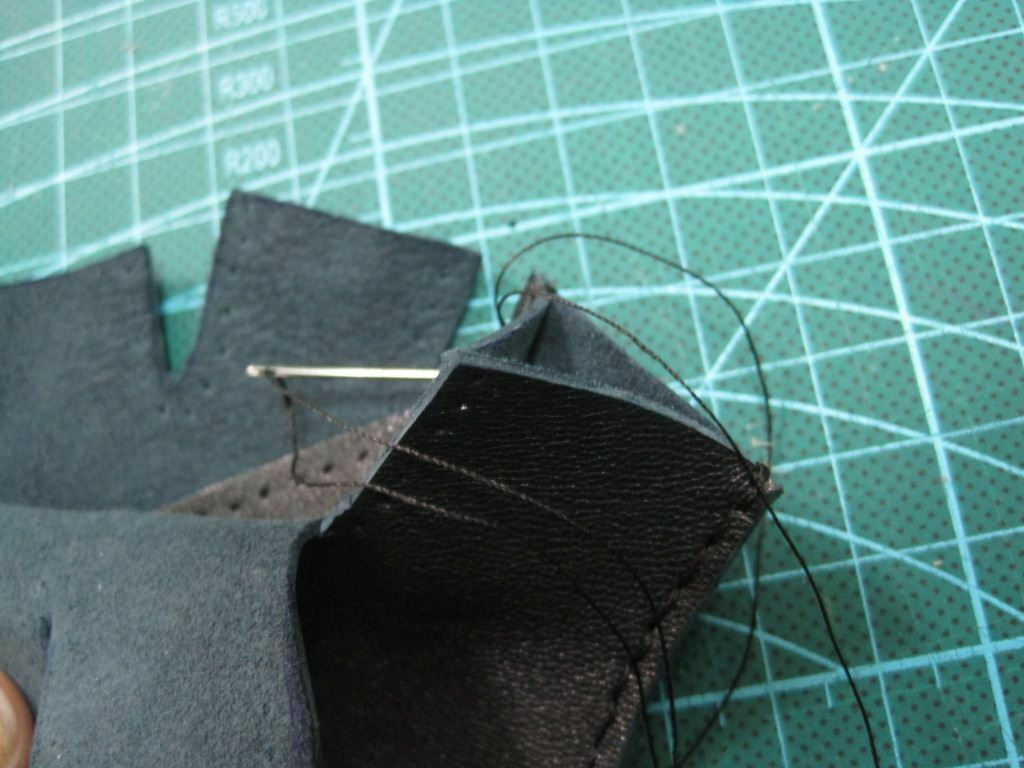
Important! When sewing, we make sure that there are no distortions.
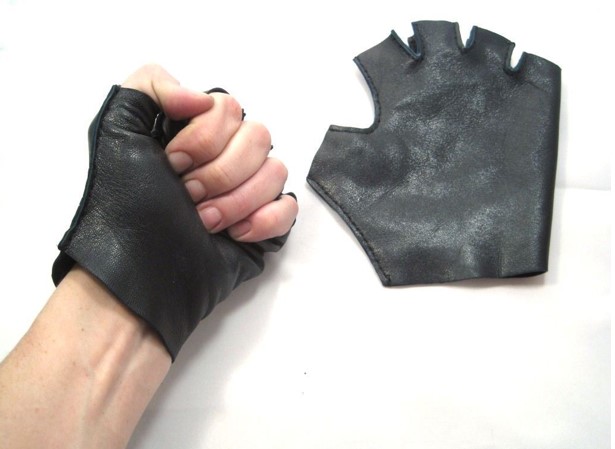
- Let's try it on.
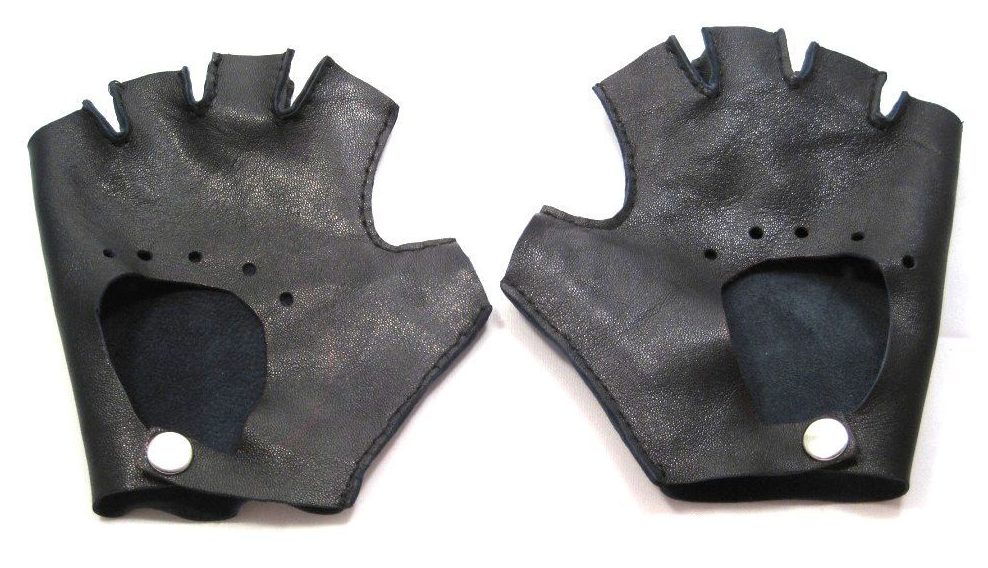
- For convenience, we cut a hole on the back side of each glove and, if desired and possible, make perforations.
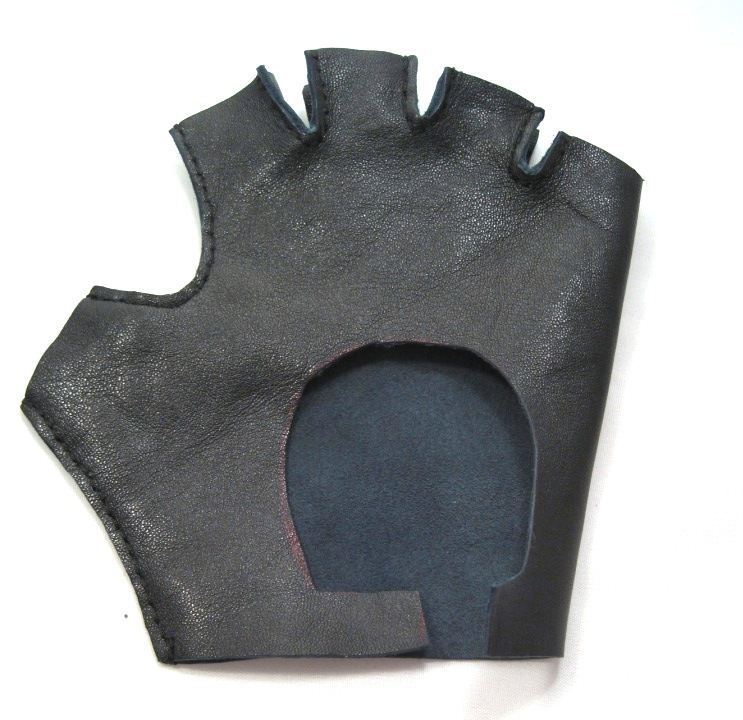
- We punch through the buttons for fastening.
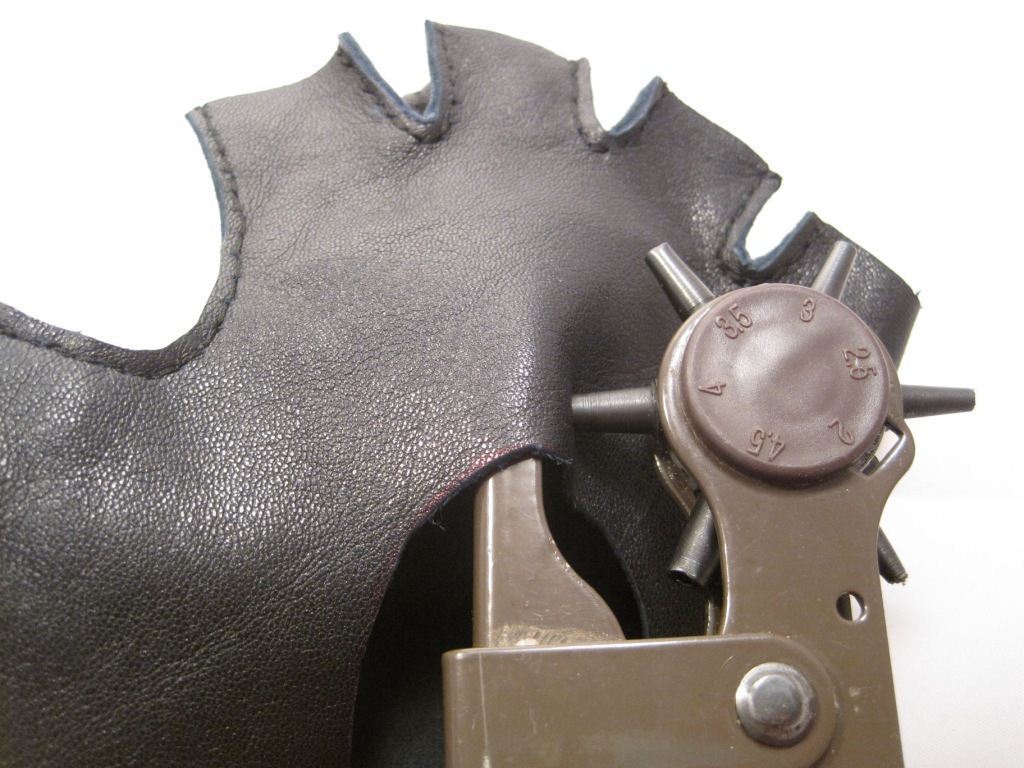
- If it is not possible to install buttons, then a special button for jeans is perfect.But in this case, it will be necessary to make a loop.
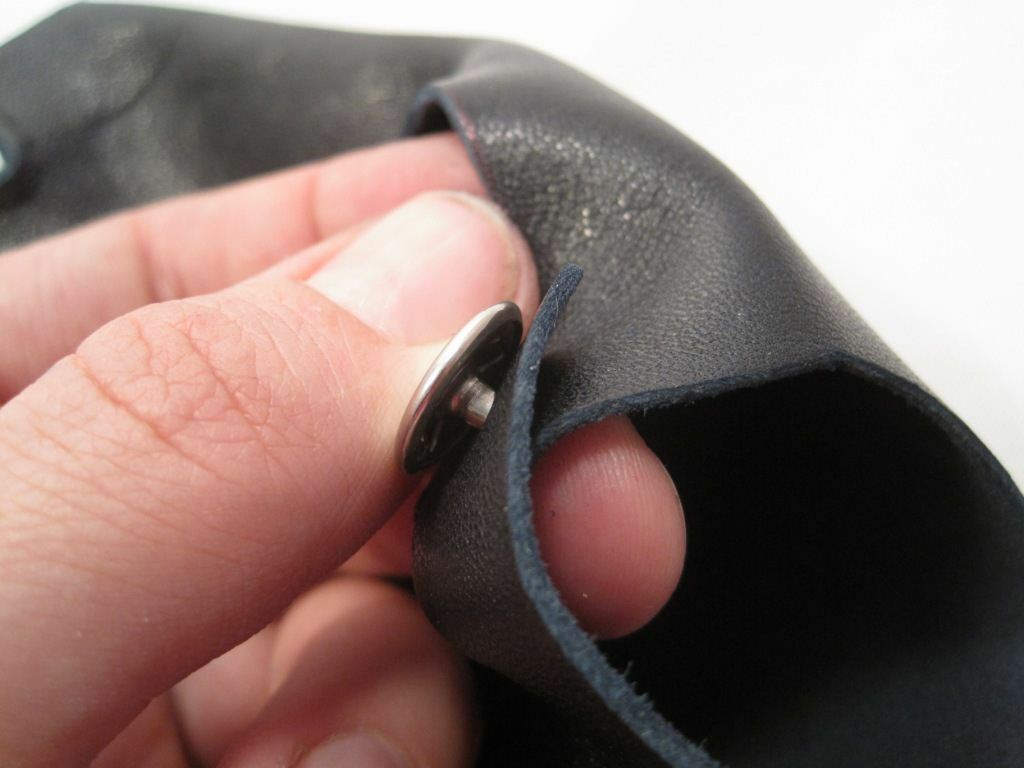
Let's try on the final version.
As we can see, various types of gloves with shortened fingers do an excellent job with a variety of tasks: they make the image complete, sophisticated, or, conversely, daring and rebellious. But you can be sure of one thing: you definitely won’t have an extra pair of these gloves.



 0
0