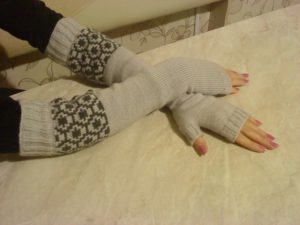
 Mittens are not only practical, but also a stylish wardrobe item. They are warm and can protect your hands from the cold. And a huge number of variations allows you to choose them for absolutely any style.
They can be worn with both stylish coats and “fun” down jackets. But the biggest plus is that mitts are easy to make at home. They can be easily knitted either with knitting needles or on a knitting machine.
Mitts are very useful as a first experience for working on a knitting machine, because with them you can develop the most basic skills in handling this machine. They allow you not only to hone your skills in using this technique, but also to learn new ones.
Important! Getting acquainted with the device of the machine should begin in its two-font variation. Because it’s easier to set the first row in it than in a single-sided one.
How to knit mitts on a knitting machine
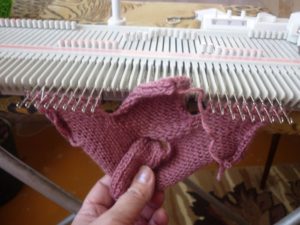
The first step is to take 28\2 yarn. We will work on a 7th class double font machine. The dimensions of the unstitched product will be 19 by 9 cm.
Attention! If you use a machine of a different class or a different yarn, you should remember to recalculate all measurements.
Algorithm of actions
- Set the font shift knob to position P5
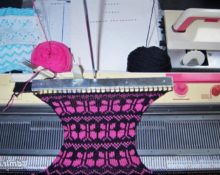
- You should use a 1*1 elastic band, as it is the easiest for a beginner. We take a comb and use 50 needles, one at the top and one at the bottom.
- We hang a load for the guy (two on the edge and in the center).
- Ahead of the carriage, move the lever to position zero.
- Then we move the carriage to the left and set the lever on the rear carriage to position C. We need this so that when moving from right to left the lower font does not knit, and in the opposite direction the upper one does not knit.
- Let's return the lever on the front carriage to "1". This will engage all the needles.
- The central weight can be removed. We calmly move the carriage for about seventy rows.
- The next step is to transfer all the stitches from the outermost 20 needles from the bottom to the top. The last stitch should be on the thirtieth needle. We move the unused needles to the non-working position. Thus, draw another nine rows.
- The carriage is in the left position, the hinges are up, we release the carriage from the bridge, lower the font, close the hinges. That's all. The work is finished.
Useful tips
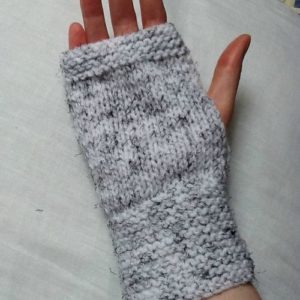
Here are some tips that can make your job easier and help you avoid basic mistakes.
- Check the guy ropeu. If it is not enough, add weights.
- Follow safety precautions, you should not bring your face close to the fontura when changing needles.
- Regularly check that there are no hooks on individual loops.
- To avoid unsightly stripes, the number of loops on the front fringe must be even.


 0
0

Good evening! The first question that comes to mind is, do NEWCOMERS buy class 7 cars? What are you doing? It was possible to make a video FOR BEGINNERS, as EXPERIENCED masters do it. Your text is not entirely clear, please correct it, FOR BEGINNERS!
Quote - (Important! You should start getting acquainted with the structure of the machine in its two-font variation. Because it is easier to set the first row in it than in the single-font variation) - this is nonsense! Wrong advice!