Do you have a lot of old and unnecessary terry towels accumulated at home? Don’t rush to throw them away or let them go to waste! First, read this article, which will provide step-by-step instructions for making an unusual rug from them that will decorate your bathroom or hallway. Making it will not take much time and effort. You might also want to give your old towels a second life. So let's get started.
Materials and tools.
All the items involved can be found at any person’s home. To make this rug you will need:
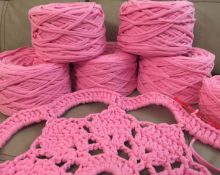
- Several old terry towels of any size (an average rug will require an average of 3-4 pieces). They can be the same color or multi-colored, depending on the desired color of the future rug. It is best to take three towels of different colors, but matching in shade.
- Sharp fabric scissors.
- Ruler.
- Sewing supplies (needle and thread or, if available, a sewing machine).
- Multi-colored tailor's pins (approximate quantity from 10 to 20 pieces).
- And, most importantly, the desire to create.
Master class: how to make a rug from old towels.
When everything you need to make a rug is already in front of you, all that remains is to get to work.
- First, you will need to cut all the towels lengthwise into strips approximately 4-6 centimeters wide (for convenience, you can use a ruler). The thickness and size of the future rug depends on the width and number of such stripes. To make it more convenient, you can fold the towel in half and thus cut both halves into strips at once.
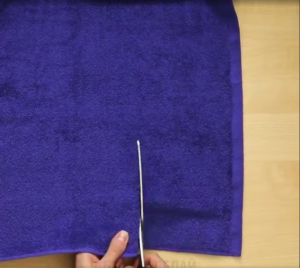
Attention! Terry towels crumble a lot when cut, which is worth considering when choosing a place to work.
- Next, you need to cut off the stitched edges of the towels at the top and bottom. It is worth saying that the finished rug will look better if areas with various embroideries and designs are also cut out.
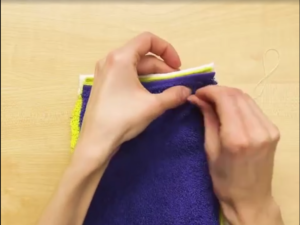
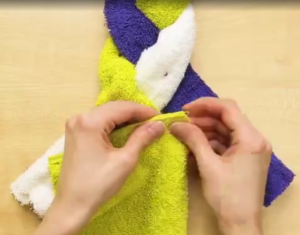
- When all the strips are cut, take three of them and sew them together along the top edge.
- We fold each strip in half along the long edge, secure it with pins for convenience and stitch it. This way we hide the threads sticking out at the edges to make the work look neater.
Important! Remember to remove used pins after sewing stripes to avoid pricking yourself on them in the future.
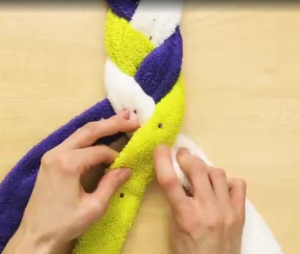
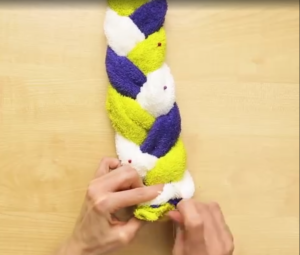
- We braid the resulting blank of three strips into a pigtail.
- When the first braid of towels is ready, sew up its ends and sew on the next three strips connected to each other (as in the first case). We also braid them.
- We carry out this algorithm until all the strips cut from the towels are used.
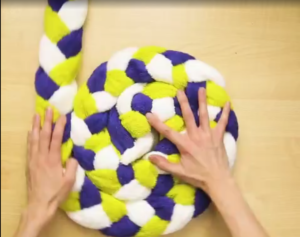
- As a result of fastening all the pieces together, you get a fairly long braid, which all that remains is to roll it up and secure it accordingly.
- We twist the resulting braid into a tight spiral, stitching it with threads in the process to make the connection stronger.
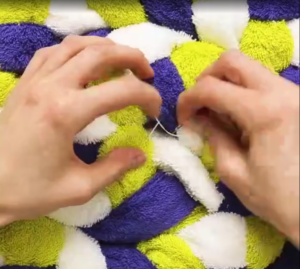
- At the end, you need to carefully bend the edge of the braid (hide it) and also secure it with threads.
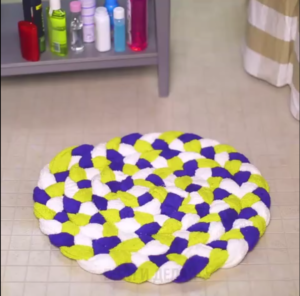
- That's all! The finished rug just needs to be turned over with the seams down and you can start using it.
The master class on making a rug with your own hands has come to an end. As you can see, making such a rug is quite simple; it will take no more than an hour of your time.
I would like to believe that this article was useful. Perhaps the person who reads it will change his mind about throwing away seemingly useless old terry towels and think about their more profitable use, and a hand-made rug will subsequently become a harmonious addition to the home interior.
 0
0