The roller has not lost its relevance since ancient times. Its benefits to human health can hardly be overestimated. After all, it serves not only as an alternative to a pillow, but also as equipment for doing therapeutic exercises, as an element in the prevention of many diseases of the musculoskeletal system, nervous and circulatory systems. If you can’t purchase this attribute in a store, it doesn’t matter. It’s not difficult to make it yourself, at home, the main thing is patience and a little time.
How to properly make a roller under your head
Even a beginner in the field of handmade can make a roller; no special skills are required. All you need to create this type of pillow is:
- two rectangular pieces of fabric;
- scissors;
- needle and thread;
- filler.
Choosing a filler
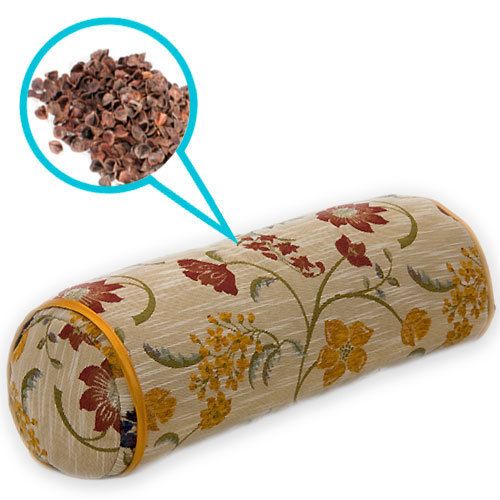
The choice of filler depends on the purpose of using the roller. The following materials are most often in demand:
- Cereals. Buckwheat husks, rice, barley will perfectly perform micromassage, stimulating acupuncture points on the skin.Eco-friendly options that will help restore and support the body.
- Salt. Repeats the anatomical structure of the body, accumulates temperature well. This pillow helps lower blood pressure and is often used for exercise therapy for osteochondrosis.
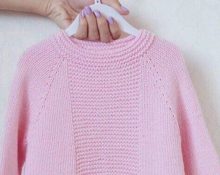
- Cloth. Woolen clothing items are better suited. For example, an old knitted sweater can start a new life as a useful filler.
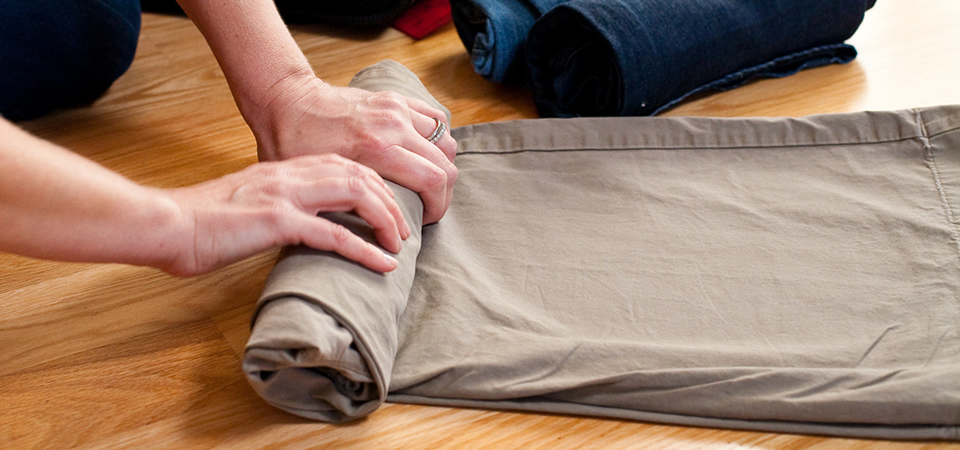
- Towel. By folding the fabric correctly, you can get a hard roller that will help get rid of back pain and general fatigue. It can be done in a couple of minutes by tying it with ribbon or strong thread.

IMPORTANT: If you have serious health problems, it is better to discuss the choice of filler with your doctor. If the roller is used as a prophylactic, no medical prescription is required.
How to make a case
Sew the long sides of the fabric together. Then gather one of the side parts so that, by tightening the thread, the edges meet towards the center. Afterwards, the product should be turned out, filled with the necessary material and done the same with the remaining edge. Next, carefully fix the thread, tightly sewing up the contents of the product. For a more secure fastening, you can stitch this joint several times.
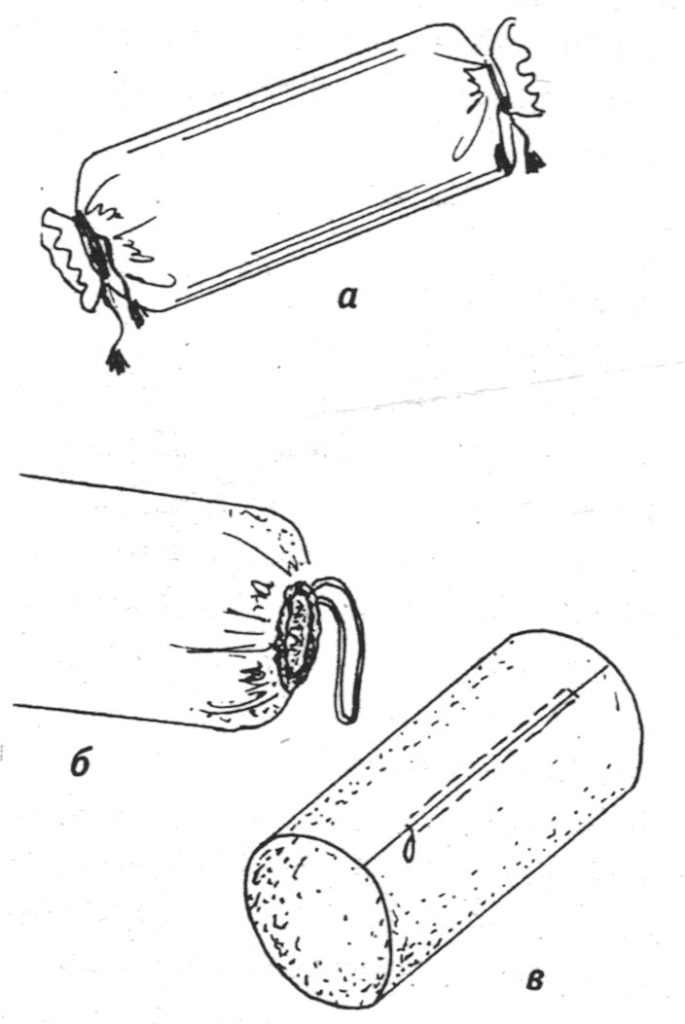
IMPORTANT: To make the pillow look neater and neater, do not forget to start your work from the wrong side, and only finish stitching from the front.
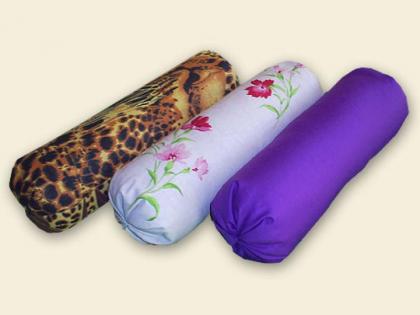
How to sheathe
Of course, you can use this type of orthopedic pillow without a pillowcase, but for the sake of aesthetics and hygiene, it is better to cover it. After all, after prolonged use, the product will in any case become dirty, and the pillowcase can be easily removed and washed.
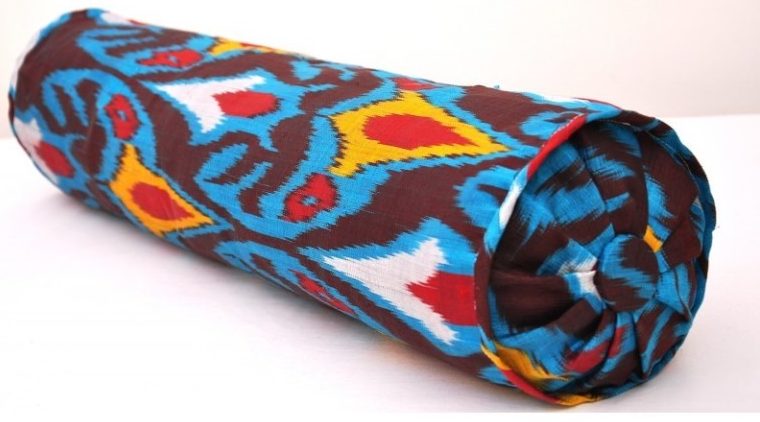
For the cover, it is better to take natural but durable fabric. It will be pleasant to the touch and will extend the life of the product.You will also need accessories for more convenient use and care of the orthopedic pillow. These could be buttons and a zipper.
If you are fluent in the art of sewing, then you will have no problems creating a pillowcase using a pattern. For beginners, you should choose a simpler method. On the long sides of the rectangular fabric, sew a zipper, or sew them together. The ends can be fastened with ribbon, in the form of candy, or buttons can be sewn on them.
IMPORTANT: After using the roller for therapeutic and prophylactic purposes, it is not recommended to lift heavy objects or make sudden movements for several hours.
The roller can be decorated by embroidering the edges with beads, covering it with lace or sewing pompoms to it. It is better to choose the color of the fabric to match the interior of the house or based on personal preferences.
 0
0