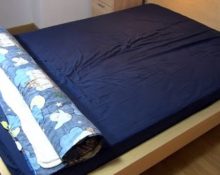
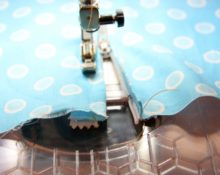
In the standard version, the duvet cover looks like two large sheets sewn together. A mandatory detail is a hole for a blanket. Most often it is made on one of the sides and complemented with various fasteners or ties. For example, a practical option is a duvet cover with buttons. It looks aesthetically pleasing, is easy to use, and even a novice craftswoman can sew such a product. We will tell you how to do this in the article.
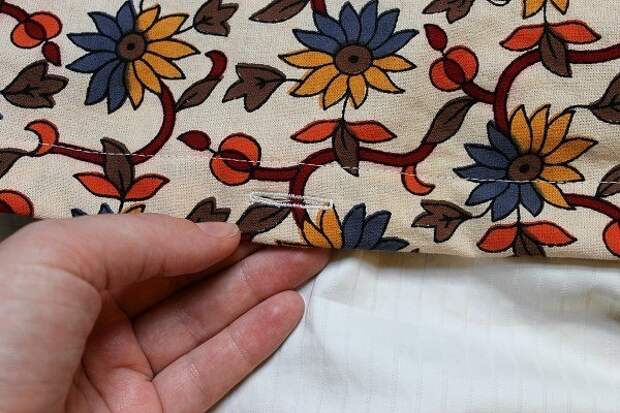
How to sew a duvet cover with buttons
First of all, you need to decide on the size of the duvet cover. You should start from the dimensions of the blanket. At the same time, you should not trust your own eye - it is better to take a measuring tape, measure the length and width of the blanket, and then write down the numbers. This way, the probability of error is reduced to zero, which means there is no risk of damaging the fabric.
After this, you need to choose the material, calculate how much fabric you need to buy, and make a pattern. The last stage is the actual sewing.
Which material to choose
Much depends on your financial capabilities and individual preferences. There are expensive fabrics that are perfect for sewing bed linen. For example, silk, crepe or jacquard. There are also more budget options: cotton, calico, satin, poplin.
When choosing a material, it is important to remember several rules:
- The more natural fibers, the better. A duvet cover made of pure cotton or linen is beautiful, but not practical. This product shrinks after 2-3 washes, wrinkles quickly and is difficult to iron out. 20-30% synthetics in the composition perfectly eliminate this problem. But more artificial components are not recommended: the duvet cover will become electrified, skin irritation and allergic reactions are possible.
- Colors. If you are not sewing a bed linen set, but only a duvet cover, it is better to choose neutral tones. If you want to add bright notes to the bedroom, buy fabric in rich colors. In general, the flight of fancy when choosing the color of the material is not limited to anything other than your desires.
- Specifications. It is better to ask the seller in advance about how the material behaves during operation. Pay attention to how long the fabric will last, whether it is easy to wash, etc.
Everything seems to be simple. But not every craftswoman pays attention to these nuances when purchasing material. We recommend that you take into account every little detail, because you will use the duvet cover not for 2-3 months, but much longer.
We calculate material consumption
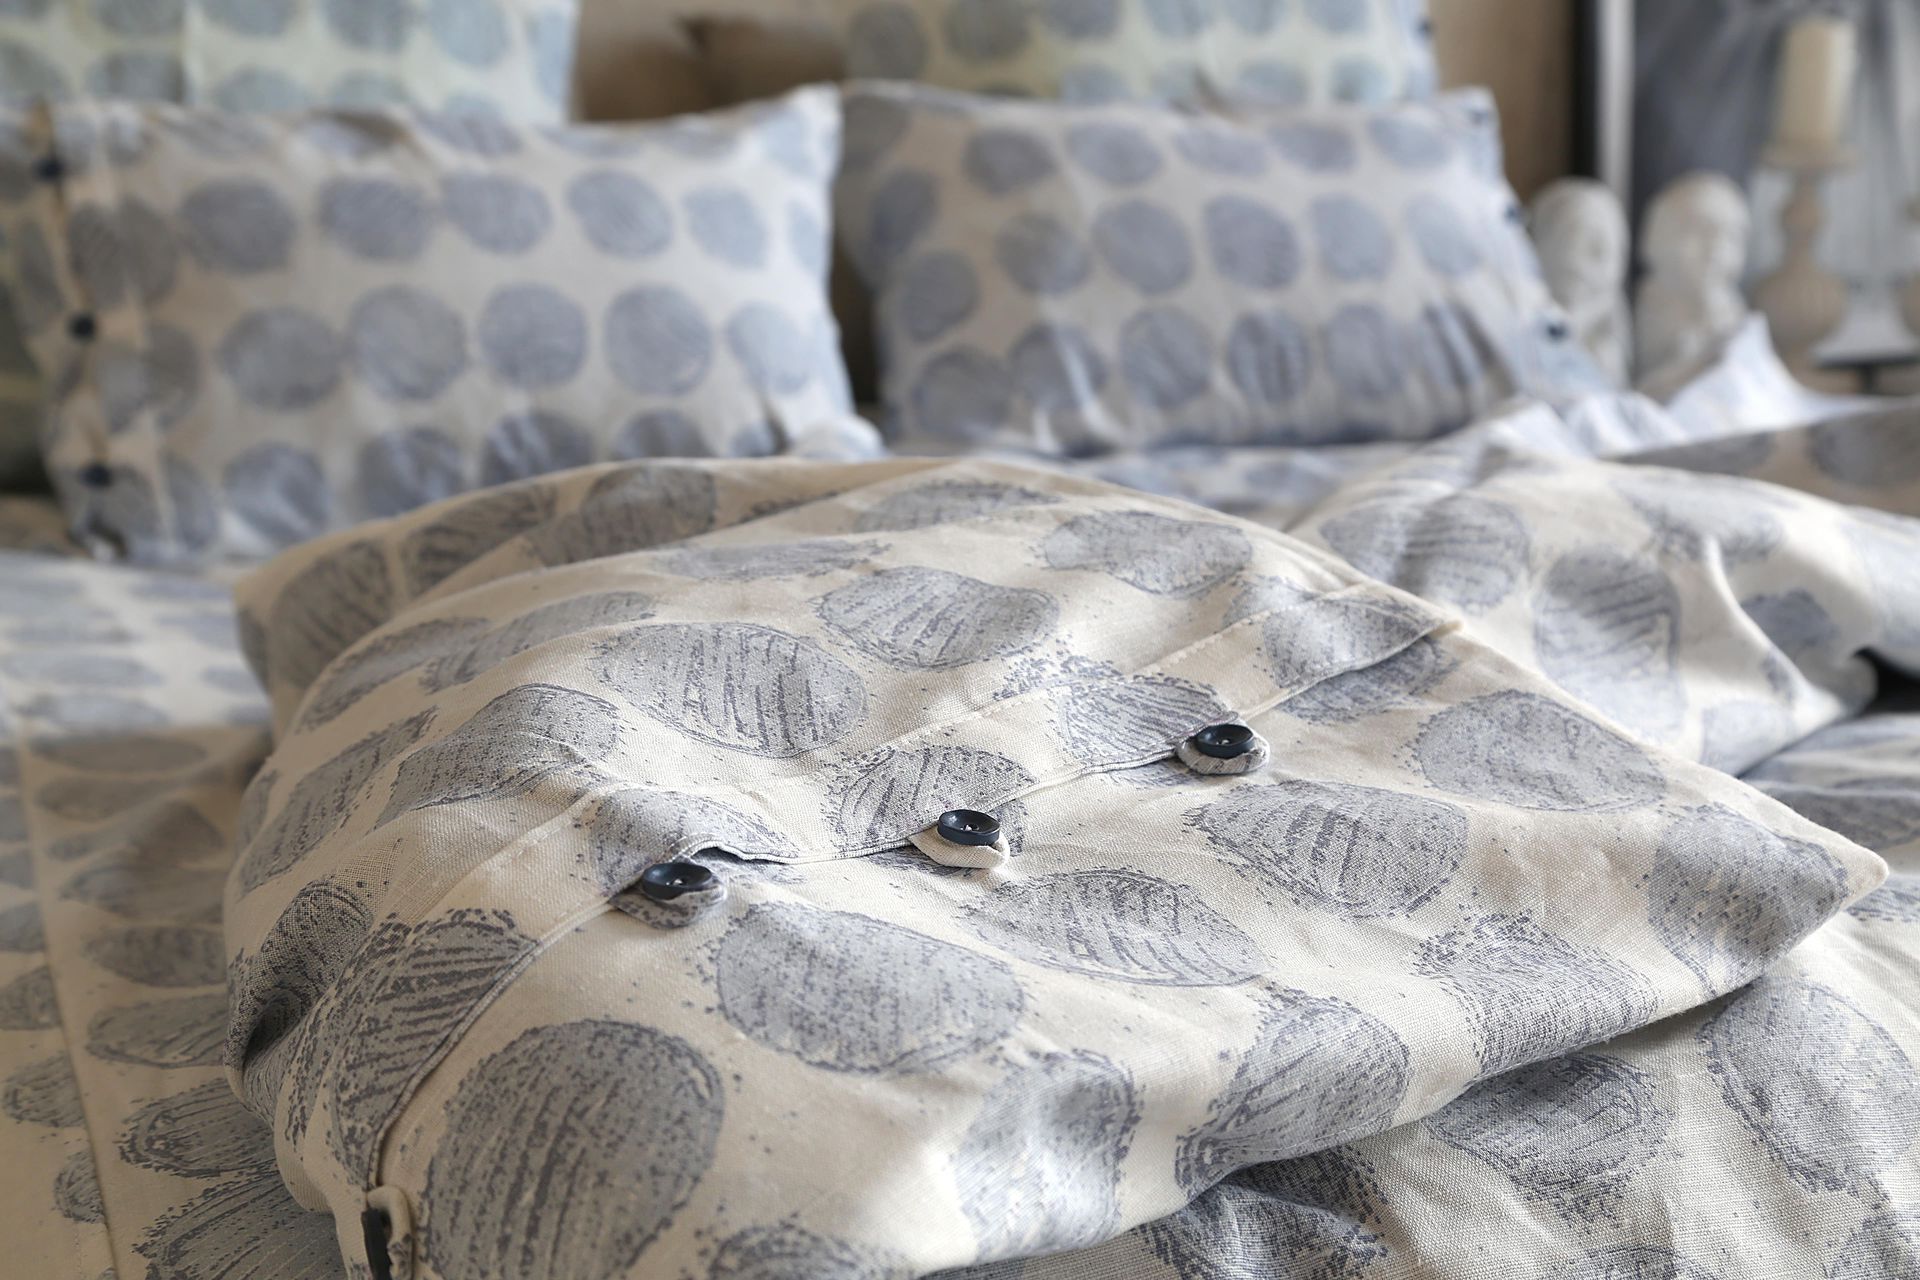
Let's give an example of calculations for a blanket measuring 144 by 190 cm. Fastening - loops and buttons to match the main material.
If you have been sewing for a short time, we recommend using simple budget fabric, such as cotton (the stores have very nice colors to suit every taste). Also suitable are chintz (but it is thin, so the product will not last as long as we would like), calico (more expensive than previous options).
First we measure the blanket. To do this, lay it out on a flat surface, smooth out all the folds and irregularities. To the resulting numbers we add seam allowances and fabric shrinkage. The clasp will be located on the bottom edge of the product. This means that the allowance here will be 7 cm. Along all other edges you should add 3 cm.
These calculations are universal; they can be used when sewing double duvet covers with buttons with a diameter of no more than 1.5 cm. It is also enough to add 7 cm to the original size - on the edge with fasteners, and 3 cm on the rest.
Important! It is better to buy a little more fabric than required. Even if these 50-70 cm remain, you can sew handkerchiefs or potholders from them.
Cutting fabric: preparation
So, the material has been purchased, so it’s possible to cut it? Not certainly in that way. Now you need to prepare it for work: wash it in a warm soapy solution, dry it, iron it, then lay it out on a flat surface (preferably on the floor). Don't forget to prepare tailor's scissors, a measuring tape or long ruler, and a special pencil (if you don't have one, colored chalk will do). After this, you need to transfer the measurements to the fabric.

Sewing a duvet cover: step-by-step instructions
First, turn on the machine, thread it and check that it is ready to sew. To do this, take an unnecessary piece of fabric and make a test stitch. If the material does not tighten, the seam is even, and the stitches are equally neat, you can begin the main work.
The algorithm is as follows:
- Fold the fabric in half lengthwise, wrong side up.Mark the seam lines by 2 cm along the top and sides. Sew.
- To prevent the sections from becoming fluffy and unraveling, they can be finished with a hem seam. To do this, the allowance of the upper part is cut off at a distance of 6 mm from the seam. The lower part is folded twice by 7 mm and a stitch is made.
- Once the top and two side edges are sewn and finished, you can begin working on the underside of the duvet cover. First of all, step back 6 cm from the bottom edge and draw a line.
- Now you need to determine the size of the fastener. Ideally, it should be no more than 1/3 of the entire width of the duvet cover. In our case, this is approximately 50 cm. We measure a segment of the required length exactly in the middle of the lower part and draw perpendiculars to the edge. This is easy to do if you fold the product in half, and then draw two lines of 25 cm in different directions from the fold.
- After this, the lower part can be sewn, leaving a hole of 50 cm. We temporarily sew away the fastener with a thread of the opposite color by hand, and measure 1 cm to the right and left of the perpendicular lines - these are seam allowances.
- We measure 2 cm from the machine seam to the edge and draw a line parallel to it. We cut out the excess material (leaving only these 2 cm before the machine stitching and 1 cm seam allowances).
- We cut the corners vertically with scissors. Try not to cut off excess and work very carefully.
- Cut the seam allowances on the product (not on the fastener!) to 6 mm. We remove the basting from the fastener and bend the allowance twice by 2 cm. Similar work must be done on the other side.
- After this, you can stitch both sides on a sewing machine (if you are sewing a duvet cover for the first time, it is better to baste it by hand first).
- The areas located to the left and right of the fastener must be hemmed with a hem seam.
- After this, the allowances and fastener are joined and stitched with a double stitch, and the raw sections are sewn with a zigzag.
- On one side of the fastener we make loops (don’t forget to trim the edges), and on the other side we sew buttons.
The final touch: you need to check how the buttons look on the fastener when fastened. They should not pull or wrinkle the fabric.
Important! Loops and buttons must match in size. If the button is too large, the edges of the loop will quickly fray. When a button is too small, it will pop out of the buttonhole.
How to prepare a duvet cover for use
Everything is simple here - you need to wash the product. The button closure is a reason to turn the duvet cover inside out for washing. After this, the product is dried in the usual way (on a line or in a drying machine) and ironed if necessary.
Finally, the most pleasant moment is the “trying on”. Here, too, you need to critically look at all the little things: how the buttons are held, if there is tension or extra folds, if the blanket is crumpled. Everything is fine? Then accept congratulations - the job was done perfectly!


 0
0
