Bias binding is a strip of fabric cut at an angle of 45 degrees relative to the weft and warp threads. It is used for edging a wide variety of products, including finishing the edges of curtains and tulle. You can buy this sewing accessory at any needlework store, but when choosing, you should take into account the size and features of the fabric from which the product is sewn.
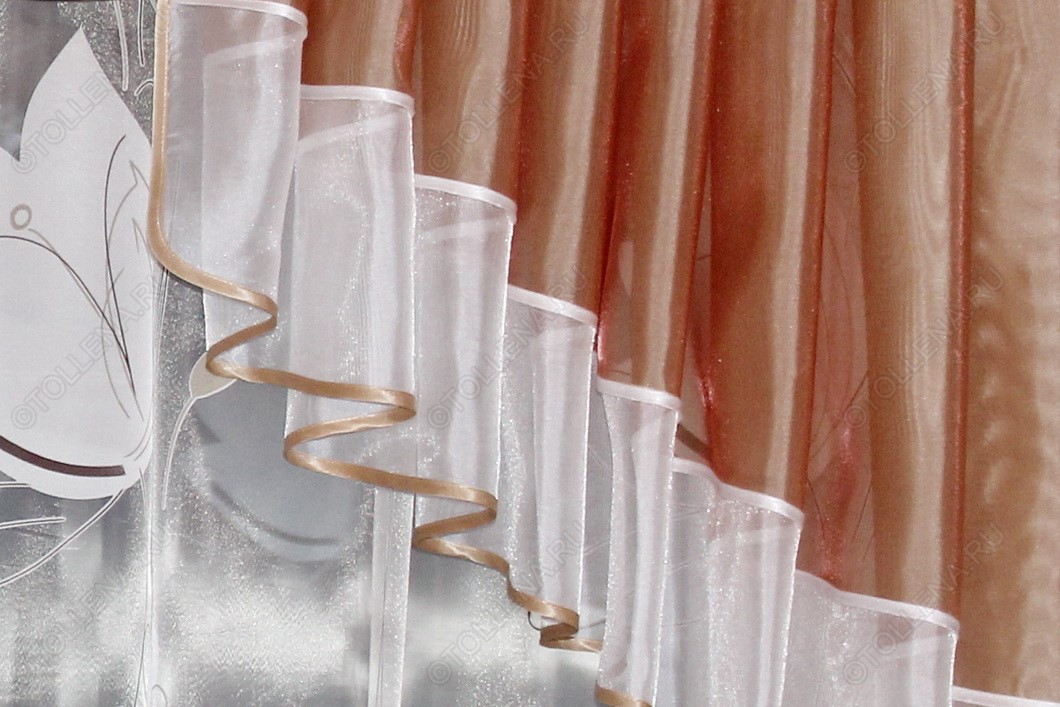
How to sew bias tape to tulle
In general, decorating the edge of the tulle with bias tape is not difficult. The article will discuss two universal methods (suitable for both tulle and curtains).
What you will need
We start from the “technical characteristics” of tulle. The more transparent it is, the thinner the bias tape should be.
To sew on such a ribbon, you need a special foot - it is sold in craft stores. Modern sewing machines usually come with such a foot. Check the bags of fittings and accessories before running to the store.
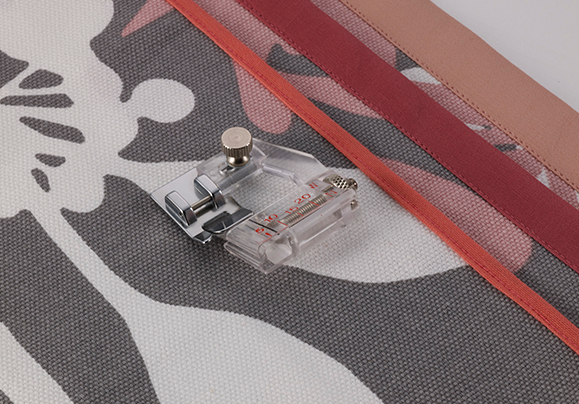
You will also need:
- matching threads;
- sewing machine needles;
- scissors;
- if desired, threads of a contrasting color for basting or safety pins.
Before sewing, you should check the tension of the threads in the machine and make a test stitch on an unnecessary piece of fabric (preferably the same one from which you are sewing the product).
Method No. 1
The tulle fabric is prepared for work. To do this, it is ironed and cut in accordance with the measurements (they need to be done in advance).
Edge processing occurs in several stages:
- The processed edge of the product is inserted into the binding.
- If you are sewing for the first time, it is better to make small stitches or pin the ribbon to the tulle with safety pins every 5-6 cm.
- Set the machine to a straight stitch in increments of 3–4 cm. Check the thread tension again. After this, you can sew the tape to the fabric. To do this, support and guide the fabric with one hand, and control the operation of the machine with the other.
- When the cut is processed, the foot is raised, the fabric is pulled out, the threads are cut and tied into a neat knot.
Method No. 2
This method is a little more complicated and requires some skill. To process a cut you need:
- Straighten one edge of the binding and sew it to the cut of the fabric. The stitch should go exactly along the fold of the binding. If you have no experience, you can also make stitches every 5–6 cm by hand or attach the ribbon with pins.
- Then you need to fold the top edge of the tape and stitch again.
Important! When sewing the binding to the tulle, stop to check that the stitching has not moved to the side.
After one edge of the tulle has been processed, it can be ironed again. The binding is then sewn onto the remaining sections.
Video instruction


 0
0
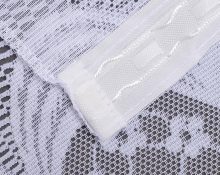


You can do it much simpler. We iron the bias tape in advance to the required length, folding it in half lengthwise, so that one side is 1mm wider than the other. That's it, you can put the processed section of fabric into the ironed fold of the bias tape and stitch. At the same time, the wider side of the ironed tape is located at the bottom - this guarantees that the stitch will also capture the lower part of the bias tape, which is invisible to us. If we are processing a very flexible fabric and we do not need the stretched edge to be fixed with bias tape, then we prepare the fabric in advance: we lay it out and level it on the table and starch the edge. We use starch in the form of a spray or apply the starch solution with a rag or sponge. Afterwards we treat the cut with tape and rinse it.