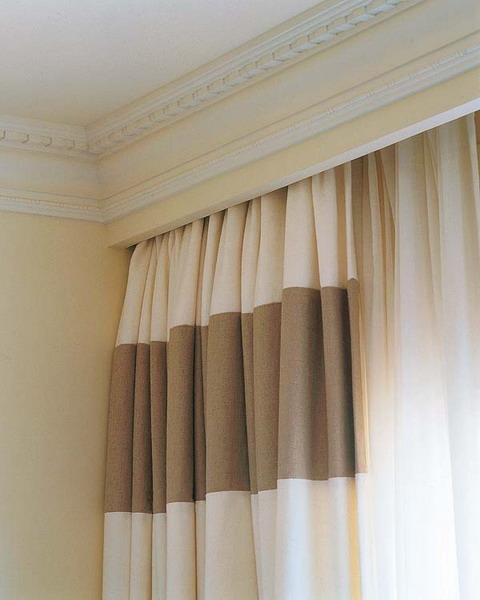
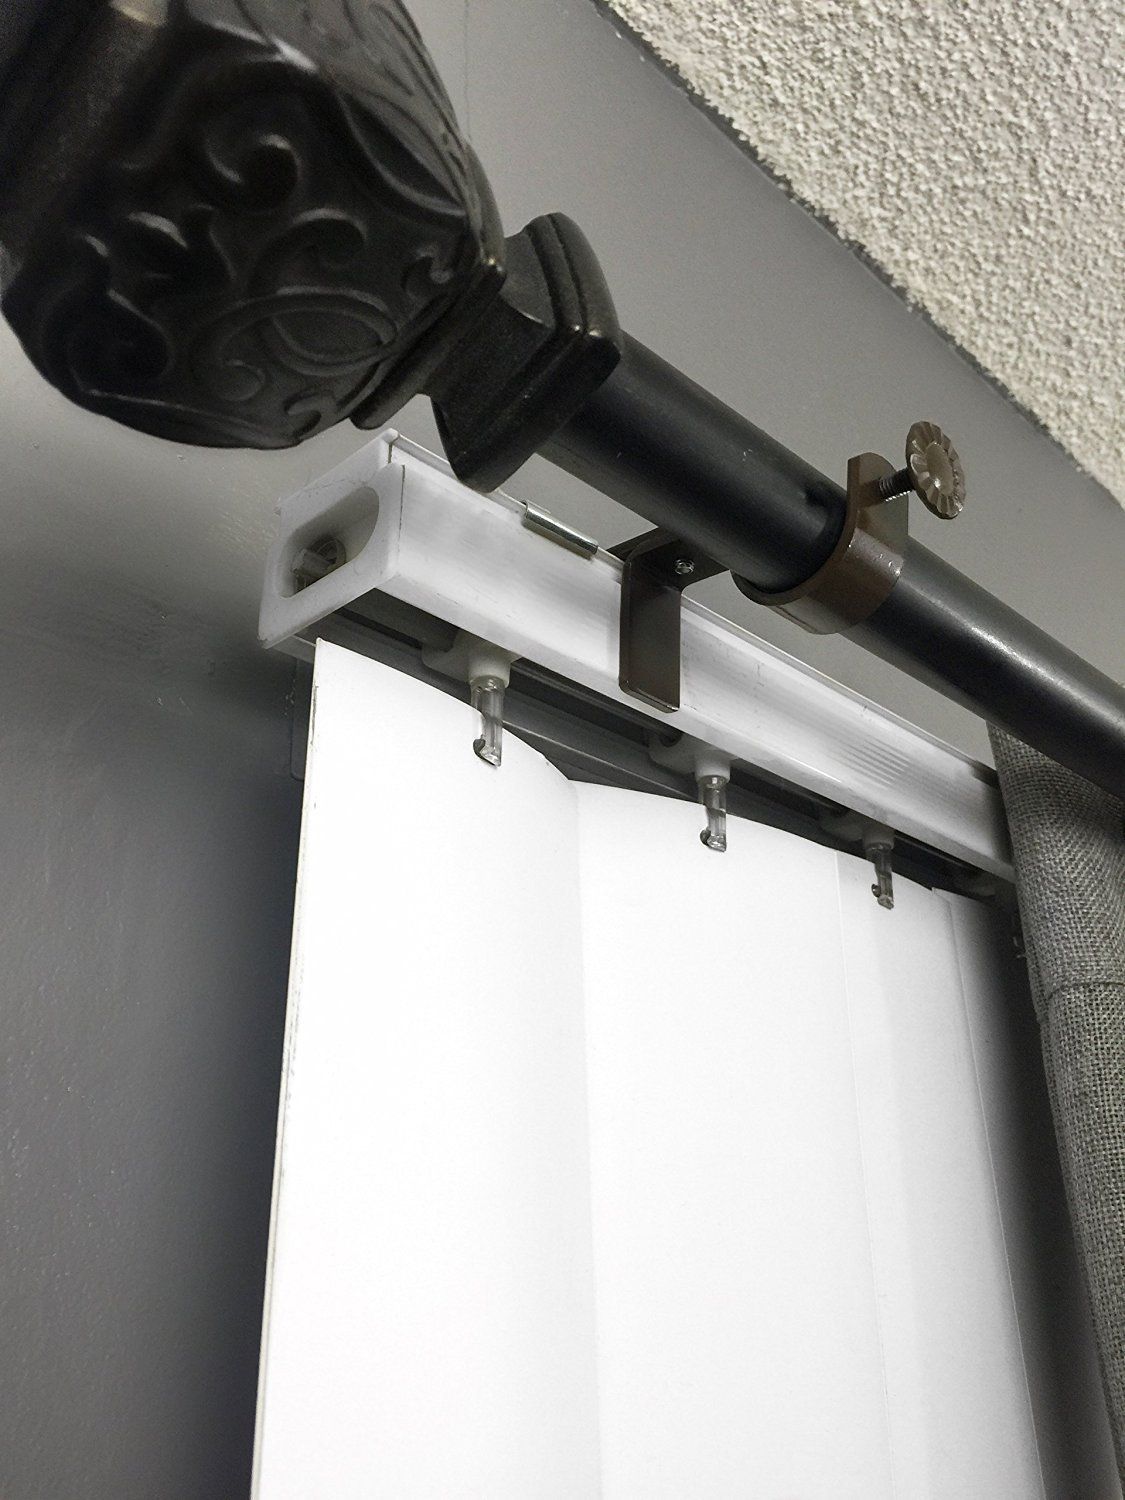
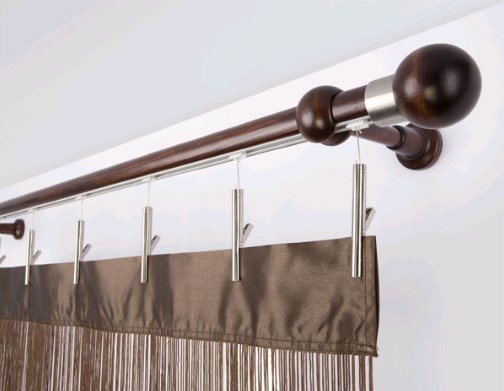
Every housewife will tell you that the highlight of any apartment is a window with a chic cornice. For this reason, such an important element of the interior needs special decoration. The abundance of offers on the market extends not only to curtains and decorative elements. And there are also several types of cornices, including single-row, double-row, ceiling and others.
Window decoration is not limited to just purchasing the product you like, as it still needs to be assembled and secured. In this article we will look at how to assemble a cornice yourself.
Description of the process and stages of assembling curtain rods
 Before assembling and installing the product, you need to make markings and check whether there is free space to open the window after final fastening. An obstacle to the movement of the frame indicates incorrect markings or a mismatch between the cornice model and the window opening.
It is best to assemble the cornice by hanging a curtain on it, and then placing it in special clamps fixed to the wall.
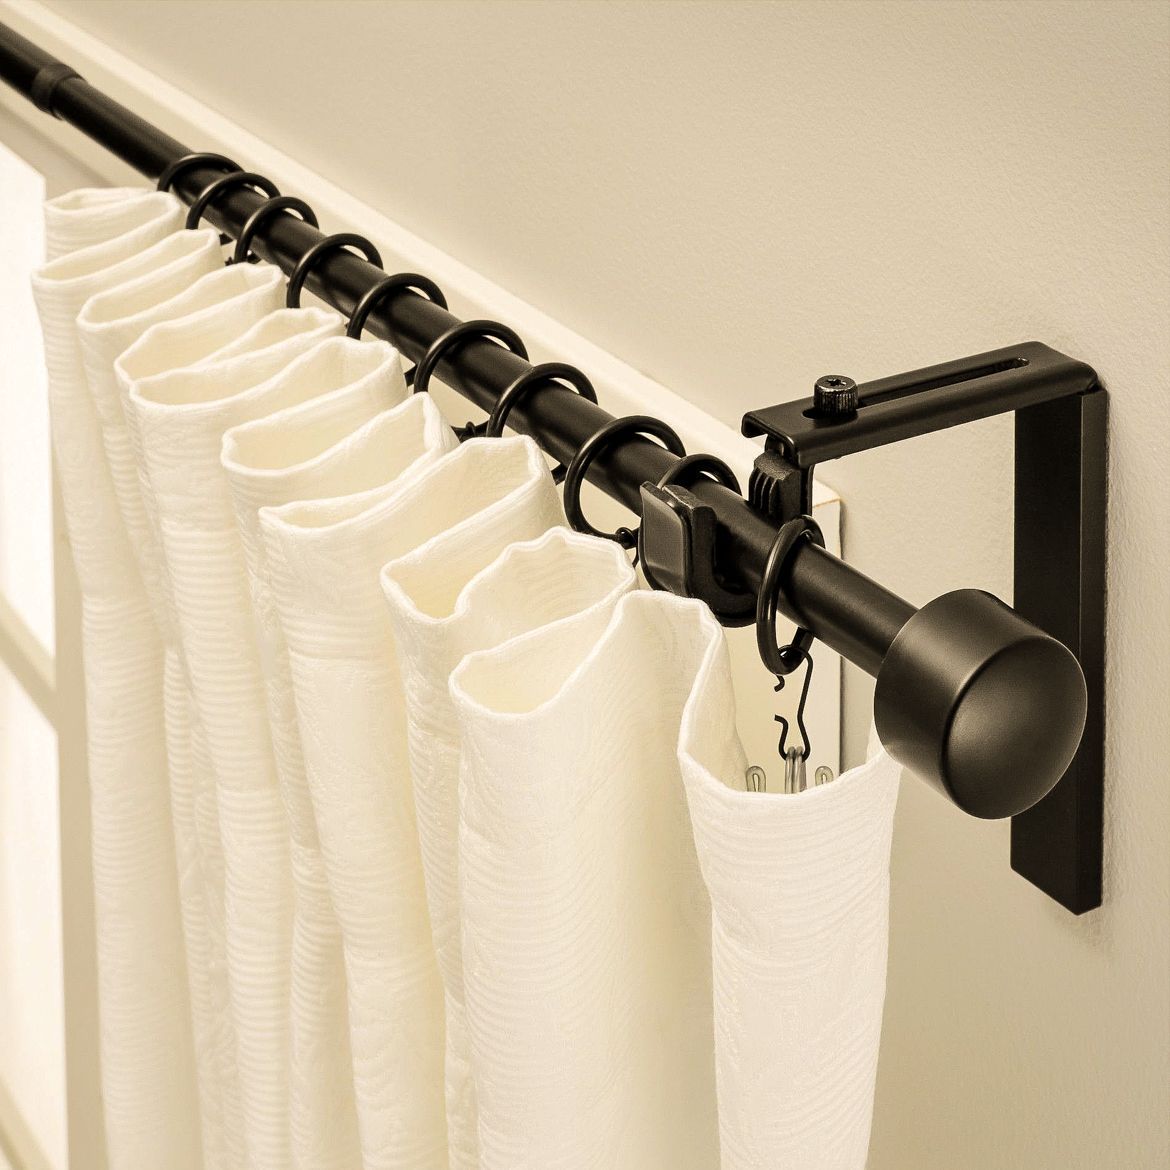
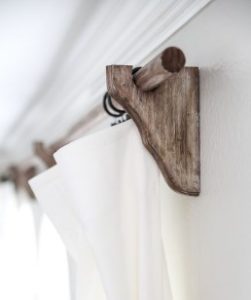
The rod must be inserted into the holes of the brackets. The distance from them to the edge of the rod is usually from ten to fifteen centimeters. All rings except two fit between the brackets.
A pair of rings behind the brackets play a special role in preventing the curtains from sliding down. After this, plugs are attached to the ends of the rod and installation begins.
Sometimes, when inspecting fastening parts, the factory hole size is found to be insufficient. To avoid damage to the material, the hole should be widened.
It is recommended to use plastic dowels for fixation. A hole is drilled in the wall into which the dowel should fit with little difficulty. After this, the curtain rod clamps are screwed to the wall with self-tapping screws, the brackets are inserted into them and the curtains are straightened.
To make the fastening more stable or if there are heavy curtains, you can use liquid nails. The material should be introduced into the hole before placing the dowel. Hardening guarantees a reliable connection that can withstand significant loads.
Assembly Tips
The length of the cornice depends on the size of the window opening. The product should be at an equal distance from the window edges. This will preserve the geometry of the room. The size of the opening will not affect the cornice if it is placed along the entire wall. Such interior elements look especially advantageous if the window is located in the middle of the wall or occupies its main share.
For a harmonious look, curtains must be placed near the windowsill. To achieve a similar result, the brackets attached to the wall surface must be longer than the protruding part of the window sill. When installing the ceiling model, it should be moved to the required distance.You can carry out a preliminary check of the placement of curtains using a plumb line.
Assembling a double-row cornice
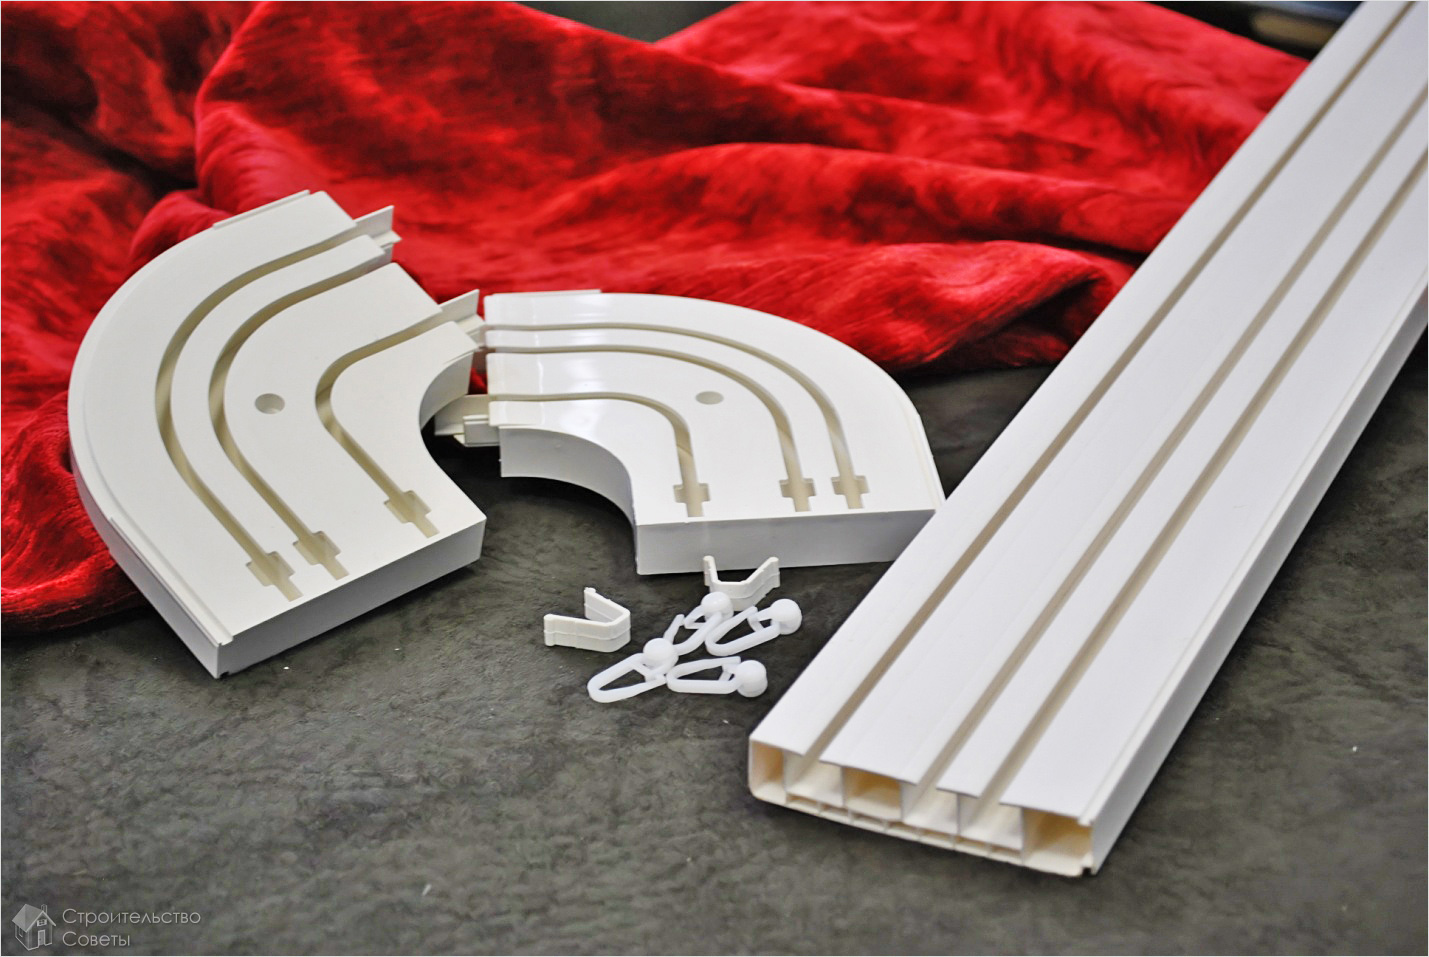
 The initial stage of the assembly process involves unpacking and trying on the product. Each cornice is packed in compacted polypropylene using a thermal method. It is more convenient to open such packaging with a sharp knife.
It is necessary to separate all elements from the main pipe. After this, carefully make an incision along the polypropylene seam and remove it from the rod.
IMPORTANT! Careless cutting of the packaging material can damage the cornice, after which it will become unusable.
Installing the product without trying it on will cause significant difficulties. There are certain rules in this process.
Before the final installation of the double-row cornice, it is necessary to position the pipe along the window and partially assemble the product by putting brackets and ends on it.
During the fitting process, you should remember that it is not recommended to hang it at a short distance from the heating pipe. Such close proximity can lead to deformation of an interior element.
If the eaves pipe is found to be excessively long, it should be shortened to the required size. After this, you can move on to another stage, which is pruning.
Before shortening, you must make marks on the pipe with a marker. Then saw through it five millimeters deep along the seam. Carry out similar manipulations in the marked place, cutting its tire to the same length.
ATTENTION! While cutting, you must carefully monitor the “playing” tire. The sawn edges can be straightened by bending them inward with pliers. Any irregularities that appear are removed using a file.
The next stage is preliminary assembly. To do this, place the double-row cornice on the floor, put the end on the pipe, and secure the bracket using self-tapping screws. In this case, it is necessary to ensure that this part is completely hidden. For this reason, the bracket is directed towards the ceiling, with one ring placed between it and the tip.
Then you need to put on half the rings and place the middle bracket in the middle of the pipe. After the manipulations have been completed, you should repeat the procedure, only in the opposite order - put on the remaining rings with the exception of one, the bracket, the last ring and the tip. Proper installation requires clearance between the tip and the bracket.
Assembling a round cornice
 The process of assembling a round cornice begins with marking the places for fixing the brackets. After this, the supports for their fastening are installed on the wall using screws and dowels.
The guide fasteners should be fixed with screws on the brackets, placing them on the rod along with the rings, leaving one at the edges.
Then you need to place decorative tips on the rod, insert the hooks into the guide, and install the end caps. Then snap the guide into the fasteners.
The last step is to install the finished cornice brackets into the supports and secure the structure with screws.
Assembling a sliding cornice
 The sliding one consists of a pair of tubes of different diameters, one of which is inserted into the other. Inside the structure there is a simple fastening mechanism or spring.
These interior elements are divided into two types depending on the fastening - installed between two walls or window slopes and fixed to the wall or ceiling supported by brackets.
Standard length of products of the first type – up to 210 centimeters, the edges are equipped with rubber tips.Installation of the rod does not require the use of any tools. To install, you need to mark the surface and stretch the rod. After this, place one end in the marked place, and push the other to the opposite mark.
Wall-mounted models are more practical. Installation of such products comes down to securing the brackets and installing a rod, which extends to the required length.
Conclusion
Cornices are an essential part of the interior of every apartment. The variety of products allows you to choose an option that is ideal for any room. Assembly is simple and even a beginner can do it.


 0
0