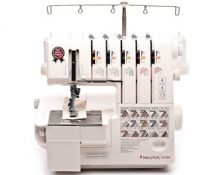
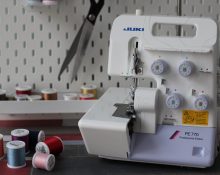
Overlock – a sewing device for sewing fabric sections. It is easy to work with if you follow the instructions exactly. For example, it is important to set up your serger correctly before you start sewing. How to do this will be discussed in the article.
Setting up an overlocker
To ensure that the stitching is even, without missing stitches or knots, it is important to check the tension of the threads in the device. It is possible to understand which thread is behaving incorrectly only by test sewing. Try stitching on a piece of fabric. Did you see any shortcomings? This means that the overlocker needs to be adjusted.
Why do you need to set up an overlocker?
First of all - for high-quality operation of the device. Setting up is a preparatory stage, and if you neglect it, you can damage the product, and then it will take a long and painful time to correct errors.
Settings cannot also be neglected because overlocking is a complex mechanism. It can break, especially if you do not take into account basic operating rules.
Basic Rules
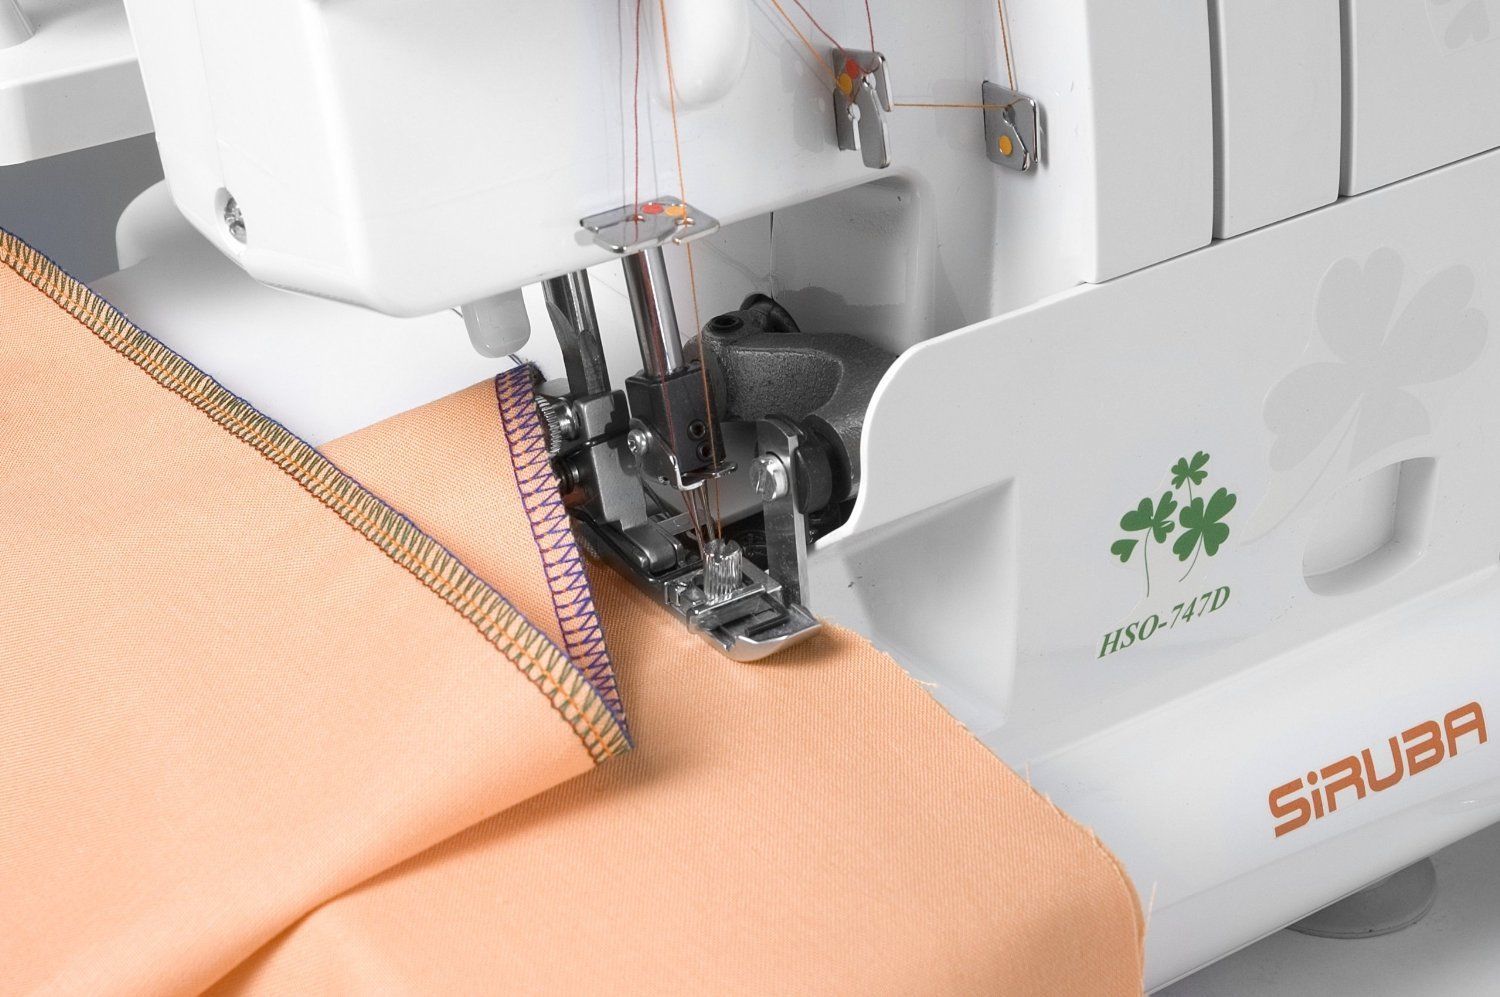
The setting depends on the brand of overlocker and the country of manufacture.For example, Chinese and Taiwanese devices have tensioner regulators located on the outside.
The degree of tension also varies: from 1 to 9. The choice depends on the thickness of the fabric. The average option is tension level 4, which is suitable for most materials.
Conventionally, three degrees of tension can be distinguished:
- weak – degree 1-3;
- average – degree 3-5;
- strong – degree 5-7.
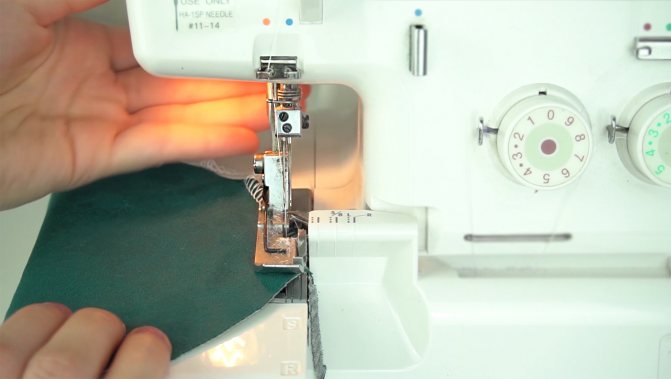
It is important to consider the type of thread. They should all be the same and match the thickness of the fabric. It’s better to buy special ones for overlocking in advance. Also pay attention to the needles. Most often, the instructions for the device indicate what type of needles can be used.
Attention! If you choose the wrong threads, you can ruin the material or the entire product. Using the wrong needle is more risky: such recklessness can cause damage to the device.
The algorithm for setting up threads is as follows:
- Adjust the left thread tension. If the material is wrinkled, then the thread should be loosened. Move the corresponding control down one notch. Make one more line. Reduce the tension level until you can sew the fabric perfectly smooth.
- If the stitching is uneven, you need to adjust the left thread tension again. Only in this case it has to be increased.
- After the left tensioners are adjusted, you can proceed to adjusting the right ones. They do it the same way.
- It happens that loops stick out from the stitching. This indicates that the looper tension needs to be increased. These elements should be adjusted until the loops lie evenly.
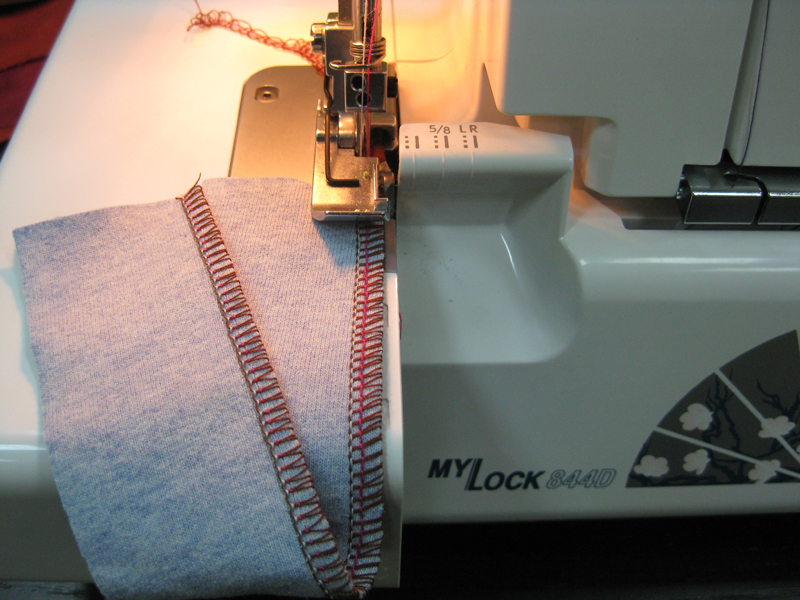
If you have mastered the threads and their tension, you can proceed to the next stage - choosing the type of stitch. Most modern appliances have 5 types of stitches. You need to choose based on the thickness of the fabric.
For example, a four-thread stitch is suitable for overcasting thick knitwear and textiles. For medium-density materials, choose a three-thread stitch - the width will be 5 mm. To work with thin fabric, set a stitch width of 2.8 mm in three threads, and for chiffon - no more than 2 mm.
By the way! If you have to work with thin material, you need to adjust not only the stitch width, but also the presser foot. The pressure should not be too strong: the fabric will wrinkle.
The next step in setup is to adjust the stitch size. The thickness of the fabric plays a big role: the thinner the material, the smaller the stitch, and vice versa. So, for thick materials you can set the size to 3-4 mm, for thin materials - no more than 2-3 mm.
What problems may arise
After all these settings, you should do a test stitch again. It happens that the stitching is again not perfect, for example, skipping stitches are observed. Then final adjustment is required. It is as follows:
- Checking the integrity of the needle. Sometimes there is no visible damage, but you should take a closer look and notice that the tip is blunt or the needle is not installed correctly. Another option is that the needle size does not match the threads and thickness of the fabric.
- Assessing the correctness of the settings. You can again check all the tensioners, loopers, and also see if one of the threads is wound into a knot.
- Evaluating foot performance. Sometimes just releasing the pressure is enough and the problem will go away.
After this check, we recommend making a test line again. If all is well, you can sew the main product.
Useful tips
Not a single setting will help if you forget about the basic rules of caring for an overlocker. So, it should be lubricated in a timely manner, especially if an incomprehensible noise appears.
After each use, the overlocker must be cleaned of any remaining thread, fabric, or dust.This is convenient to do with a hard brush.
If the device breaks down, do not try to repair it yourself. The best solution is to take the overlocker to a workshop where a specialist will repair it. Yes, it costs money, but buying a new device (and in case of unsuccessful self-repair, this is quite possible) will cost more.
 1
1