The accuracy of the stitching depends on how correctly the threads are tensioned. Despite this, even experienced seamstresses often neglect this important stage of preparation for sewing. Checking thread tension seems complicated and tedious. In reality, this is not the case: it is enough to understand once how tensioners work, and such work will become a familiar and simple task.
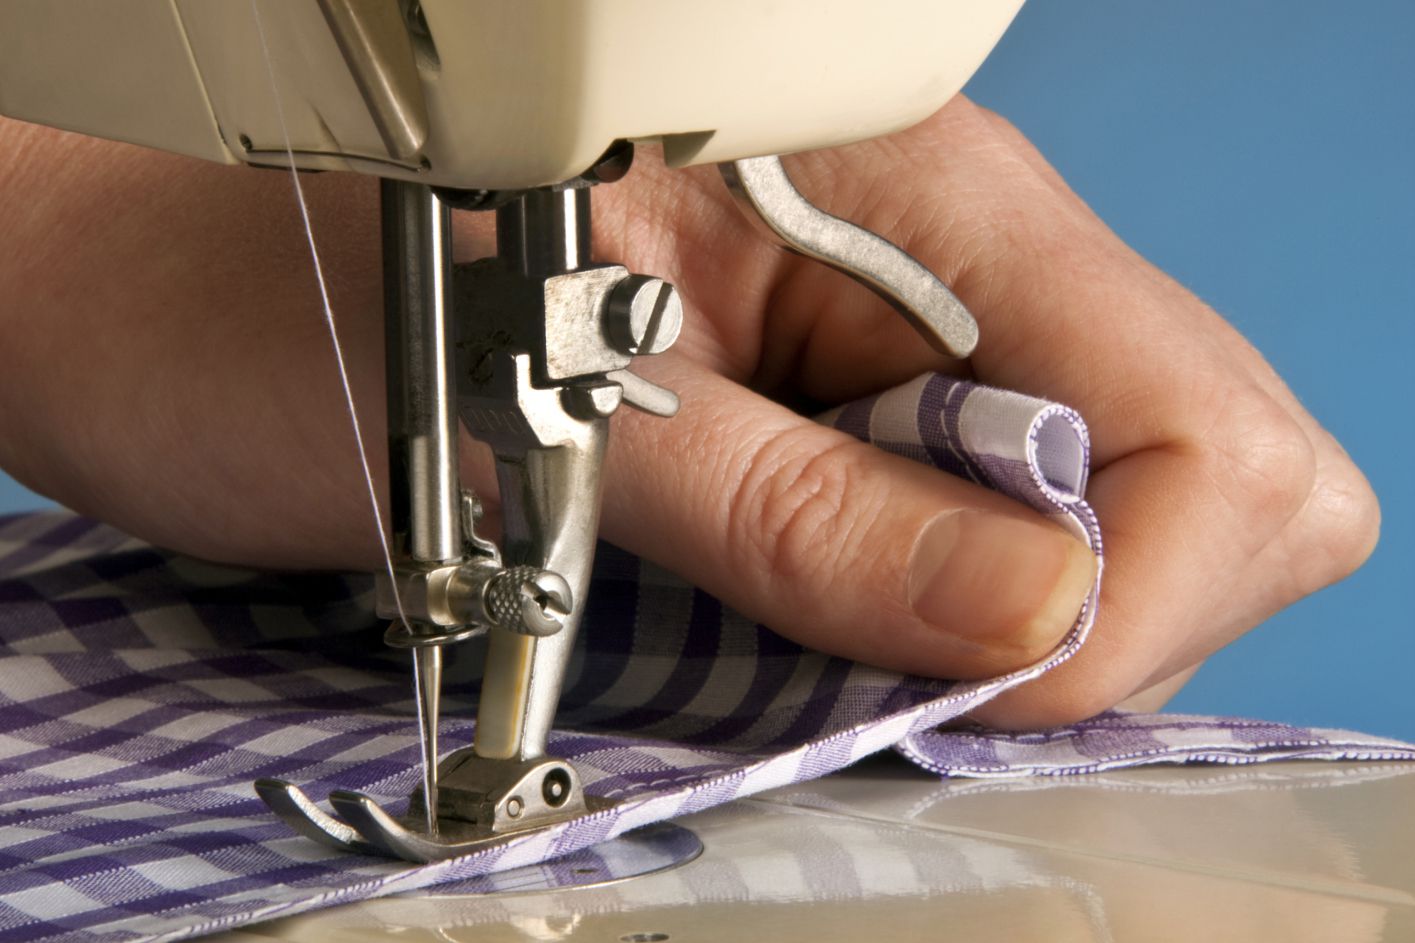
Thread tension in a sewing machine
Special hooks on the body of the machine through which the thread is pulled before passing it through the needle are called thread guides. Such a complex movement from the spool to the needle is necessary so that the threads do not move while sewing and go smoothly and neatly. Thanks to this, the stitches are the same, the seam does not loop in different directions even when working at high speeds.
Tensioner operating principle
A special mechanism is responsible for tensioning the threads. If it is not adjusted, malfunction will inevitably occur. Because of this, knots form, the thread can break, get tangled, and the stitching will loop.
The principle of operation of the regulator is simple: most often the upper thread passes through special washers, which compress it and prevent it from getting tangled. In this case, compression can be different, it can be customized. From below, the tension is adjusted with a special bobbin.
How to adjust the top tensioner
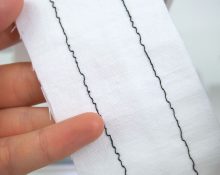
Before any check of the serviceability of the sewing machine and tensioners, it is recommended to make a test stitch. If it turns out straight, the stitches are neat and identical, then you can sew further. The machine works as it should.
When the stitching does not work, the stitches get tangled on the right side, then the upper thread is overtightened. If a thread weave forms on the wrong side of the product, the tension is weak and needs to be strengthened.
The setup process is simple:
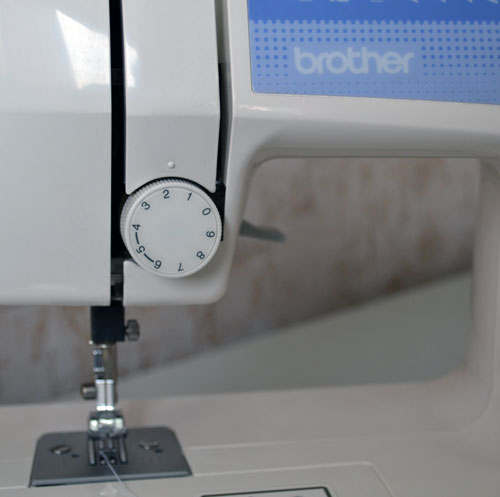
- Turn the control lever a little at a time (half a notch at a time).
- After each movement of the lever, make a test stitch. If it turns out smooth, you can sew; if not, you need to move the lever again.
How to adjust the lower tensioner
It is believed that you need to start adjusting from the bottom thread. If the lower tensioner works properly, adjusting the upper one is also easy. When there is a problem with the lower one, the upper one will not work.
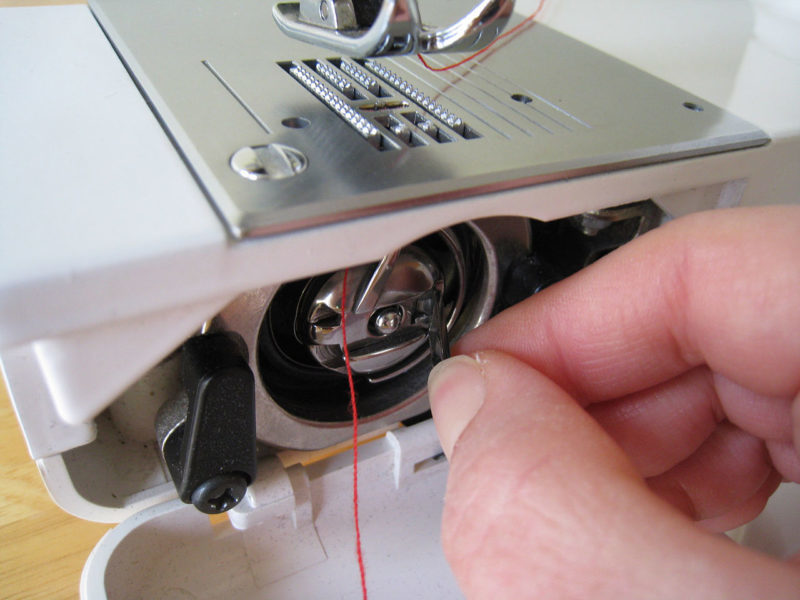
You can adjust the lower tension using the shuttle. Find a small screw on it (sometimes there are two) and carefully turn it.
Important! Working with the shuttle requires attention. The screw is very small; with any careless movement it can fall out and roll away. Therefore, we recommend working with a shuttle over a sheet of white paper.
How to check the correct tension
Both threads - right and left - should be tensioned equally. If one sags and the second is overtightened, it will not be possible to make high-quality seams.
The check consists of 2 stages:
- First look at the tensioners and threads.
- If everything seems normal outwardly, you can make a test line. It is better to take a scrap of the same fabric that you will be working with.
Important! The test seam should be examined carefully and critically. You need to check not just the evenness of the stitching, but also the quality of the stitches.
Possible problems
It happens that outwardly everything is set up and adjusted, but the work does not work: the thread either gets tangled or breaks. This means that the problem is not with the tensioner settings. There may be a breakdown somewhere that needs to be fixed.
Among the main problems we note:
- Weakening the springs that hold the thread. They need to be replaced (it’s better not to get into the mechanism yourself, but to contact a specialist).
- The appearance of defects on the washers (notches, scratches, roughness due to metal oxidation) or the shuttle (most likely, the bobbin or its cap has deteriorated). This may cause the thread to break while sewing.
- The tension lever or thread guide is damaged. This will cause problems with the upper thread.
- Damage to the spool, incorrect (often manual) winding of threads onto the spool. This leads to the formation of nodules.
- Machine breakdowns. It is important to find out the cause and replace the faulty part. Amateur work here can only do harm - it’s better to immediately take the machine for repairs.
What else to pay attention to
First of all, on the rest of the machine settings. Moreover, they need to be checked before starting work. Pay attention to the presser foot, needle, see how the handwheel works, etc. Don't forget to evaluate how stable the machine is on the table. It is also important to check:
- The quality of the threads and their compliance with the material and needle. It is better to buy new spools for each product that you are going to sew.
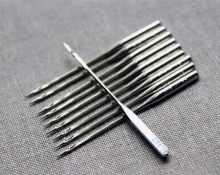
- Needle quality. It should be sharp, without defects.Check that the installation is correct.
- Before work, check how correctly you have laid the fabric, whether there are any wrinkles or unnecessary folds. Perhaps the material “went” to the side? Then the line will also go in the wrong direction.
Do not forget to periodically check the thread tension and operation of the machine while working. This will help you not only sew a beautiful thing, but do it as quickly as possible and without errors.


 2
2