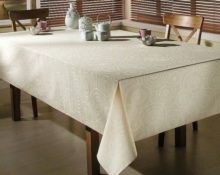
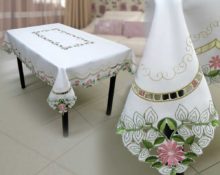
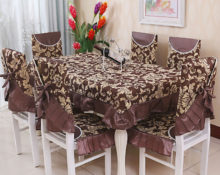
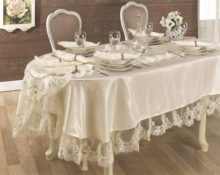
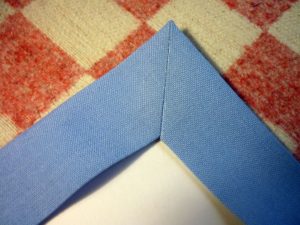
 There are many ways to hem tablecloths; the edges and corners of the product can be processed using different techniques. But they have one thing in common: a well-made item with processed corners is one of the criteria for the beautiful appearance of the product.
This article details the basic method of hemming corners, which, once mastered, can easily be used to process various types of everyday and festive tablecloths.
Materials and tools for work
It is better to prepare in advance everything you will need during work, down to the smallest detail. This will help you fully concentrate on the process and not be distracted by trifles.
Naturally, you will need a piece of the required fabric for the future tablecloth. Determining the appropriate size is quite easy. Measure the length of the tabletop, add length for the overhang (from 20 cm to the floor) and 10 cm for the hems on all sides.
Choose the material and design at your discretion. But be sure to take into account the shrinkage of the material after washing.
IMPORTANT! To be sure of how much the tablecloth will shrink after being in the washing machine, you can wash and carefully iron the material before cutting.
In addition, you will need the following.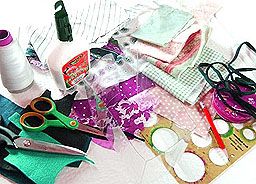
- Threads to match the fabric or pattern.
- Sewing machine. After all, making a long and even stitch by hand will be very difficult.
- Tailor supplies as needed: cutting scissors, ruler, measuring tape, pins, thimble, thread threader, chalk or marker for marking.
- Iron.
- For comfort You can prepare a cardboard pattern in advance: a rectangle with sides 5 by 15–20 centimeters.
Step-by-step instructions for hemming a corner of a tablecloth
To hem a tablecloth with a corner, you need to perform several steps in sequence.
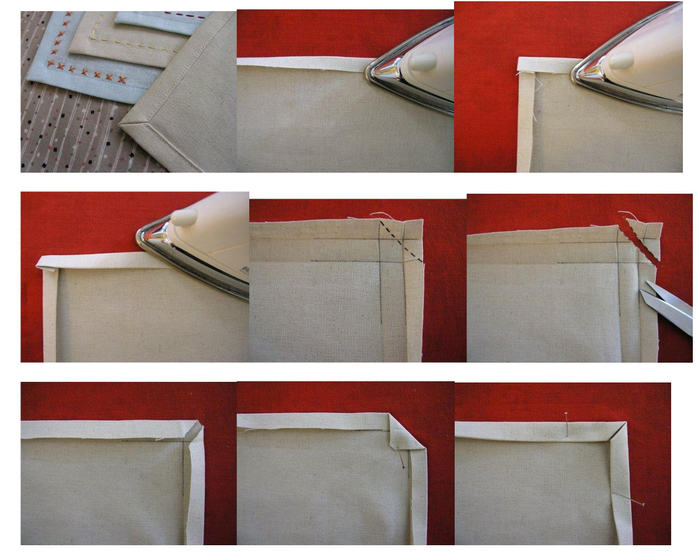
Forming an angle
- We cut out the required size flap from the fabric, taking into account the indentations for the seam.
- Next you need iron the seam: bend the fabric with an indentation of 5 centimeters and run a hot iron on all four sides.
ADVICE. This can be done using a piece of cardboard or marking a fold line with chalk (marker).
- The main thing is that the line is visible on the fabric and washes well. If you are not sure how the dye will behave on the fabric, test it on a small piece of fabric in advance so as not to spoil the finished product..
- Once again we bend the fabric inward with an indentation of 5 cm and make an arrow with an iron. This results in a hem of 10 centimeters inside the tablecloth. This distance is quite enough for the edge to be neat and at the same time not massive. If desired, you can thread pins around the entire perimeter of the future seam. This will be especially useful if the piece of matter is large enough.
- Carefully iron the corners so that the line is clearly visible when unfolded..
- We draw a diagonal in the resulting squares and lay a very even line from corner to corner. Carefully cut off the resulting corner at a distance of 1 cm.
- Iron and turn the corner.
Shutdown
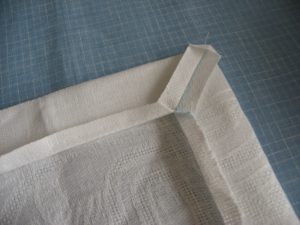
The simplest thing remains: sew a hem around the entire perimeter of the tablecloth.
Don't forget to remove the pins if they were used to secure the hand.. Do this very carefully and carefully so that the stitching is even. After all, as a rule, there will be no chance for a second attempt. Even if you rip out the wrong seam, holes from the needle may remain on the material, and the appearance of the tablecloth will be ruined.


 0
0