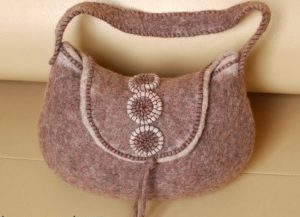
 A bag is not only beautiful, but also a very useful accessory that allows you to create a graceful and elegant look.
The wide range of bags available on the modern market is amazing. But it’s not always possible to find exactly what you need.
In this case, you can try to sew the accessory yourself. To do this, you do not need to buy expensive additional materials, as well as extensive experience in the field of sewing.
Necessary materials
 For that, to sew a small cute handbag you will need:
- felt and transparent organza;
- glue;
- fabric for lining;
- fishing line;
- lightning;
- interlining;
- scissors;
- drawing at your discretion;
- water-soluble marker;
- sewing machine.
When all the necessary materials are ready, you can start working.
Important! Non-woven fabric and a marker will be required in order to apply any design to the fabric. If you want to sew a plain bag, then you won't need them. The drawing can be anything downloaded from the Internet or drawn by you yourself.This way you can emphasize your individuality and make the item more original.
How to sew a felt bag with your own hands?
Sewing will take place in several stages. It is important to carefully follow the correct algorithm and be careful not to damage the product. In addition to the fact that it will have to be redone, you can waste a certain amount of material.
Outer bag
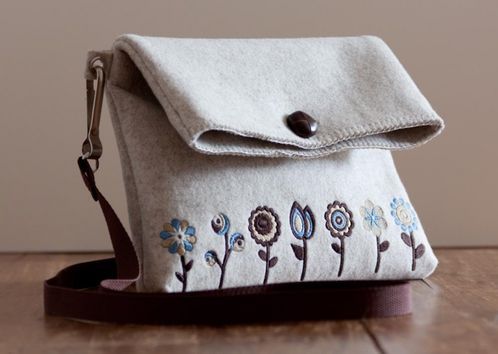
First of all, transfer the design onto the fabric using non-woven fabric and a marker.
 This is necessary in order to correctly determine the future size of the product. Then we make the first cut, sewing along the contour.
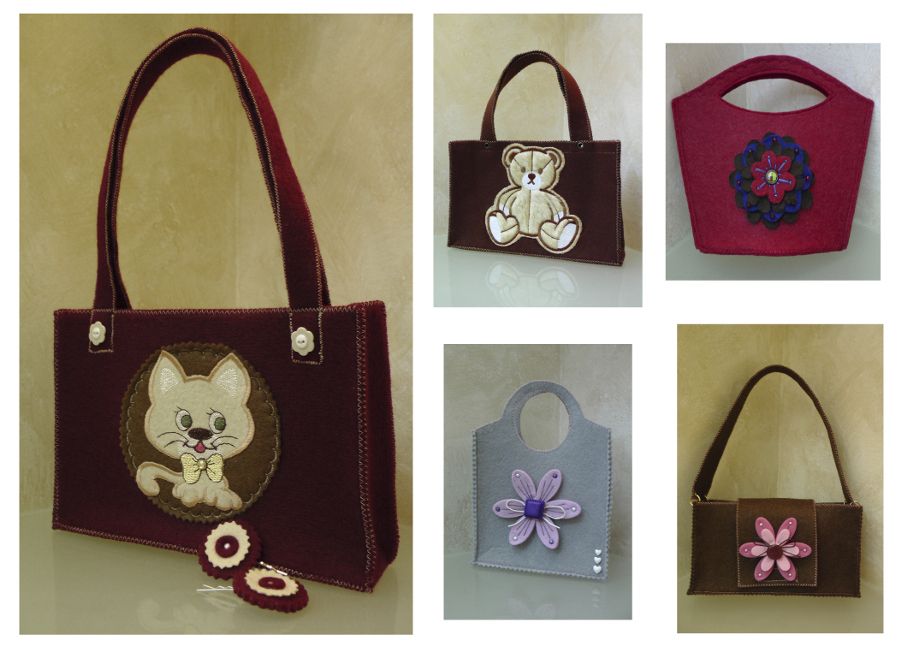
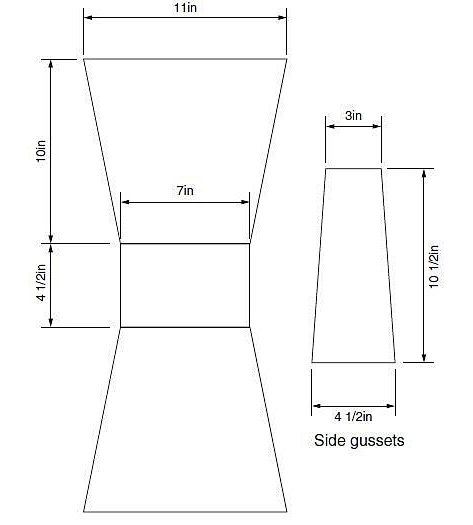
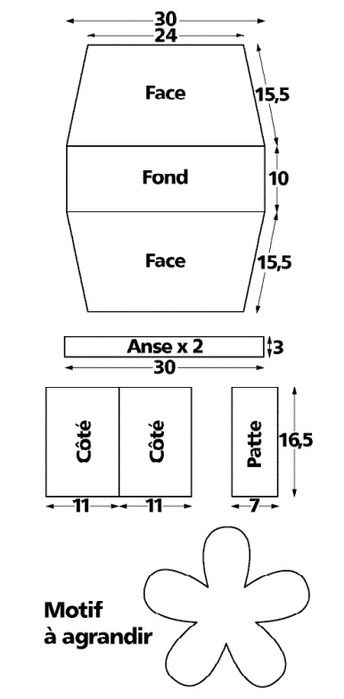
We offer several different patterns for felt bags.
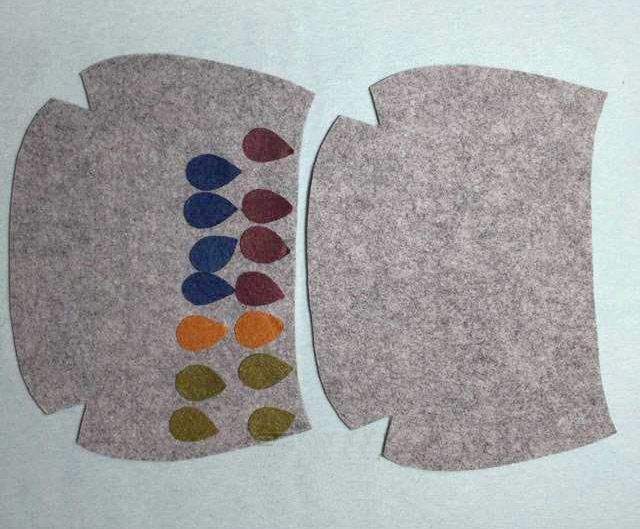
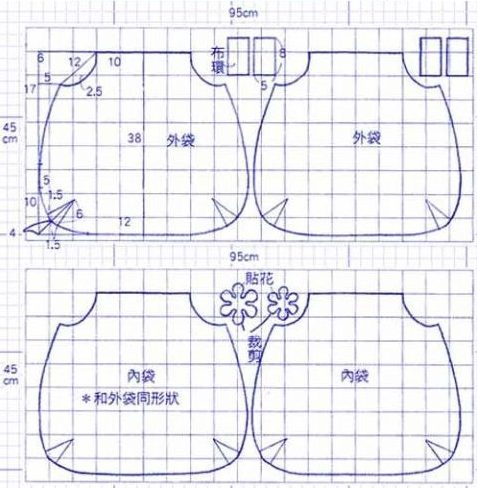
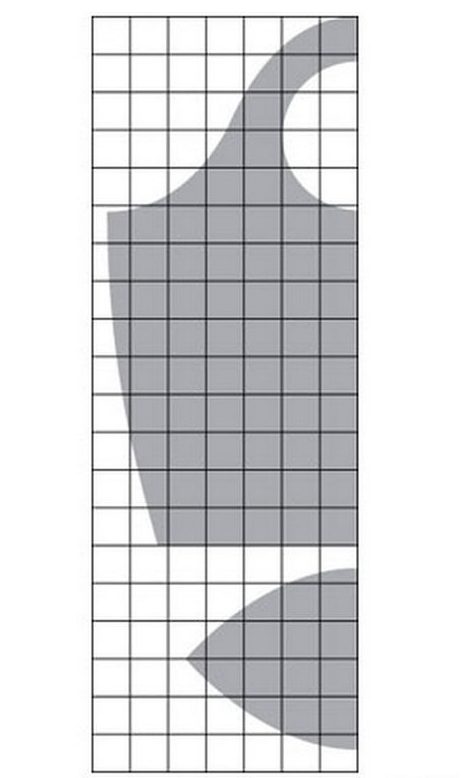 Place the design on the fabric and add a few centimeters to the desired size, which will be used when sewing the parts together.
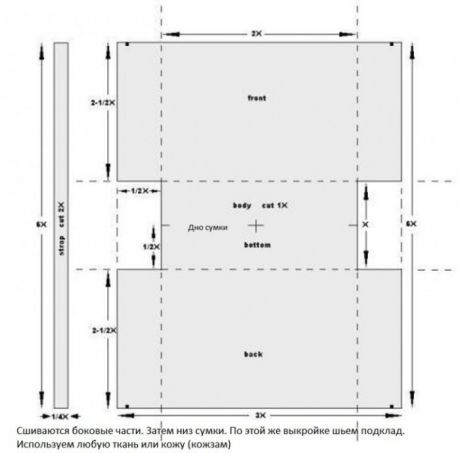
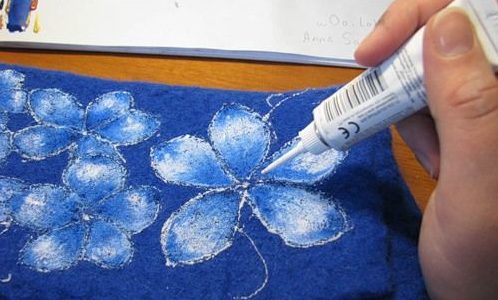
 The back side will consist of felt and organza. While you are free-motion stitching, the front will dry and you can fill in the design with thread like embroidery.
 Then we begin to cut out all the details of the item. Please note that darts will be needed. The lining parts are made in the same way.
Sew in a zipper
Many beginning craftswomen think that sewing a zipper is a difficult task that only more experienced craftsmen can do. But that's not true. The stages of work depend on the choice of bag style and the location of the zipper, for example, on the side of the bag.
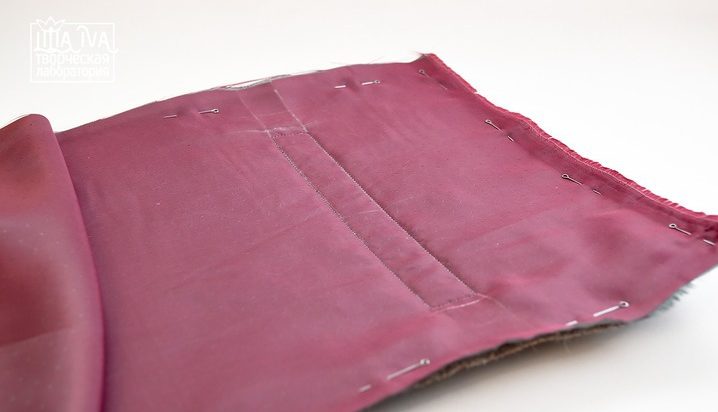
The felt is sewn with the lining and the stitching for the zipper is marked.
For that, To sew a zipper into a bag, you only need to do a few steps.
Important! Remember that this particular element of the bag will be used most often, if worn every day - several times a day. Therefore, you need to sew it in as efficiently and accurately as possible.
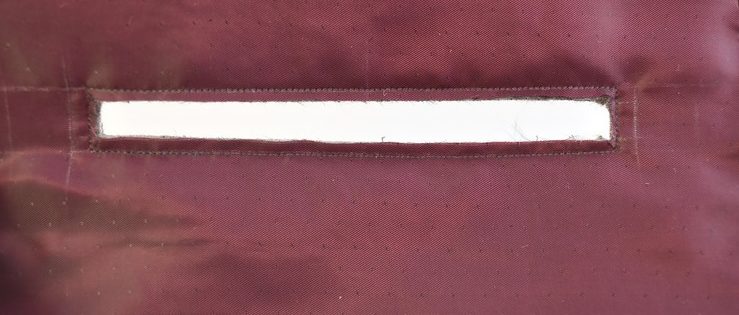
Cut inside the lines at some distance for the zipper
The front ends should be stitched before starting work. Then sew the zipper to the top edge of the bag, making sure everything is even.
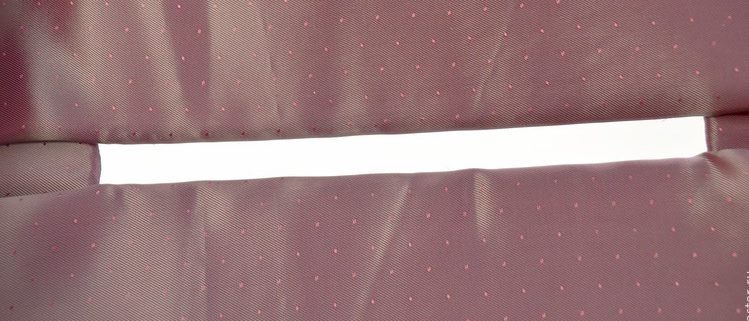
View from the lining side
After this, check the operation of the dog and ease of use.
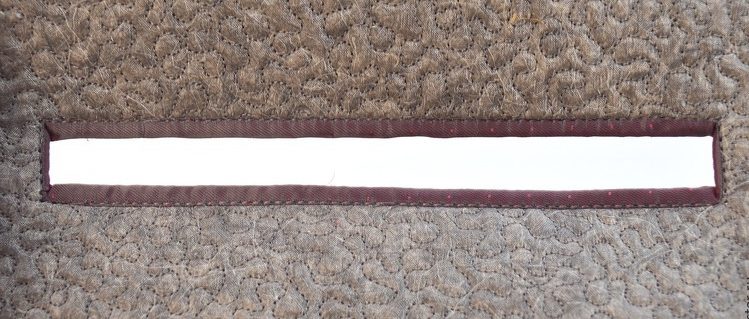
We make a stitch on the outside of the felt
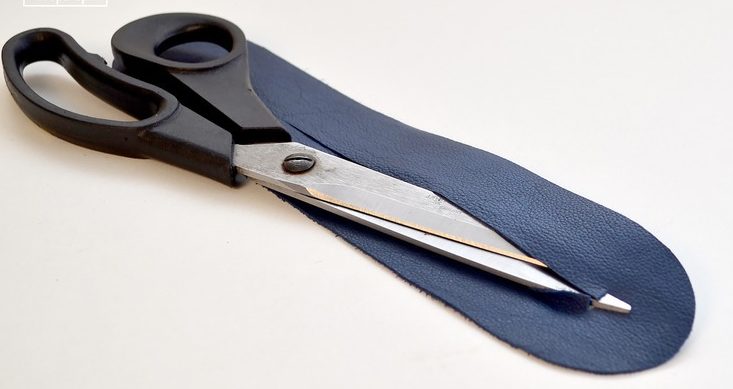
Can be trimmed with leather and cut in the middle
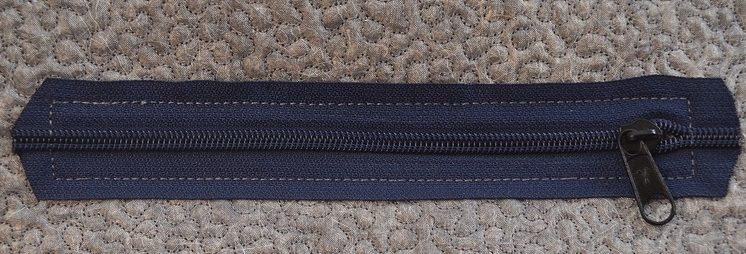
View from the outside

Finished zipper for side pocket
Lining
Connect the lining to the bag parts. In some cases, it is sewn on after all the parts have been sewn.
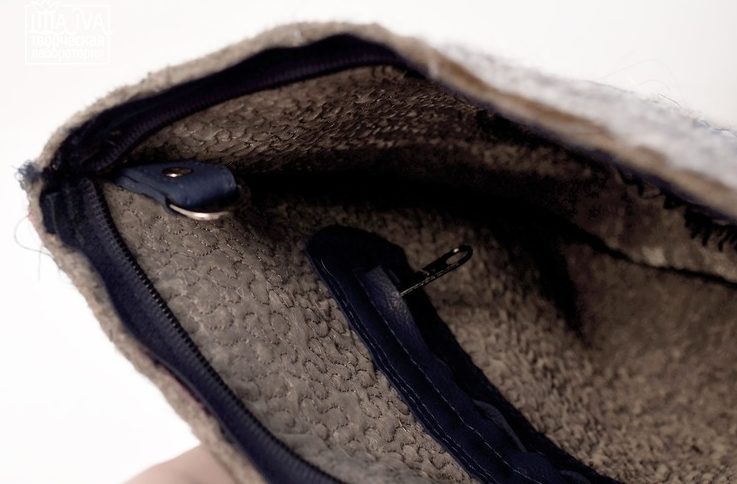
Sew a zipper at the top of a felt bag
You can add leather details in bright colors to the sides of the bag. Everyone chooses the method that is most convenient.
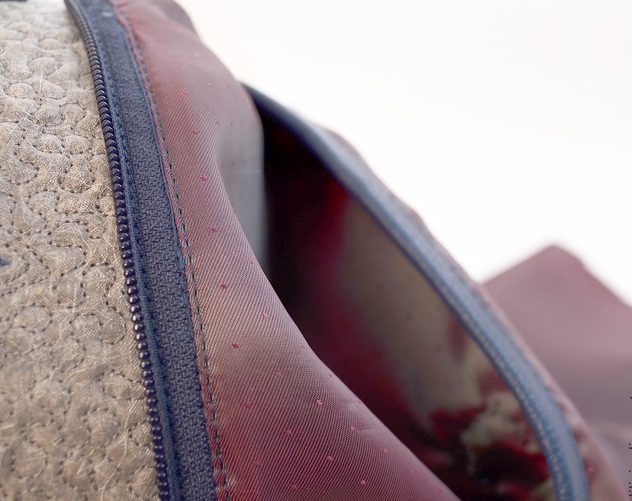
Built-in zipper at the top of the bag
It is important to sew a stitch under the zipper so that the fabric does not interfere when fastening or unfastening.
Connecting all the parts
The final step will be sewing together all the disparate parts.
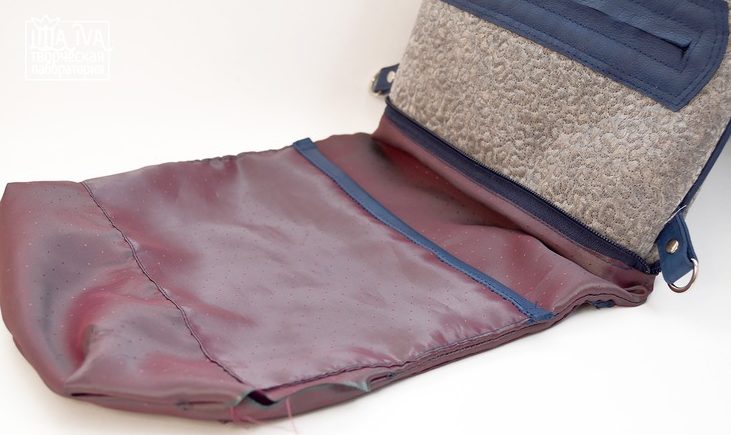
The bag is ready, all that remains is to sew up a small hole on the side
After this, turn the product inside out and shape it using a block. Sew the darts through the hole in the lining.
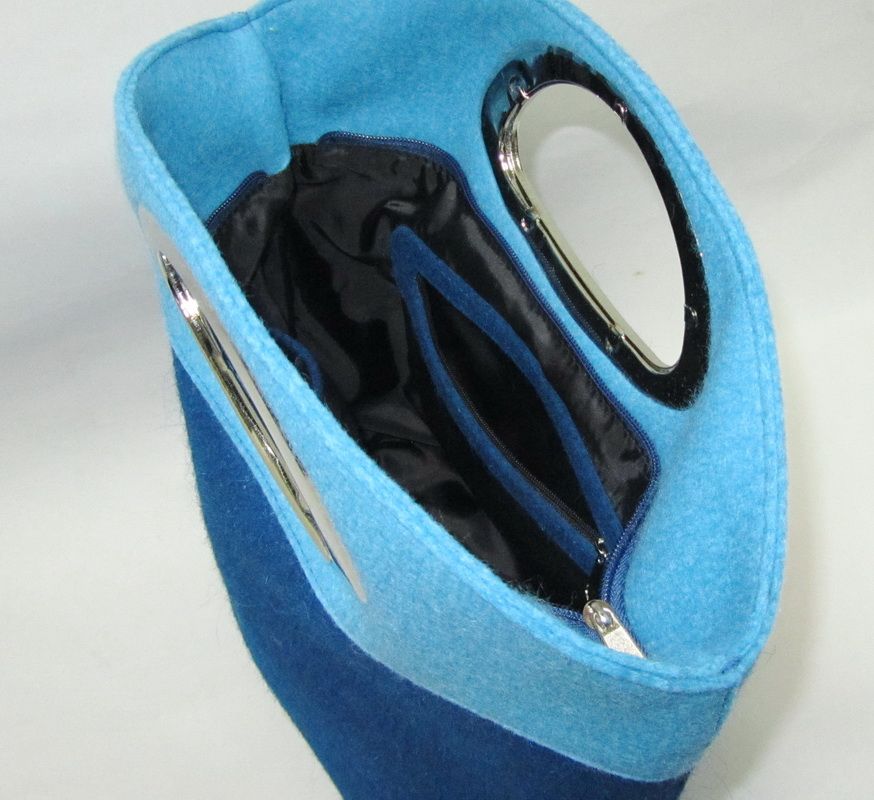 All that remains is to tuck the tail of the zipper under the lining.
 Think about what length will be comfortable, don’t overdo it, otherwise the zipper will stretch and the bag will look ridiculous.
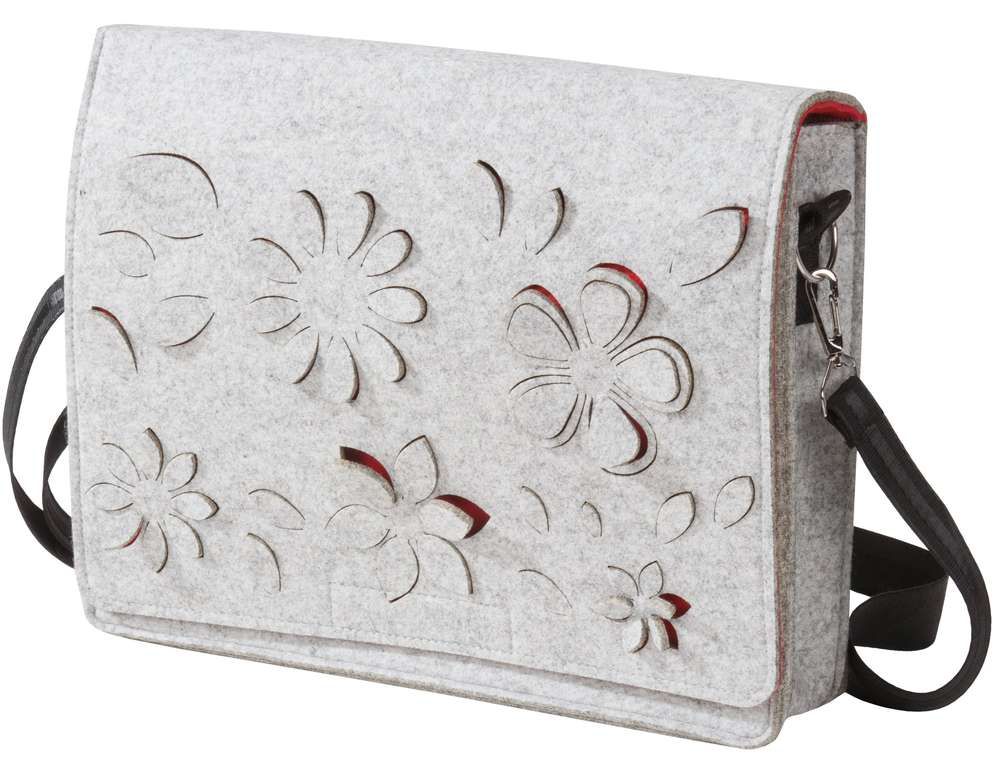 Now we sew up the hole in the lining. The product is ready!
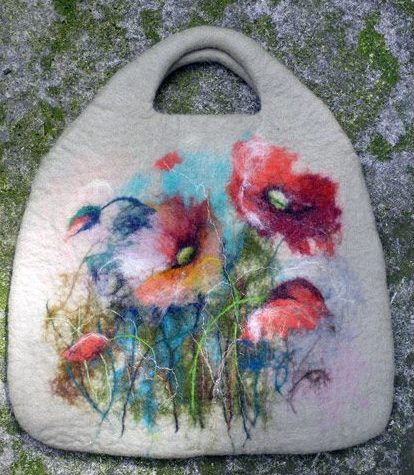
 Using this simple algorithm, you can sew yourself a bag of any color and with a pattern that will match your dress or simply be pleasing to the eye.


 0
0