 Almost every shopping trip is accompanied by the obligatory purchase of another package - those already purchased are, as always, forgotten at home. Or they are torn: the industry likes to save on material, which hurts our pockets.
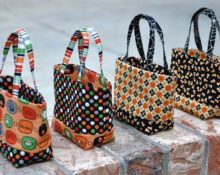
We will go the other way - we will sew a comfortable and durable shopping bag from raincoat fabric.
IMPORTANT! Packages represent four percent of the oil produced on the planet and about fifteen percent of the total mass of garbage. Abandoning them is both profitable and progressive!
Materials and tools
Having decided to sew a stylish and comfortable string bag, let’s prepare the following.
- Raincoat fabric. This material is water-repellent, thin, durable and compact. Easy to wash and does not require ironing.
ADVICE. You can sew your first designer string bag from an outdated jacket or raincoat, if the fabric is not worn out.
- Lining fabric.

- Sewing machine, scissors, thread, pins.
- Ruler (centimeter tape).
- Decoration materials: this could be a simpler option - a bright iron-on sticker or a strip of tape, contrasting or matching the tone of the main fabric.For truly creative types, get a brush and acrylic paints! Decorations like rhinestones or beads are hardly appropriate for such a thing.
ADVICE. A shopping bag will have to hold a fairly large load. You can seal it with serpyanka - a construction mesh tape with an adhesive backing.
This material is placed between the bag fabric and the lining.
Sewing a shopping bag: sewing technology
Having thought through the design of the future product, we begin to create a household masterpiece.
Details and their patterns
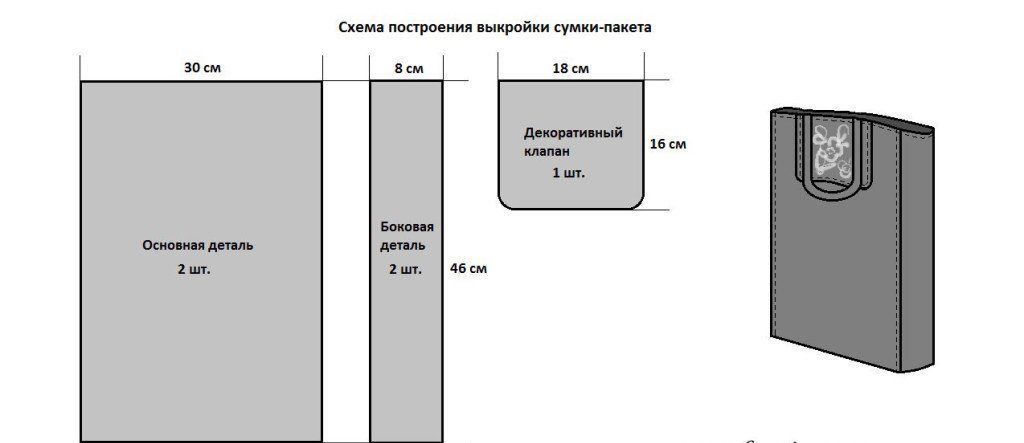
The dimensions given are approximate and may be increased or decreased. Don't forget about seam allowances! The bag will be assembled from:
- two main parts (30 x 46 cm);
- 2 “sides” (8 x 46 cm);
- two handles (8 x 50 cm).
It’s a good idea to equip the product with a pocket - external or internal. You can also add one long, thick strap, allowing you to carry the bag on your shoulder.
ADVICE. It is recommended to first make a paper model of the bag by gluing all the parts together: you may want to change the dimensions or proportions.
Sewing process step by step
Having finally approved the dimensions and cut out the blanks, we assemble the string bag.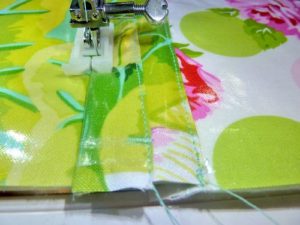
- We sew a rectangle from the main and side parts. Combined fabrics will look original: sides and pockets different from the base, or multi-colored “back” and “front”.
ADVICE. Decorative seams on the outside will help make the bag more durable and wear-resistant.
- We make the same rectangle for the lining.
- We form the “bottom”: folding the base inside out, sew the bottom. We iron the seam, carefully fold the resulting corners on the sides, then sew from one side to the other with a line at forty-five degrees perpendicular to the bottom seam. We do the same with the lining.
- We connect the top of the base with the top of the lining with pins and sew on a machine.
- Turning the bag inside out, carefully straighten the top, fold the seam allowances inward, and machine it.
- Sew on the handles and pocket(s).
- We take a brush in our hands, open the paints, and give free rein to our imagination. Or we put a catchy sticker on it.
After all the work is completed, we go for provisions, proudly showing everyone a stylish exclusive accessory!


 0
0
