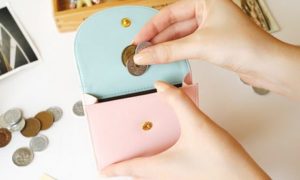
 Each bill should know its place in the wallet. Money loves order and counting. With paper banknotes, it is easy to maintain the system and neat storage, and small change is scattered around your wallet as you please. A special coin wallet will help solve the problem.
What can you make a coin purse out of?
Buying a separate purse is not always convenient; it’s easier to make yourself a unique, stylish and convenient bag or envelope. The shape and final appearance will depend on the material that will become the base when creating a masterpiece.
Textile. It’s easy to choose colors and patterns on the canvas, based on your preferences.
Fabric is an excellent solution for practicing handicrafts on making wallets, making a child’s first change bag, and experimenting with textures.
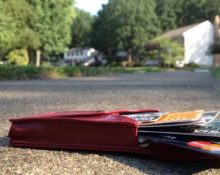
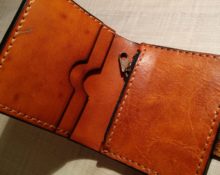
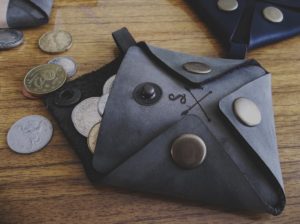
Leather. A classic material for creating such accessories. But for small items it is still better to use other materials. It is expensive, finicky to work with, and the pattern can be ruined with inept hands.
Leather is ideal for creating a house for banknotes.
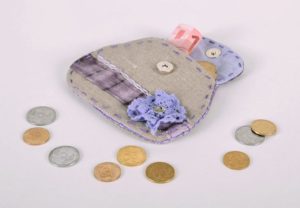
Felt. Fashion trend. Nowadays they sew everything from felt! A children's, teenager's, or adult felt wallet will look beautiful.
Felt wallets look great, are easy to make, and serve well. If you intend to use the accessory often, give preference to dark colors (chocolate, wet asphalt, dark blue). Thus, the wallet will retain its original appearance longer.
Fur– it’s beautiful, but it’s not practical when it comes to creating a coin purse. You can invent a fur pocket for coins that is interesting in design and shape. But you should remember that such a thing will either very quickly lose its presentation with active use, or it will be more of an accessory than a functional one.
Key advantage: beautiful, elegant.
Disadvantage: expensive, difficult to implement.
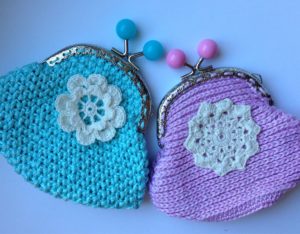
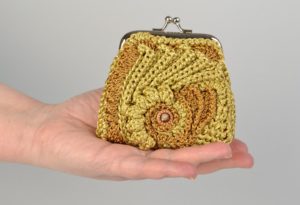
Wool (knitting).Convenient, easy-to-use option. This wallet will serve you faithfully. Its main feature is functionality.
When creating such an accessory, it is important to choose the right yarn and hook for the job. So, three-ply yarn will be the optimal assistant. It’s better to take a hook 4.5-5 mm thick.
How can you decorate a homemade coin holder?
There is a desire to decorate any accessory. To do this, you can apply several design options.
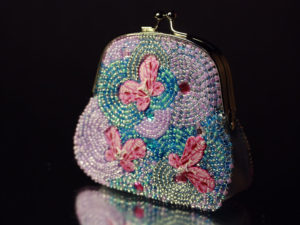
Beads look great on a fabric, felt, knitted wallet. All you have to do is choose an embroidery pattern, select beads that match the style and color, and embroider.
Make sure in advance that the thread is strong; you can take a thin, flexible fishing line. Fasten the embroidery more often by making knots on the wrong side. Remember that the wallet is in a bag, rubs against various objects, and is used frequently. One thread will unravel and the entire pattern will be ruined.
Rhinestones they look expensive and stylish if they are carefully secured and the ornament is thoughtfully composed. When it comes to designing with rhinestones, the main thing is not to overdo it. For such decoration, you should be careful about choosing the strongest glue. When buying it, look first of all at the base from which the wallet is made.
Pompoms is a fashion trend. It is not recommended to stylize the entire surface of the wallet with them. Typically, pompoms are made as a dangling accessory, or attached to the ends of laces that tie a purse. But small, perfectly sized pompoms can be sewn onto the wallet itself, creating a three-dimensional pattern from them.
Stripes. This option includes thread embroidery, emblem patches, decorative braid or other elements. When choosing this design method, consider whether you will clean or wash the wallet, where it will be stored, and how often you plan to use it. These factors affect the wearability of the item.
How to make the simplest wallet with your own hands?
The simplest one is fabric or felt. No additional knitting skills or ability to work with fur and leather are required.
What do we need?
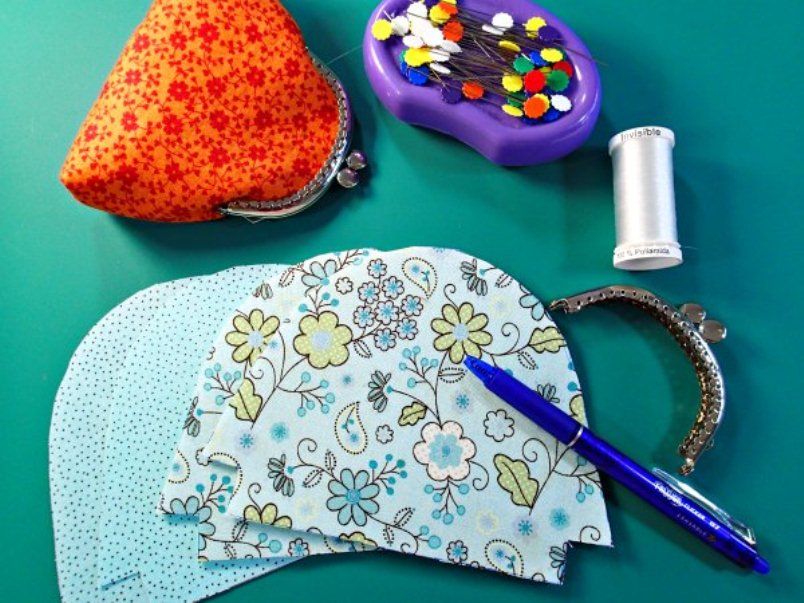
The required materials are determined by the shape, size, and design features. It is recommended to start your training with simple ideas. The best choice would be to create a reversible wallet with a magnetic clasp.
Materials for the front side of the wallet:
- two patches of matching color (cotton);
- non-woven sheet 21x31 cm for interlayer;
- seal (adhesive base): 3 parts – 21x9, 21x9, 21x7 cm.
- transparent threads for stitching;
- magnetic button lock.
Materials for pockets:
- two pieces of cotton (pockets) 19x18, 19x17.5 cm;
- two pieces of non-woven fabric;
- scraps of fabric for the “stop” parts on the zipper: 2 pcs. 2x3 cm;
- lock 19 cm.
Instructions
First side of the wallet:
- On each sheet of material we draw the details of the pattern in small pieces: fabric with seam allowances - 22.5x32.5 cm, interlining - 21x31, sealing - 21x9. Cut out the required flaps. The details are ready.
- Sequential assembly of parts of the future wallet. Using an iron, iron the interlining onto a piece of fabric from the wrong side. There is a sheet of sealant on it.
- We sew the part together, securing it with a longitudinal stitch. We make the seam strictly along the seal, 2-3 mm from the edge.
- Installing a magnetic lock:
- outer part: push back the front part of the cotton flap and lining. We attach the fastener element to the seal;
- internal part: move the seal, place the lock element on the gasket and attach it to the front part of the cotton. We fasten the two prefabricated sides.
- At the part of the wallet where the lock is installed, we round two corners and cut them off. You will get neat, smooth lines on the top cover of the wallet.
Second side of the wallet:
- In advance, we fold the sheets of two rectangular penny bags: the first is 19x17.5 cm, the second is 19x18 cm. We glue the cotton sheets with non-woven fabric and iron them.
- We design the lock, limiting the length of the opening with scraps of fabric: we sew fabric “feet” onto the zipper on each side.
- We fold the assembled pieces of fabric and the zipper along the larger side. We place a 19x18 flap on the front side of the zipper, and the second on the back side. Sew it on. We do the same with the second side. The result will be a figure eight. Turn the pocket inside out.
- We machine sew the pocket to the outside of the wallet, carefully tucking it in.
Ready!
5 interesting ideas for creating a homemade wallet
A beautiful, unusual wallet will become a memorable accessory in your look.
When creating such an attribute for yourself, experiment with shape, volume and design. Some ideas for inspiration:
- Turn to natural fabrics with an ascetic appearance: burlap, coarse linen, etc. This is a trend of recent years, which will be at its peak for a long time.
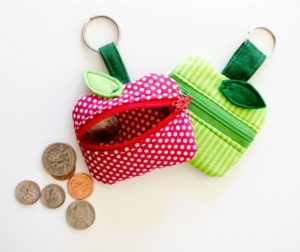
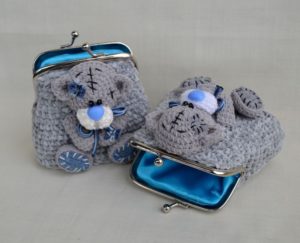
- Knitted wallets are very easy to make in a variety of shapes: strawberry, watermelon slice, lemon slice, etc. It's bright, stylish, catchy.
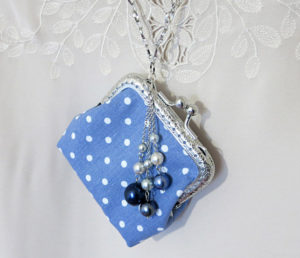
- Coin bags with retro clasp they look win-win and elegant if they are woven from beads or iron staples and rings.
- Delicate vintage look for a change bag will add braid to the design; literally, grandmother’s story is born from such elements.
- Products made of leather, faux leather and suede can be painted by hand using special means for drawing on fabric.
There are a huge number of designs. Choose the one that tells you the most about you, feel free to experiment, creating an exclusive masterpiece!
 0
0