 Modern life is such that even small children need a spacious accessory for their own things. For these purposes, a small backpack is best suited.
But you don’t have to spend money on buying it. It is enough to have basic sewing skills, choose a suitable model and be patient. And you will be able to sew a beautiful accessory with your own hands. You will need a couple of free evenings and a little creative imagination to please your little one with a new look.
We will tell you how to sew a children's backpack with your own hands.
Materials and tools for work
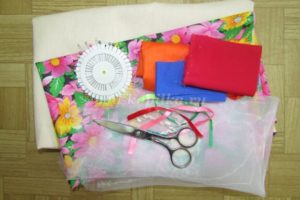
To create a stylish item, you will need to prepare the following materials and tools.
- Main fabric: gabardine, denim, suede or any option of sufficient density.
- Lining fabric: nylon or calico.
- Fixing elements: zippers, buttons and so on.
- Dublerin, non-woven fabric or thin padding polyester depending on the model.
- Pattern paper.
- Sewing machine.
- Pins, thread and scissors.
- Decorative elements.
Reference! The product will look much more interesting if, when sewing, you take two contrasting fabrics as the main material.
Details of the backpack and its pattern
Children's backpacks delight their owners with a variety of options. The number of parts of the item, as well as the pattern used in manufacturing, will entirely depend on the chosen model. We offer patterns for your reference that will help you choose the right model.
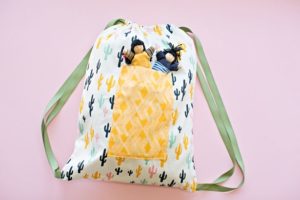
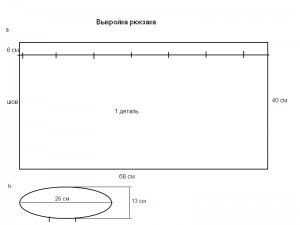
The simplest variation will consist of a base and a solid side piece. A cord is passed through its top and bottom to tie and form straps.
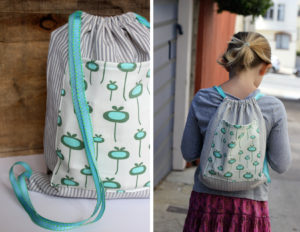
This model is best suited for carrying spare shoes or clothes.
Pattern of a simple product
A more complex version consists of the same parts, but with the addition of a valve.
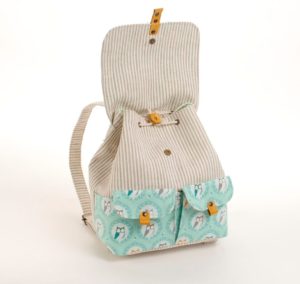
This type is more popular because it is more spacious. You can put your favorite toys or books in it.
Pattern of a model with a valve
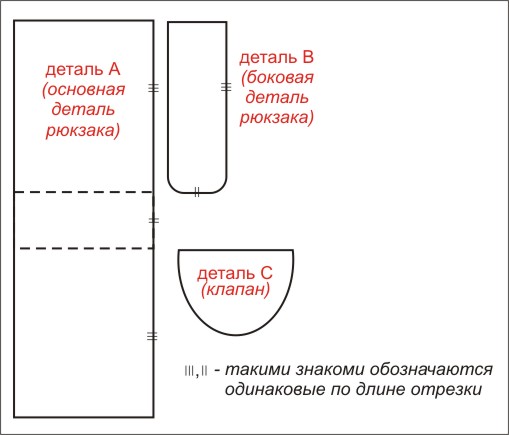
The most difficult thing to sew yourself will be a thing that has many compartments and pockets. When making it, it is necessary not only to correctly cut out all the parts, but also to assemble the entire structure in the correct sequence.
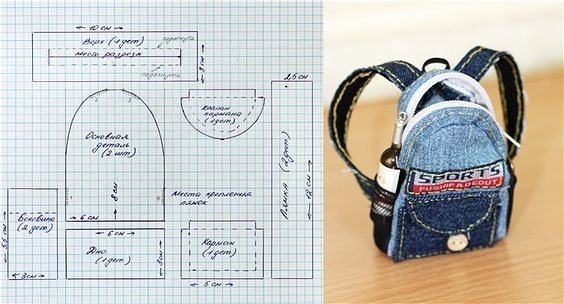
Attention! When cutting fabric, do not forget to add one and a half centimeters to the seam allowances.
Step-by-step sewing instructions
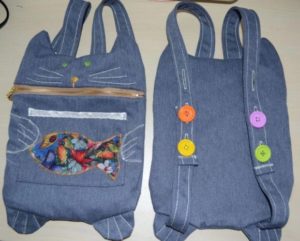
After cutting the parts, you should begin manufacturing the product. To do this, follow the procedure outlined below.
Assembly steps are given for the most complex model. If you choose a simpler one, follow the steps that list the assembly of parts for your option.
- Edging the outer parts (valves, pockets). If necessary install fixing elements on them (zippers, buttons).
- Attach external elements to the planned location (on the front side of the corresponding part).
- Glue the external parts with dublerin or non-woven fabric.
- Sew the side seams of the top.
- Sew the top to the bottom of the backpack.
- Next, sew on the flap.
- Make a lining piece.
- If necessary, strengthen the bottom and insert frame parts into the side walls.
ADVICE. Cardboard, thin plastic or padding polyester can be used as rigid elements.
- Place the interlining piece inside and, aligning its edge with the edge of the outer piece, stitch along the edge with a decorative seam.
- Sew the straps and install the fixing elements.
If necessary, decorate the item with decorative trim.
Product decoration
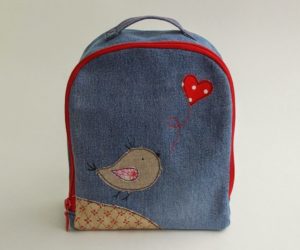
An important step in sewing a children's backpack will be its decoration. You can use a lot of techniques and materials for decoration.
- Embroidery colored threads or ribbons. You can also use beads and sequins to create decorative patterns.
- Applications. They can be sewn or glued to the item. There are also special thermal decals that stick if you iron the surface with a hot iron.
- Artificial flowers. They can be assembled from pieces of leather or scraps of fabric, or crocheted;
- Lace and textiles. Parts made of this material are placed on the top and secured with thread or glue.
I hope our tips will help you please your child with a lovely new thing. After all, to create it, it’s enough to get an unnecessary item out of your old wardrobe and spend a little free time. And also show a little ingenuity. I wish you creative success!


 0
0