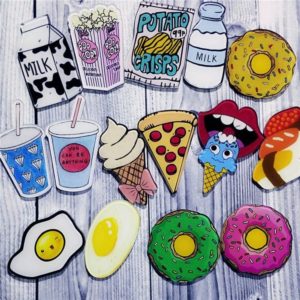
 Each era brings something different to youth trends. Badges have become popular these days. They decorate jeans and backpacks. The badge carries some information that eloquently tells many of the owner’s secrets. His hobbies, inclinations, interests, affiliation with any organization.
Of course, any badge can be bought in a store, but it’s better to make it yourself. Such a thing will be one-piece, unique and unrepeatable, and therefore more valuable.
Fashionable Badge Ideas
First, you need to decide on the idea itself. What it will be like, what will be depicted on it. What is the best way to make it? Currently, various memes, hearts, cars, etc. are popular.
Small badges are attached several at a time. From two or more. They can be worn on outerwear, jeans and denim shorts, but they are more common on backpacks and bags. The following models are quite popular today:
- Morozhenko
- Watermelon slice
- Balloon
- Strawberry
- Palm trees on the island
Such cute things can happen with just a little effort. The technology for their production is quite simple, and each icon will be bright and attractive. There is no shame in giving such things as a gift. The materials for making such things can be paper, cardboard, or plastic.
How to make backpack badges with your own hands
To keep up with trends, you can make a beautiful badge with your favorite hero; this is quite simple to do, and you will need the bare minimum of materials: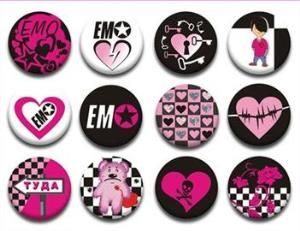
- You need to print out the pictures; it’s better, of course, to make your own drawing;
- Stock up on cardboard;
- You will need PVA glue or a glue gun;
- A pin will be needed;
- You will also need clear varnish.
Glue the printouts onto cardboard, then cut out the design along the outline. Apply varnish to the resulting image. You will need to attach a pin on the reverse side; it is easier to use a glue gun for this.
To make an original plastic decoration, you will need ordinary disposable tableware. Or cake packaging, plastic bottles, etc.
To make the accessory, you will need to select the most transparent plastic that has a smooth surface.
To work we will need the following tools:
- regular scissors;
- hole punch, for making holes;
- markers of different colors;
- acrylic paints and brushes.
In addition, you will need metal chains or pins so that our product can be hung. Any printout can be used as a basis for the ornament. You will only need to make a plastic blank of the required size, place the plastic on the drawing and trace it.
To trace a drawing, it is better to take a permanent marker; it is resistant to erasure. Don't forget about the hole for the chain.To work on badges you need smooth plastic; corrugated surfaces are not suitable for use. You can use regular plastic bottles.
For coloring blanks, ordinary markers are not suitable; you need to use permanent ones. You can also use acrylic paints or nail polish.
The main stage of work is baking. You need to bake in a regular microwave oven. Once the icons are ready, place them on a baking sheet and place them in the oven. Place a parchment sheet on a baking sheet. The temperature should be set between 150 and 160 degrees. The time should not exceed two to three minutes. If you set more, the product will become fragile and become unusable. After undergoing heat treatment, the badges will look very presentable.


 0
0
