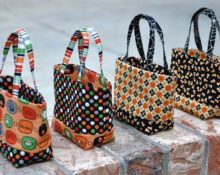
 Only owners of small pets know that a carrier bag for dogs is not pampering or a whim. Even with a little friend weighing 1.5 kg, it is very difficult to carry him in your arms all the time. What if you have to go to the veterinary clinic, for example, for vaccination? Or are you going on a trip? A dog cannot run or be held all the time. She, after all, needs rest and a cozy place.
Therefore, let’s immediately decide that a carrying bag is “not a luxury, but a means of transportation.”
We'll tell you how to make this necessary thing with your own hands.
What you need to make a carrier
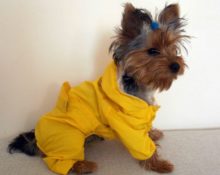
Nowadays, it’s not difficult to buy clothes, not even shoes, much less a bag for dog travel. But different circumstances may arise in which you decide to sew it yourself. Let's do this with us.
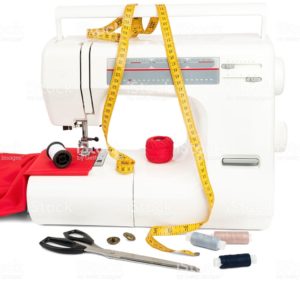
Prepare two types of fabric and sewing supplies.
Materials and tools
For the front side of the handbag, choose the fabric that you visually like.
ADVICE. You can use material from an old jacket or even unwanted jeans.The main thing: the fabric must be durable.
We also recommend considering several factors:
- weather operating conditions;
- water-repellent effect;
- Possibility of good protection from the wind.
To work you will need:
- “breathable” fabric for the top;
- soft and smooth material for the backside;
- threads;
- scissors;
- needle;
- lightning;
- cord and carabiner;
- foam;
- cardboard or plywood to seal the bottom;
- special tape for handles;
- sewing machine.
Constructing a pattern
Since the carrier is sewn for a specific dog, you need to start by measuring it.
Taking measurements
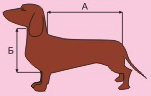
Taking correct measurements is the key to the success of any pattern. Measure chest height from muzzle to base of paws. Label this measurement with the letter B.
Remove length from neck to tail (back). We denote this distance by the letter A.
Drawing
We are making a pattern. 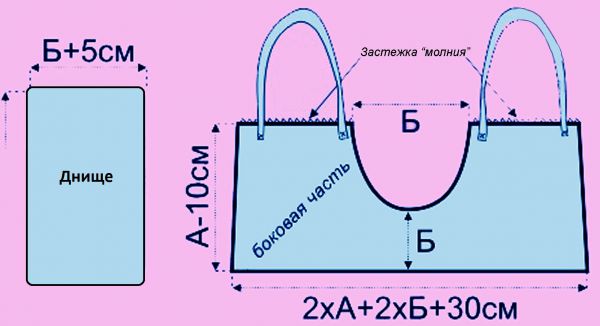
- Draw a rectangle. Its larger side is equal to (A x 2) + (B x 2) + 30 cm. The smaller side = length A, the distance of which is measured from the animal’s neck to its tail.
- Turn the drawn rectangular shape towards you with its large side. Divide it in half with a vertical line. The side walls of the carrier will turn out.
- Building a “window” for the dog’s head. From the bottom of the rectangle, take the vertical measurement. We designated it with the letter B. From the top side to the right and left, mark a distance equal to B: 2.
- Draw an oval line along the three marks. This will be the exit window for the head.
- We outline the bottom of the bag. We draw another rectangular structure: larger side = A + 10 cm, smaller side = B + 5 cm.
The pattern is ready. You can start making the bag.
How to sew a baby carrier

Step-by-step instruction
- Transfer the constructed diagram onto the canvas.
- Cut out the elements from the material chosen for the front and back sides.
- We sew the front and back parts of the sides and the bottom of the carrier.
- The bottom is reinforced with cardboard or plywood.
- If necessary, the side walls of the bag are insulated with foam rubber. Insert it between two (face and back) panels.
- Both parts (bottom and side walls) are sewn together.
- Sew the vertical sides of the side parts. And then we attach the body of the mold to the bottom of the bag.
- We sew the zipper.
- Secure the cord with a carabiner from the inside. This part is a retainer for the dog and is attached to the collar.
- Sew on the handles, the length of which can be adjusted to suit you.
- If desired, add pockets to the bag (they will not be superfluous).
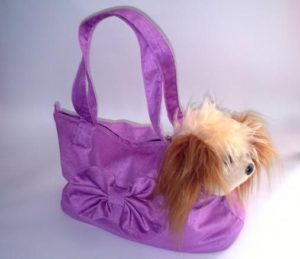
The dog carrier is ready!
And a small addition. You can sew a cover from faux fur using an already created pattern. If necessary, it can be removed. And if the head window is treated with the same fur, your item will have an additional zest!
 0
0