 A classic laptop bag is a much-needed accessory that has both practical and visual benefits. After making a significant investment in purchasing a laptop, it is important to do everything possible to protect it and extend its life.
The bag will come in handy in this case. The owner truly appreciates the importance of using a durable, long-lasting protective laptop bag. We will tell you how to make such an accessory with your own hands.
Model selection
In order to decide what kind of laptop bag should be, you need to consider several points.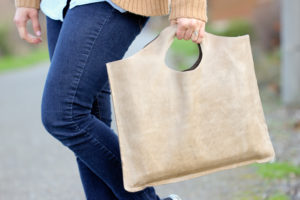
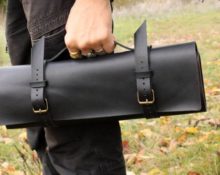
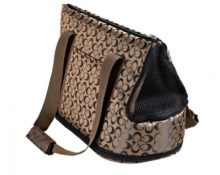
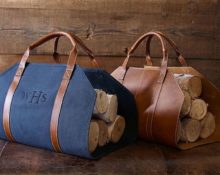
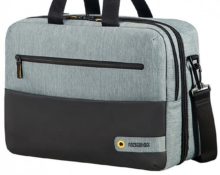
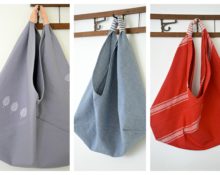
Laptop bags come in different designs. This allows you to meet the needs of both those who prefer bags with a handle and those who carry them over the shoulder. And some prefer models without handles at all or with an attached strap.
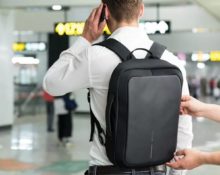
You should think about your purpose and make a bag that suits your needs. People are increasingly carrying their laptops with them almost everywhere they go.
Therefore, before making a case with your own hands, you need to consider several factors:
- product size;
- the presence of a long or short handle;
- which style is best for you;
- Do you need additional compartments?
Having imagined your product in your mind, you can begin to create it.
Materials and tools
- About 0.5 m of dense material (jeans, leatherette, gabardine, crepe, etc.). The size of the canvas may vary slightly depending on the size of your laptop. Take more to be safe.
- Sealant (fleece, dublerin, etc.).
- Lining fabric (cotton, linen, calico, etc.).
- Small pieces of Velcro, zipper.
- Sewing supplies: thread, needles, pins, measuring tape, scissors, sewing machine.
Step-by-step sewing instructions
Simple model
We'll tell you how to sew a simple version of the product. In this case, we can do without even a paper drawing, measurements 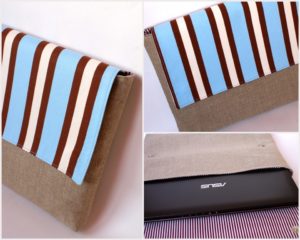 We will do it directly on the material.
- Start by laying your laptop on the fabric to take measurements. You need to cut a piece of fabric that is about 1.5-2 cm wider on each side than your computer.
- Cut 2 pieces for the outside of the bag, and also make blanks for the lining and seal.
- Depending on the desired length of the handles, cut out 2 parts for each of them with a width of 3 to 5 cm.
IMPORTANT! On the lining and seal, seam allowances are kept minimal.
- Then stitch together the internal parts and try them on for your device.
- If desired, you can make an internal pocket. It is better to secure it now, before the sides are stitched.
- Sew the outside.
- Sew the sides of the bag.
- Insert the zipper.
- Sew on the handles.
Other options
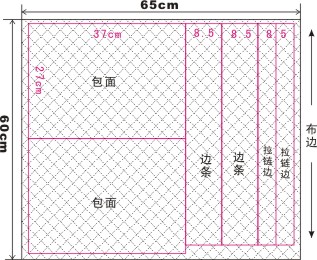
For sewing, you can also use the patterns we offer.
Pattern 1
Pattern 2
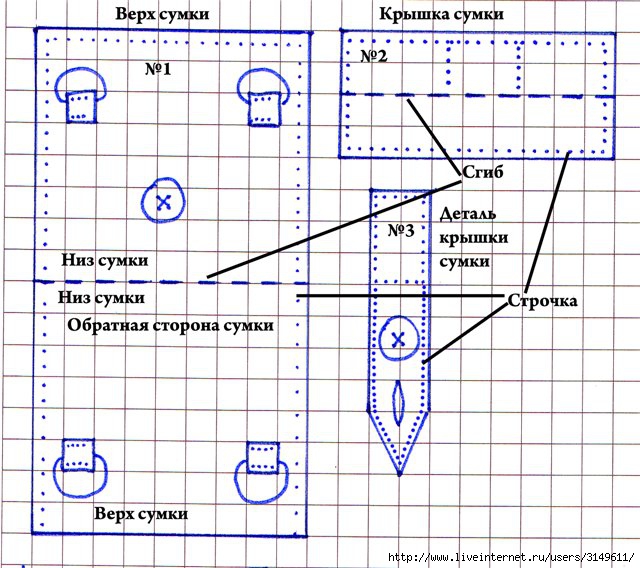
IMPORTANT! Compare the sizes of paper blanks and make the necessary adjustments.
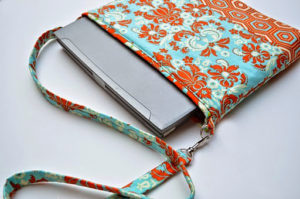
Using a pattern allows you to add individuality to your product. So, if you don't have a zipper on hand, you can make the back panel larger than the front. The additional fabric will become a flap-cover that needs to be secured to the “face” of the product. To do this, you can use Velcro, snaps, buttons or even ties, which will also become a decorative element.
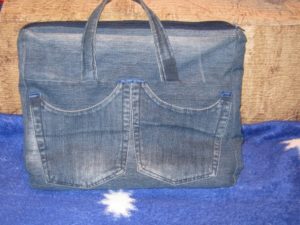
Pockets can be a useful element of a bag. In addition to the internal pocket, you can make 1-2 external pockets. If you are making a product from old jeans, use the pocket that is on the trousers.
Useful tips for making laptop bags
- To make sure everything is perfect when you start, always do the first 1-2 stitches,
 turning the flywheel counterclockwise.
 - To check whether the needle enters the fabric smoothly, watch how the machine handles a given fabric thickness.
- Avoid thread snags, plus be precise about the location of the first stitch.
- Never stop the machine with the needle up and out of the fabric.
- To decorate a women's bag, use appliqués, buttons, and embroidery.
- Make sure the handles are sewn securely to the bag. The results of sudden tearing can be extremely expensive!
- Be careful when handling scissors and needles.
 turning the flywheel counterclockwise.
Get creative and the results will please you!
 0
0