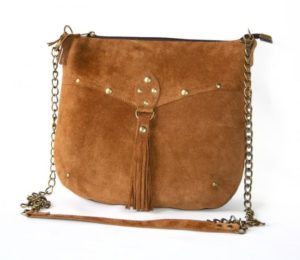
 You can not only buy a bag, but also make it yourself: denim, suede, leather or felt. Suede is one of those materials that will help you create an elegant and fashionable product. If you want to sew a new accessory from suede fabric, you should remember the nuances of tailoring and pattern selection. In the article you will find answers to questions, patterns and photos for creating your own handbag.
What you need for work
It is important to decide on the style and color before starting work, and then find the desired pattern.
Advice! It is better to choose a specimen with a soft shape and simple elements. You can use both the front and back of the material for work.
To make needlework productive, you should enlarge the diagram to a suitable size and print it. It is advisable to modify the drawn plan taking into account your own growth.
To work you will need:
 a piece of suede from 70 to 90 cm;
- a piece of fabric for lining of the same size;
- pattern paper;
- accessories - lock, accessories, fasteners, zippers;
- sewing machine and set of threads;
- masking tape;
- chalk and pen or marker;
- sewing pins;
- scissors;
- clamps.
Attention! Suede is the manufacture of natural leather in an unusual way. It is important to carefully trace and cut out parts, taking into account possible shrinkage of the material. If the material is taken from a former jacket, you need to carefully examine it for scuffs, fading or holes.
Simple model
Details and pattern
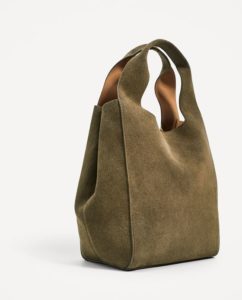
First the base is assembled. All parts are traced according to the template and carefully cut out. It’s better if you can try the template on unnecessary material. To do this, pieces are cut out from old fabric or film, then everything is sewn together according to the pattern. This way you can know in advance where you need to correct the circuit, if necessary.
The main parts of the bag are the following elements:
- Bottom.
- Sides.
- Handles (or straps).
Pattern
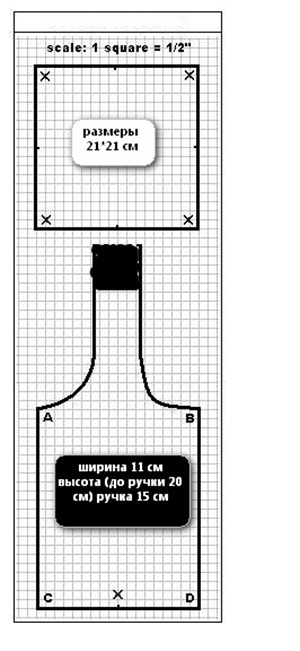
Step-by-step instructions for sewing a suede bag
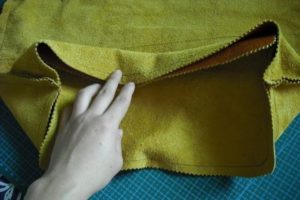 The production of this accessory is divided into several stages:
- preliminary—ruling and cutting out all the details;
- main - tailoring;
- the final step is checking, sewing in zippers and decorating with additional accessories.
Completing of the work
- We apply the template to the fabric from the future wrong side and trace it.
- Cut out all the details.
- Cut out the lining.
- We make folds on each part if they are necessary according to the pattern.
- Sew the elements together.
- We hem and prepare the pocket, if necessary.
- Sew on the pocket.
- We cut out the straps or prepare a place for inserting plastic or wooden handles.
- Sew the inner part inside.
- We turn the item inside out and sew in the handles.
Assembly order
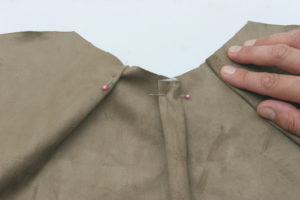 The sides of the bag should be sewn on 4 sides. The seam should be on the wrong side. Then the bottom is sewn, in this case the seam will be on the front side. Afterwards, they sew together what is to be held on.Sometimes it's even a shoulder strap.
It is worth talking separately about closing mechanism handbags.
Important! If it is a magnetic lock, then it must be sewn in before sewing in the second layer.
This way it will not cling and interfere while using the accessory. Before inserting it, it is worth marking a place where it will be convenient.
Zipper bags never go out of style. The main thing is to choose a zipper of a similar color to the main tone of the suede.
Advice! You can also choose a contrasting zipper for your handbag. But in this case it is better if there are several lightning strikes. This way the model will turn into a stylish wardrobe item.
Models of suede bags for DIY production
Most handbags are sewn according to similar simple patterns; the volumes and colors change to suit the individuality of the owner.
For shopping
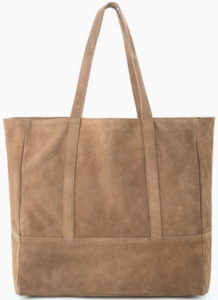
4 rectangles are cut out, a pair for the main sides, a pair for the handles. Then the rectangles are sewn together, and the lining is sewn inside.
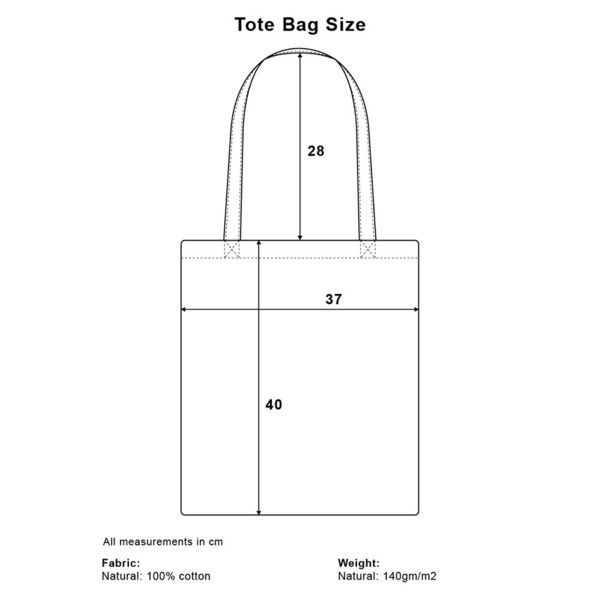
Parts are sewn on top to hold it. Then decorative elements are attached. This makes the most common shopping accessory.
On every day
Instead of two handles, one is sewn on, but it is long. Its length should be enough to hang it on your shoulder or throw it over it. Often these are two rectangles sewn together, or a full-fledged item with a bottom and sides. Fringe, beads, pieces of various fabrics or leather are used as decorative elements.
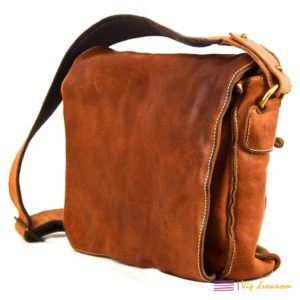
To prevent it from looking like an ordinary bag on your shoulder, you can stitch the bottom corners diagonally. This will make the bottom rectangular. Side panels, if decided to use them, are usually narrow. They are calculated by the height of the side sections of the main elements; the standard width does not exceed 6–8 cm.If you put a more rigid frame on the bottom before sewing in the lining, the specimen will not lose its shape.

Bucket bag
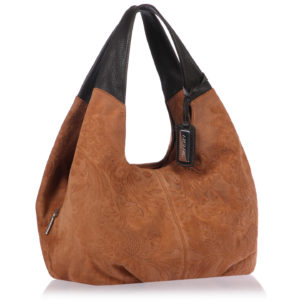
The soft shape with a one-piece shoulder strap is also popular.
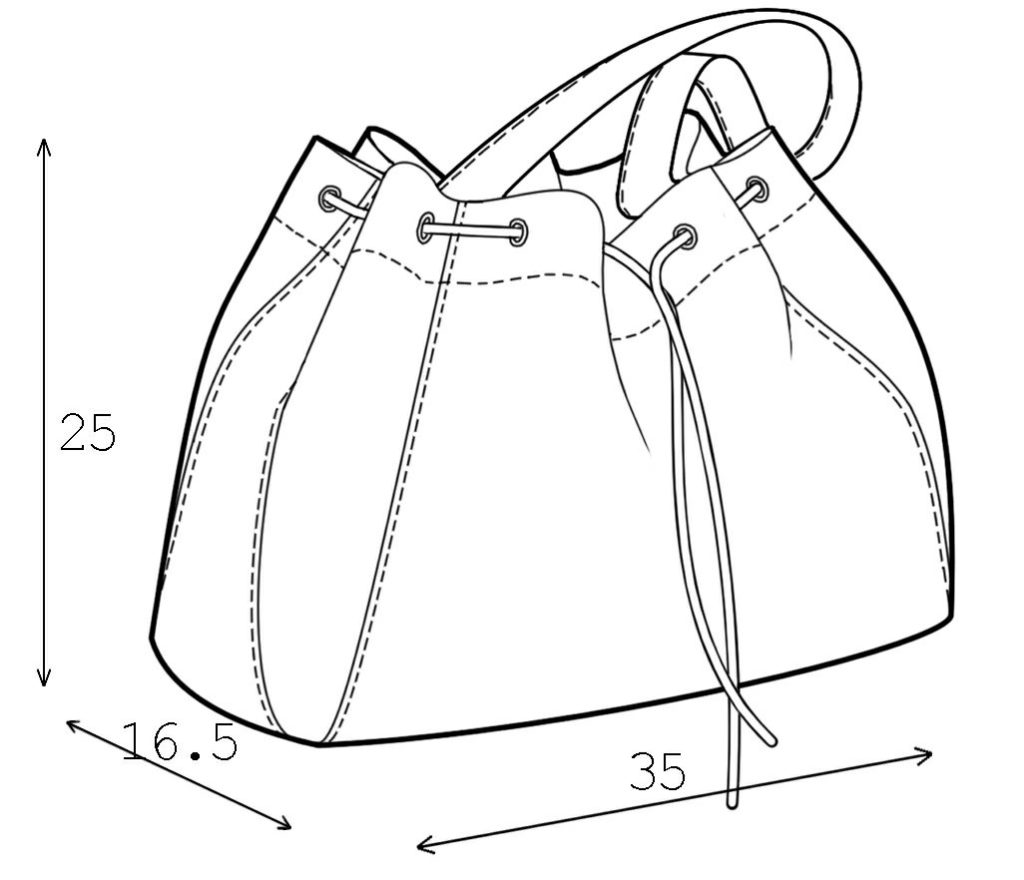
You can use one piece of suede or combine several. In its original form, take 2 rectangles of a suitable size and a long strip of fabric, which will be the bottom of the bag and the strap at the top. The strip is stitched. The seam should be at the corner of the bottom so that it becomes invisible. The rectangles are sewn inside out to the strip, and the lining is sewn in. An additional piece of fabric is sewn to the future handle from the inside to make it double and more durable.


 a piece of suede from 70 to 90 cm;
 0
0


Hello.
I liked your article on sewing a bag, and most importantly your tips. Without these little tips it can sometimes be very difficult. Thank you.