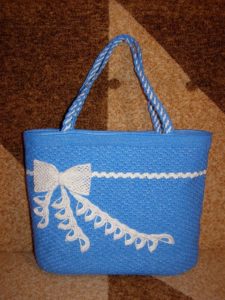
 Plastic bags are useful for more than just throwing away trash. In fact, you can knit unique handbags from them. Moreover, knitted bags will not be so expensive. And it will take virtually no time from the master. You can knit a pretty handbag in just one evening.
We will look in more detail about what is useful for this, using the example of one bag crocheted from plastic bags.
Preparing to knit from bags
You can start crocheting immediately after preparing the stripes and choosing a hook.
How to make polyethylene yarn
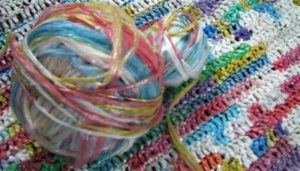
The strips are very easy to prepare. For them You will need to take plastic bags of the same density. You can choose any color, you can have several colors and then make the appropriate combination or even a pattern.
Important! The size and density of the breaks should be the same.
Next, we determine the width of the stripes. No need to make them too thin. There will be no savings, but the work will become very meticulous. After all, you will have to work with a very thin thread.
A product made from a thicker thread will knit faster. But also Stripes that are too wide should not be made, since the hook will constantly get tangled when threading the loop.
Reference. The optimal strip width is about 4 cm.
The most important thing is the cut line. Some novice needlewomen tie them with knots. But they are noticeable, and besides, they are inconvenient when working.
To avoid having to tie plastic tapes, it is better to cut out rings. Therefore, you should straighten the bag and mark lines that will be parallel to the edge of the bag. Cut with the same indentation and strictly parallel to the edge line. Gradually reach the bottom of the bag.
The result is rings, which are then connected into a long chain. The connection occurs when a loop is formed and a second ring is placed there.
It is best to connect many rings at once, so as not to be distracted by such trifles later. To prevent the chain from getting tangled, it must be simply wound into a ball as the rings are connected.
How to choose a hook
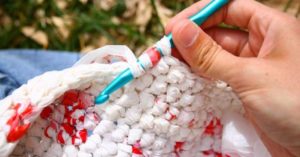
The correct selection of hook size affects the quality of the work performed. With bags this will be a little more difficult than with yarn. The fact is that the manufacturer usually indicates on his skeins the number of knitting needles and the number of hook that are required to make the product.
For packages you will need to select this size yourself. You can use several hooks on a sample and do the work one by one, choosing the most convenient one for knitting.
There is also a special rule for yarn and crochet, and you can simply remember it to create a beautiful bag.
Reference. The yarn for the hook is always twice as thick as its narrowest point.
We knit a bag from bags
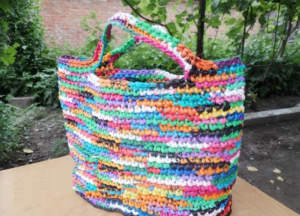
A charming and very bright bag can be made from garbage bags of different colors. This product definitely deserves to be published.The model is comfortable and very durable due to the dense pattern of single crochets.
Materials and tools
To work you will need:
- plastic bags of different colors;
- hook number 3 (will depend on the width of the stripes for polyethylene yarn);
- scissors.
Yarn preparation
For the handbag, you should prepare the yarn in advance, that is, simply cut the plastic bags into strips. The width must be the same so that the canvas is uniform and the whole product does not warp. Then you need to wind the connected rings of polyethylene into a ball.
Running a sample
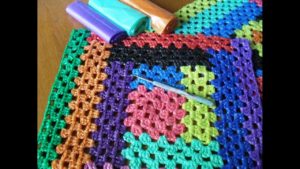
We recommend that you knit a sample before creating the bag. This will not only help you find out the correct hook number, but will also tell you the density. Taking this parameter into account, you can clarify the dimensions of the product. Using ready-made measurements, calculate how many loops are needed for the width and how many rows for the height of the product.
The knitting density is determined as follows.
- You need to knit a small square according to the fabric pattern. In this case, you will need to cast on a chain of 20 loops and knit single crochets in the first and subsequent rows. Knit until you get a square.
- Place a ruler on the finished sample and see how many loops are in 10 cm. And also how many rows are in 10 cm. These two numbers make up the knitting density. Next, a recalculation is made for a specific measurement.
Description of work
We will tell you step by step how to connect the proposed model.
Bottom
The work is carried out according to this scheme.
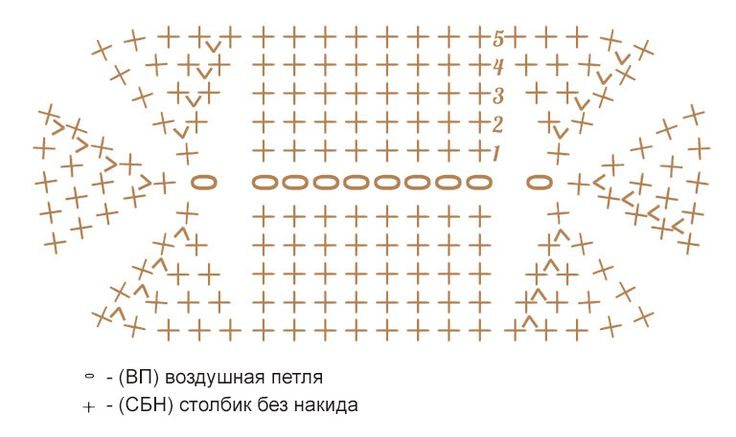
You need to cast on a chain of air loops. Cast on 1/2 of the required length. Taking into account the addition of rows of single crochets. Next, knit according to the pattern with appropriate additions. All increases to create an oval are made at both ends.Knit the required length and then move to the sides of the bag.
Sides
The sides are a continuation of the bottom pattern. But each new row will be identical to the last row of the bottom. That is, there is no need to make any additions or decreases. Due to the identical rows, such a cylinder is obtained.
We knit the required length and start knitting the handles.
Pens
In order to create handles, you must first mark the places where they will be located. Next in the row, make a pass for the required length of the handles in the marked places and Instead of single crochets, knit air loops in these places. To make the handles high, you need to add air loops. And if the gap for the handles was 20 single crochets, then knit 30 chain stitches in this place.
Complete the next three rows with single crochets and knit one crochet into each chain stitch.
So the bright new product is ready.
Useful tips for knitting bags from bags
- Knitting requires attention! If you make a mistake, it is better to immediately undo part of the work in order to return and make the correct loops. One wrong loop can warp the entire bag.
- Be careful when cutting strips. Their equal width affects the result.
- Videos posted on the Internet will help beginning needlewomen. They clearly show all stages of the work.
- Don’t be afraid to experiment, use different colors and all kinds of patterns to create your own unique model.


 0
0