 The bag was originally created for convenient transportation of personal items. Phone, wallet and other documents. A package can handle this, but is it really that beautiful? Therefore, girls want to choose completely unusual models in the store. Stand out and get a very good product.
The most creative handbags can be those created by a knitting master. Because these are definitely unique things. Excellent patterns are obtained only with the help of a crochet hook and ribbon yarn. But you can decorate them to your taste and color.
Selection of ribbon and hook yarn
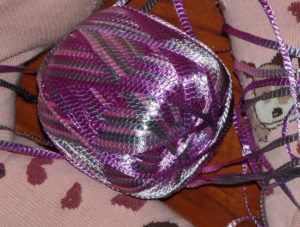 Ribbon yarn can have different thicknesses and therefore, depending on the density of the wall of the future handbag, you need to choose the most suitable model.
The colors are simply endless and this is also the master’s preference.
The hook for ribbon yarn starts from number 3. Depending on the thickness of the thread, it can be numbers 5 or 6.
The yarn always has instructions on which crochet to use.
Sample
Despite its small size, the handbag will also require precise calculation.A small sample will help you make the loops. A small square fabric is knitted to count how many loops and how many rows there are in 10 cm. Therefore, it is enough to cast on not so many loops to get a square of just over 10 cm.
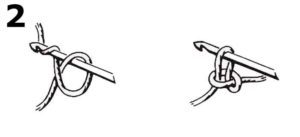
Set of first crochet stitches
Two numbers (the number of loops and rows) will determine the knitting density.
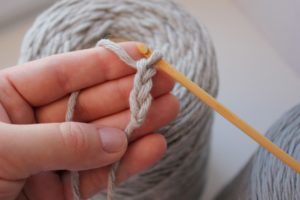
Set of 1st crochet chain
Then simply recalculate according to the measurements of the intended product and convert cm into loops and rows.
Crochet round bag step by step
To make it clearer, we will now consider two models of such handbags with diagrams and a good step-by-step description of the entire manufacturing process. The most convenient thing is that the finished model is also provided.
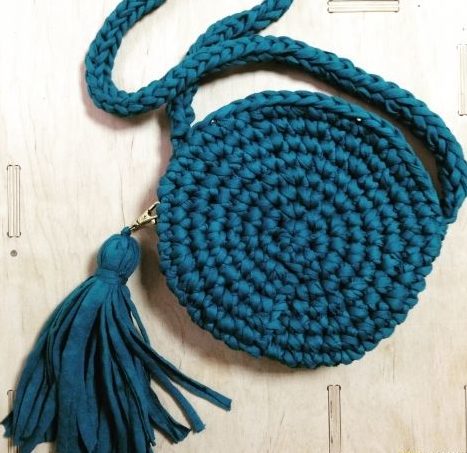 Rows have been calculated for each handbag and therefore it will be possible to knit this product even for beginners who are not yet ready to create their own patterns. Very simple and decent models that have good capacity.
Burgundy crochet bag in the shape of a circle
The appetizing model and rich color simply do not allow you to refuse to create it. Elegant clasps and a classic belt make it more feminine. The black leather strap and burgundy thread go perfectly together.
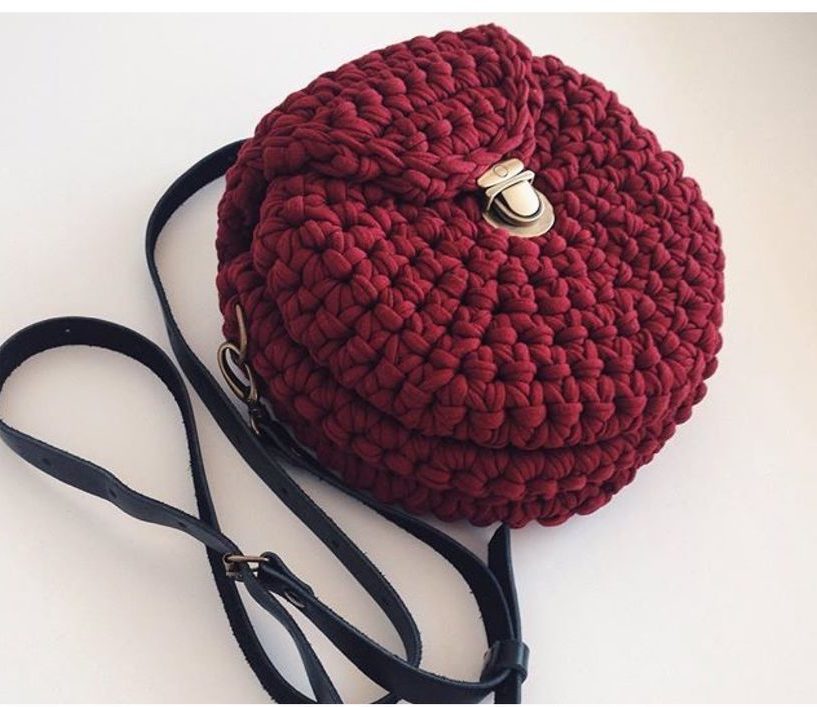 To work you will need:
- burgundy ribbon yarn;
- hook according to the thickness of the thread;
- clasp;
- strap.
Front side
The front and back sides are similar and represent two circles. But the last two rows according to the pattern are knitted without adding loops. The rear model also features a small scent tag.
According to the indicated pattern, you need to cast on the loops of the ring and perform rows with additions. In total you need to make 6 rows. Next, repeat the last 6th row 2 times. This must be done without any additions and the result will be a small side wall of the bag.
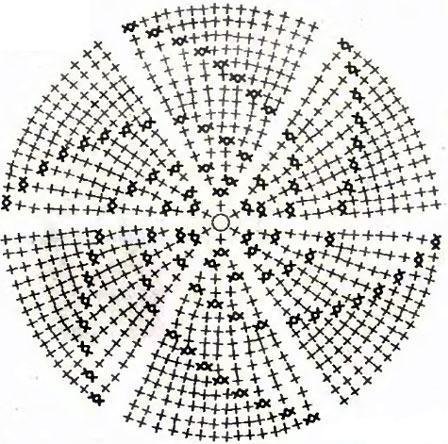 Backside
For the back side, make a circle similar to the front. But knit 14 loops further into the tag. According to the following scheme:
- 14;
- 12;
- 10;
- 8;
- 6;
- 5.
There should be a total of 6 rows of labels.
Assembly
Open the tab on the back side and sew the front circle to the back circle, it is better to use ribbon yarn to join the parts. Leave a small slot for the bag where the tag is located. Then all that remains is to secure the clasp and strap for the purse.
Crochet round bag
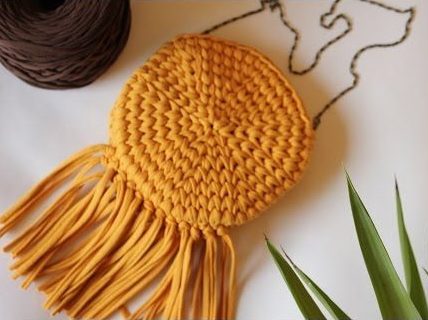
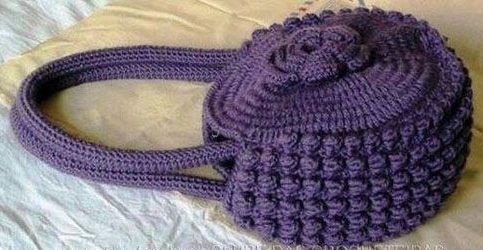
An interesting model of a handbag with smooth round sides will definitely please a lady. For this product, the gray color of the ribbon yarn was used, but you can choose brighter shades for it. This chic product is complemented by a neat and thin chain of armor weaving.
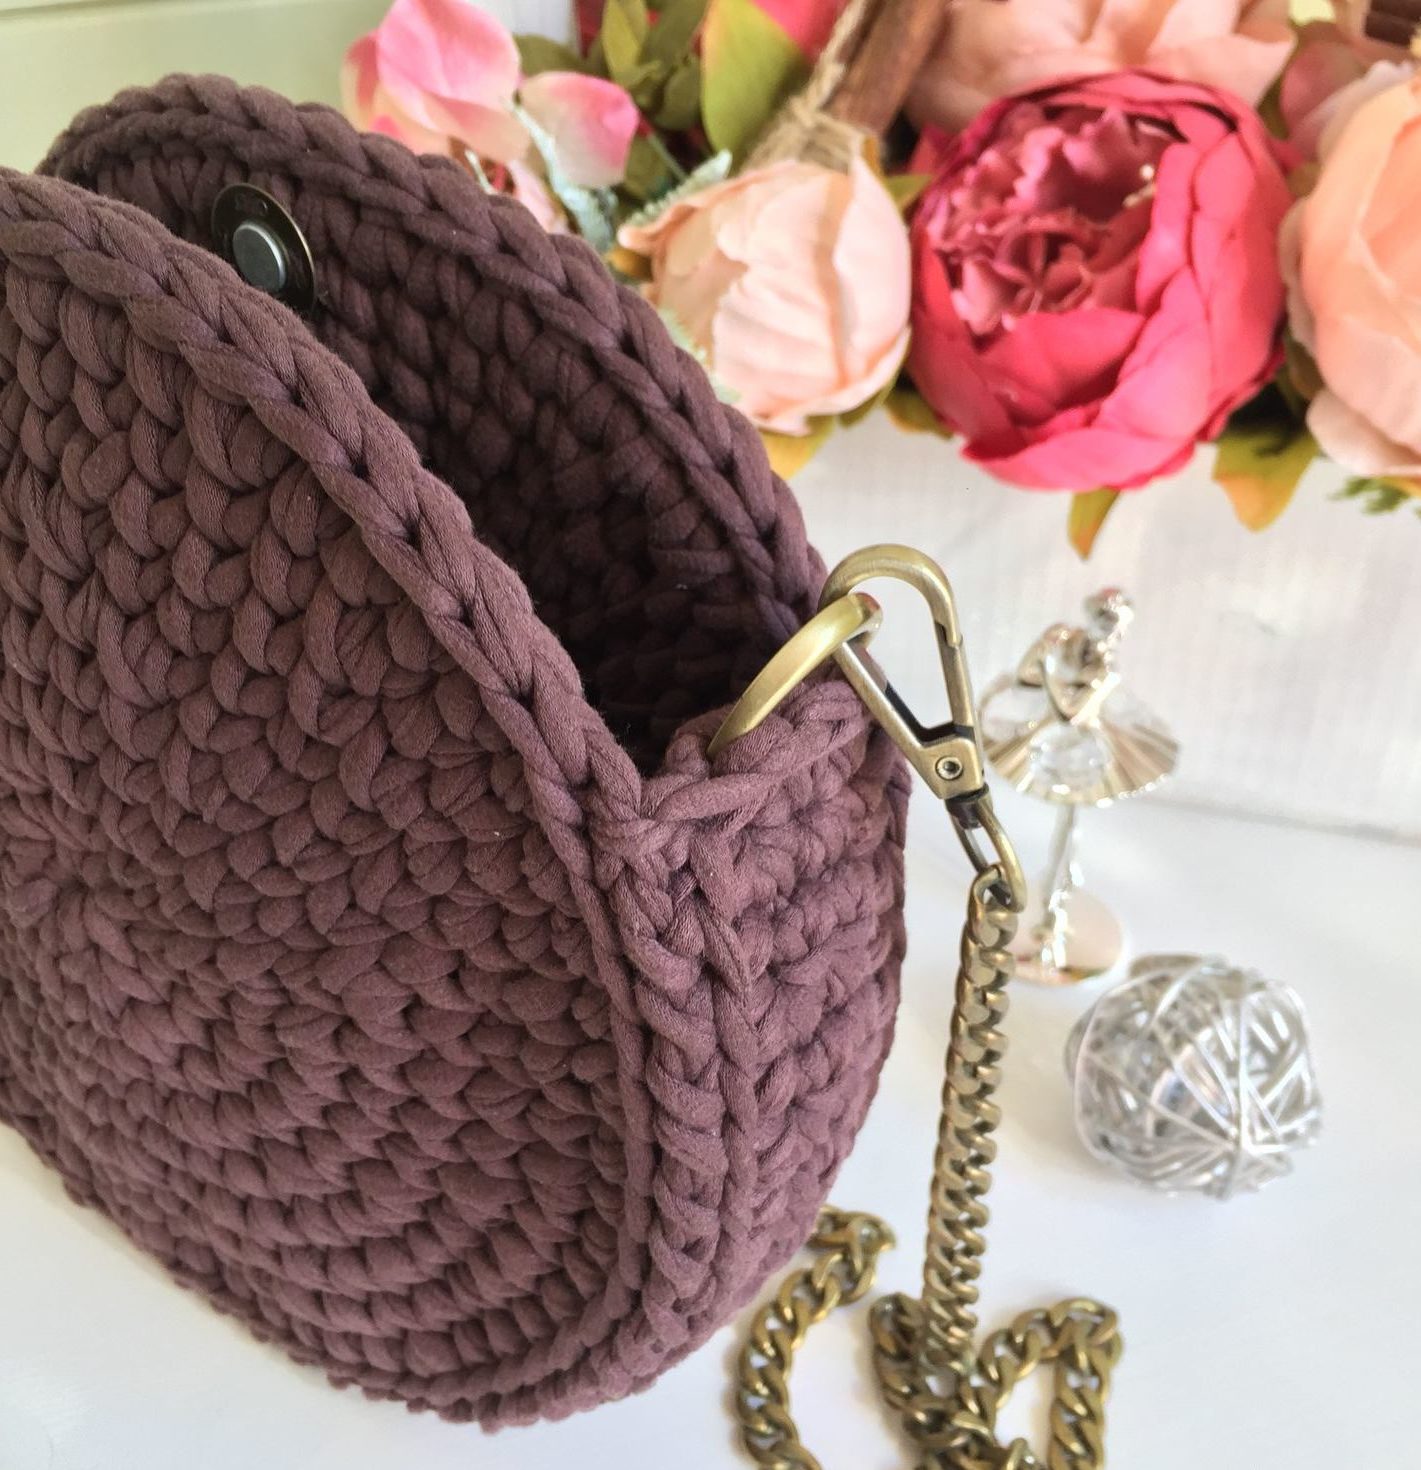 To work you will need:
- gray ribbon yarn;
- hook according to the thickness of the ribbon yarn;
- armor chain with clasps;
- lock (magnetic).
Sample
Knit a small sample and see how many columns and rows there are in 10 cm. That is, we will first determine the density of the knitting and then translate it for the required size of the handbag.
 Side parts
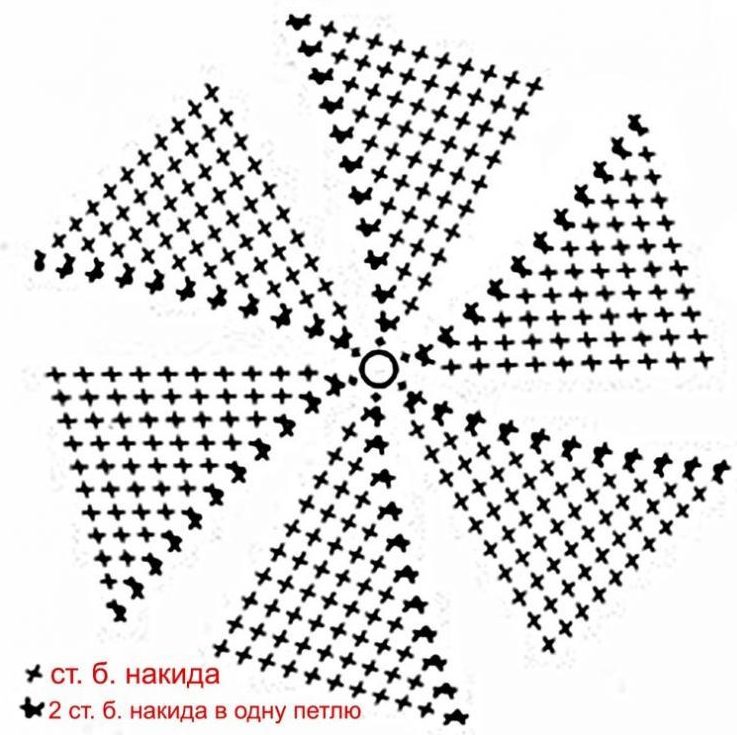
The sides completely match in size and weaving pattern. They should be connected from the center to the periphery, taking into account the additions from the diagram. Knit two identical circles. About 11 rows are used to create one circle. You can make it smaller, then the handbag will turn out to be very small. But you shouldn't make the circles too big. They will require additional lining and frame base.
Cut line designation
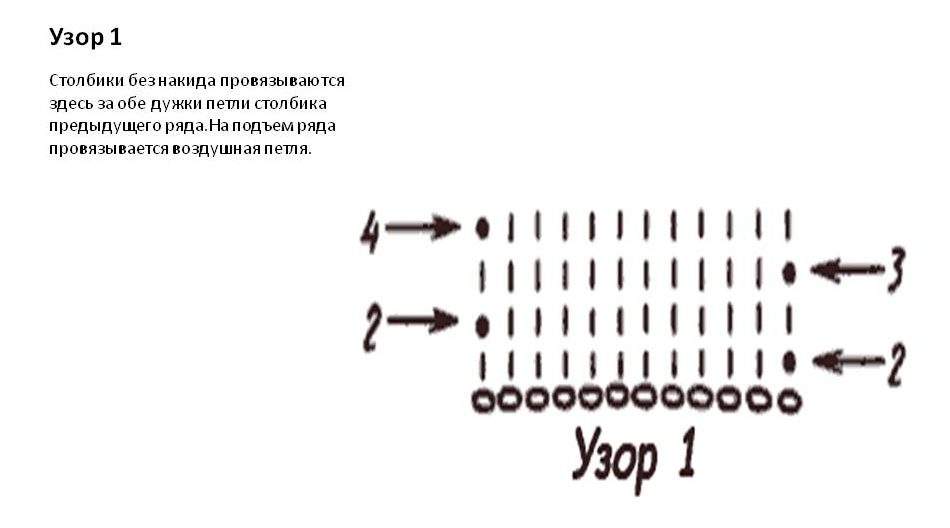
In order to mark the cutout line, it is necessary to divide each circle into two equal parts and draw the diameter. Mark the dots and connect the two circles with the wrong sides facing each other. Then take a hook and start knitting the fabric from one circle to another.From one point to another. Knit the fabric and at the same time connect the circles together. There should always be 3 single crochets between the circles. The connection will occur in the first and fifth column. Knit the distance between the marked points and finish knitting.
 Locks
Locks
Attach a magnetic lock to the product inside the circles exactly in the middle of the cutout, retreating 1-1.5 cm from the edge. Next, secure the chain to the clasps in the middle of the neckline.
The new product is ready. But you can decorate it at your own discretion. This could be interesting embroidery or rhinestone applique. Something voluminous in the technique of ribbon embroidery.
Important! Such bags can also be made with lining. For it, you can choose a plain fabric or with a bright print. For lining, you can additionally make a secret pocket with a zipper. This will make the handbag more convenient for the owner.
The lining itself is usually sewn ready-made and along the neckline of the bag. The big advantage of it is that the product will retain its original shape for a long time.
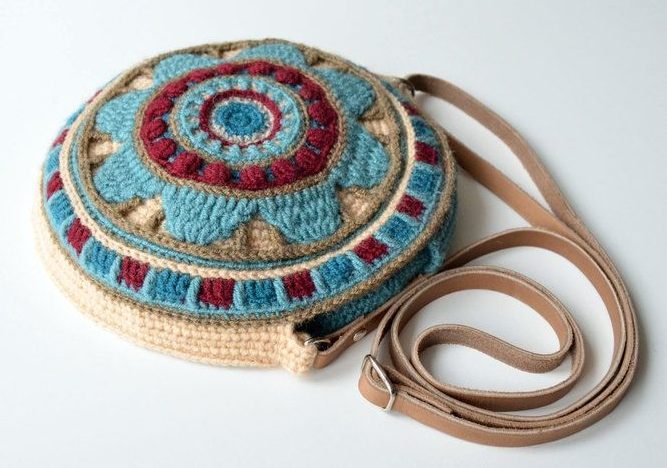 Such handbags with chains and interesting metal locks look very elegant.. For decoration, you can use, in addition to various types of embroidery, ordinary brooches that have been collecting dust in the closet for so long.
 These beautiful and very simple products can be made from ribbon yarn, even if you are a beginner. Do it with useful tips and the best.


 0
0