 The product is very charming, but such a simple accessory has its own complicated and very interesting history. We have already heard about femoir. It often seems strange to us why the clasps for a necklace can be called the same, why the necklace itself can be called a femoire.
And there is even a carpentry tool with a similar name. Everything is very simple. The fact is that the French word “femoire” translates to close. That's all the strangeness of his versatility.
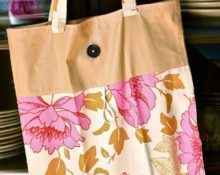
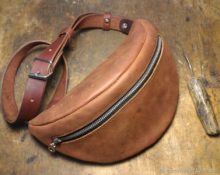
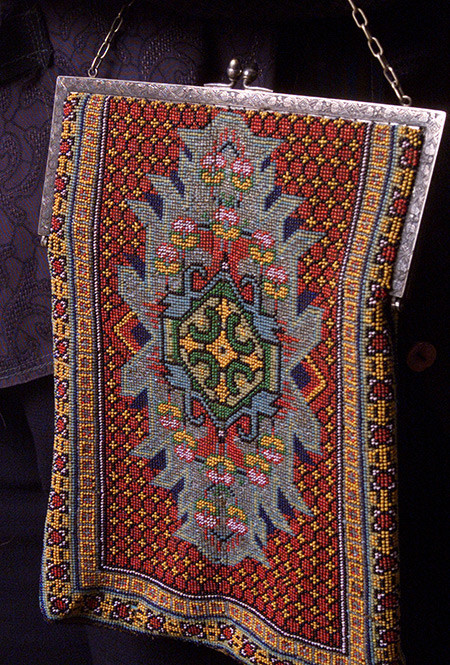
An equally interesting fact in the history of the handbag itself is that initially there were wallets with such clasps. Moreover, simple beggars wore them on their belts. In the photo you can see approximately what such models looked like.
From the wallet, the femoire reached the handbag and they were already in the hands of the rich class, and even from the handbag one could determine how wealthy this young lady is. Currently, such unusual models of handbags, especially clutches, are becoming popular. But the lady is not averse to purchasing wallets with femoires.
Types of bags with a clasp
Handbags of this type may differ not only in design solutions. They can be of different sizes, which will directly depend on the size of the fastener itself. Since femoir may be inshaped, rounded, wavy or even square, then the shape of the product may vary.
Luxurious clutches, long bags, mini-handbags and many different solutions with one clasp. What experienced craftsmen have not come up with for such interesting handbags. Models with and without lining. Models with different assemblies In general, they can make a handbag more magnificent and spacious.
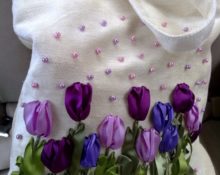
Products made from different fabrics have proven to be very popular this season. You can use materials that are different not only in color, but also in texture.
Master class on creating a pattern for a bag with a clasp
For the product you will need to choose the sizes that fit the size of the fastener. This model demonstrates this clearly, how to draw a good top line and how to make pattern construction easier, which even a beginner can handle.
To work you will need:
- drawing paper;
- ruler;
- pencil;
- scissors.
Stage: wide side
In order to make patterns for wide sides, you must first measure the fastener itself. The length is needed and it is measured from corner to corner of the bend. This measurement is shown in the figure. The drawing begins with this size.
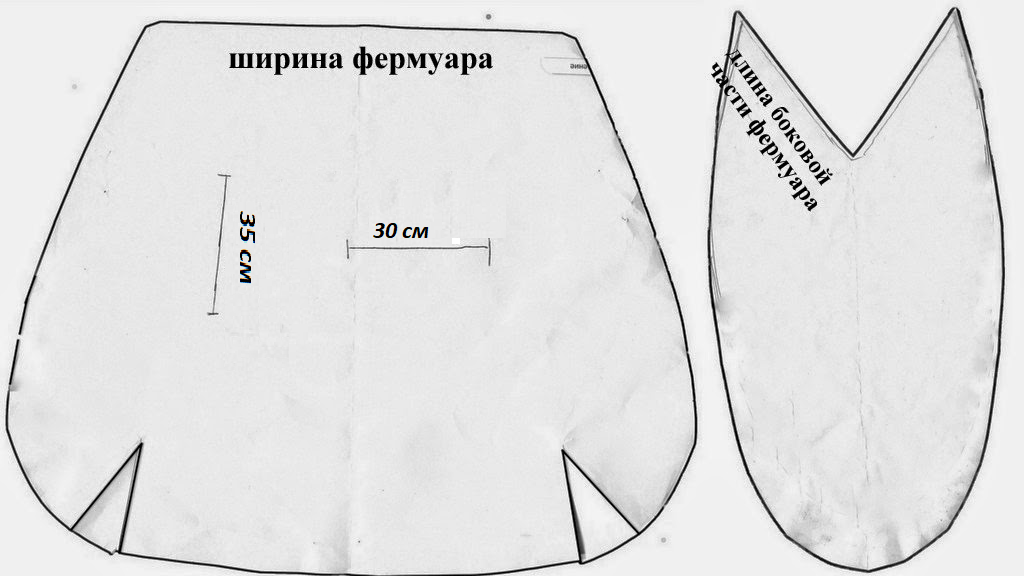
Important! The drawing should not be placed in the center of the paper. To save space, you should move it to one corner and start building closer to the edge. But take into account a slight expansion of the pattern and an increase in seams.
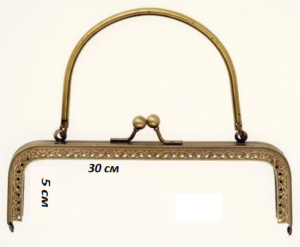
- The presented pattern is designed for a product size of 30 cm. That is, the lock has a length of 30 cm.
- We drew a line of 30 cm along the edge and retreated 5 cm from the edge.
- Next, a perpendicular 35 cm long was lowered down.This will be the length of the product (bag down). If you take into account the length after stitching, you will get about 33 cm. The second perpendicular was released from the adjacent point of the upper segment and also 35 cm was set aside.
- We connected two points at the bottom and continued the line to expand the handbag to the sides. It is necessary to expand by 5 cm on each side and the product along the bottom edge will no longer be 30 cm, but 40 cm. But be sure to make these lines smooth and rounded.
- We outlined all the resulting lines thicker. But you shouldn’t cut it out yet, as you still need to make small darts.
Important! In this model, it is very important to make two darts at the bottom of the wide sides, since after making it with the sides it will be impossible to sew on without gathering. This model does not include any assembly.
- For a dart, draw 2 cm from the center from the point of the perpendicular lowered for the bottom line and draw two circles with a radius of 5 cm from the resulting points. Make a mark at the intersection point. Now connect the intersection point of the circles inside the bag and the dart point. One dart is ready and the second one should be drawn in the same way as the first.
Stage: side parts
- Build side parts 35 cm long. Make them almost oval in shape.
- For the lock, you will need to measure the length of the side piece of the femoire.
- From the top points of the pattern, construct two circles with a radius along the length of this indicator.
- At the intersection point, which will be located inside the pattern, there will be another point and it will be necessary to connect it first with the right, then with the left point. As a result, the pattern will look like a partial oval with a cutout for the femoire.
- After constructing the patterns, you can cut them out.
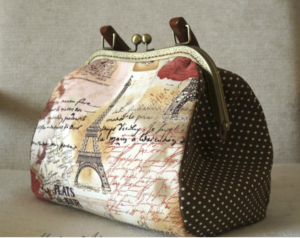
How to sew a bag with a clasp with your own hands
Sewing a bag with femoir is very simple.It is important to construct the pattern, which can take a lot of time. A correctly constructed pattern is more than half the battle.
To work you will need:
- femoir clasp with sizes 30 and 5 cm;
- dense fabric (two colors);
- lining fabric;
- ready-made patterns on paper;
- scissors;
- chalk;
- needles and threads;
- sewing machine.
Stage: cut
The patterns were drawn using special crayons on the selected materials. We immediately noted the patterns on the lining fabric, since the lining should follow the contours of the entire product. Everything has been checked and you can cut it out.
Stage: stitching
It is more convenient to sew by hand first and do it without haste, so as not to get bunches and uneven seams. This must be done using a contrasting thread.
Stage: machine seam
If everything turned out smoothly, then you can start stitching on a typewriter. There is no need to sew in the lining yet; it will need to be connected together with the fastener.
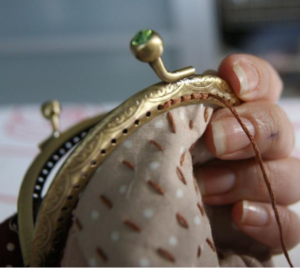
Stage: castle
Attach the femoir to the product and you can start stitching. A lining was placed inside and fabric folds were made. This way you can make the seams very invisible, and the threads will not stick out. Sew through special holes on the lock.
So the fashionable novelty is ready. It’s not that difficult to sew a bag with femoire with your own hands. Therefore, put all fears aside and quickly get to work.
 1
1