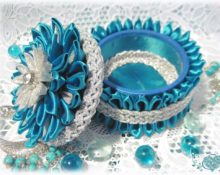
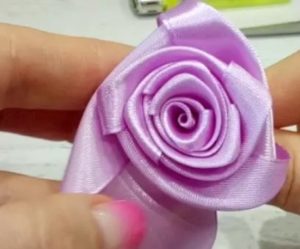
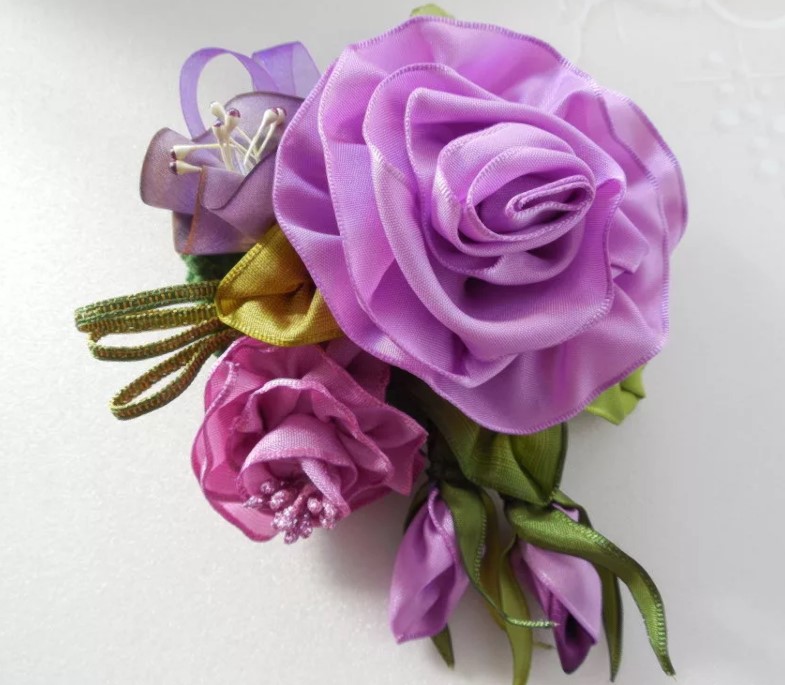
 One of the most feminine and A brooch is considered an elegant accessory. An original decoration of this kind can significantly transform even the most boring and inexpressive elements of your wardrobe. Brooches made from satin look very attractive. But in stores, sometimes it can be quite difficult to choose from the assortment presented there an item that best suits individual preferences.
In order for such an item to fully meet your expectations, it is better to make (sew) it with your own hands.
Required materials and tools
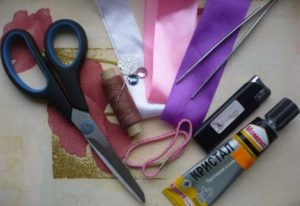 To make jewelry of this kind you will need to prepare:
- satin ribbons of various shades;
- fastening (the best option is metal);
- sharp scissors;
- measuring tape or ruler;
- glue in a tube or glue gun;
- needle and thread;
- lighter or soldering iron for finishing edges.
Beautiful brooch made of satin ribbons with your own hands
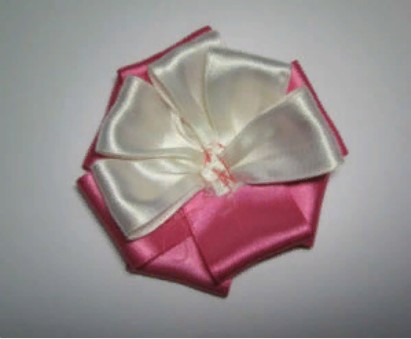
Tools and materials: pink and cream ribbons, medium-width light pink lace, felt circle, needle and thread, scissors, fasteners, beads of different sizes.
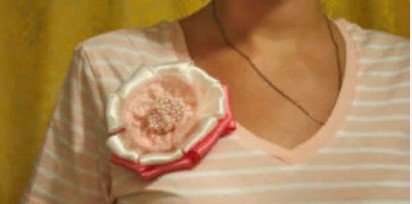 Technique:
- from the pink strip you need to create 8 parts of equal length;
- fold two of them in half and lay them out perpendicular to each other;
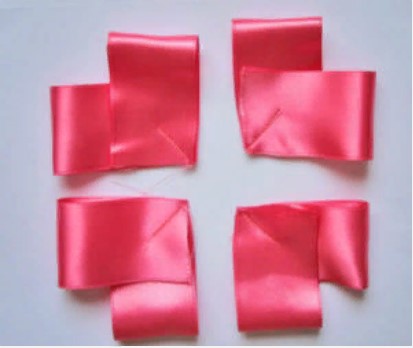
- stitch at an angle of 45 degrees to fix the selected position of the elements (a total of 4 such blanks need to be made);
- place the resulting fragments one on top of the other in the shape of a cross (the last two fragments must be overlapped so that there are no empty spaces in the corners);
- fix the workpiece in the center with stitches;
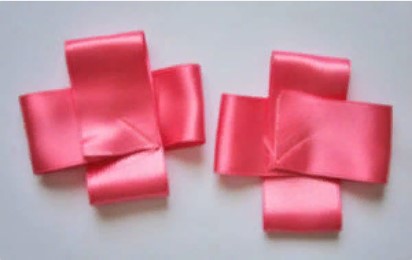
- apply cream-colored material to pink parts and determine the appropriate length for light elements;
- make 8 identical stripes and carefully form petals from them (same as in the photo);
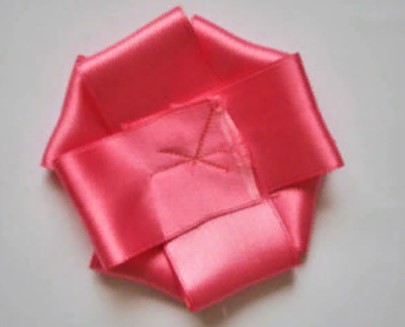
- each similar element must be sewn to a pink layer;
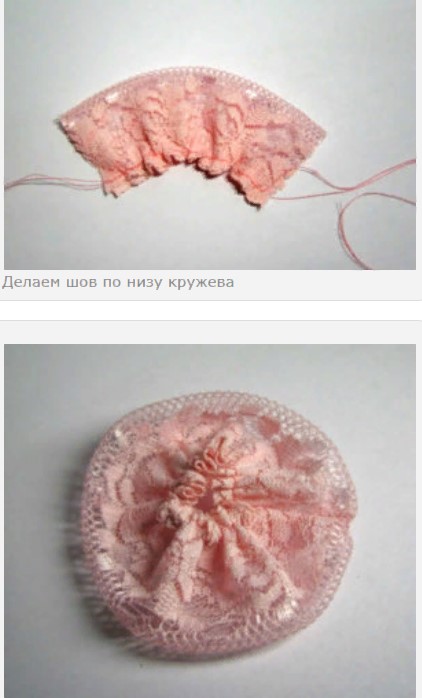
- fold the lace in half, place a seam at the bottom “forward with the needle” and pull it together, forming a small circle;
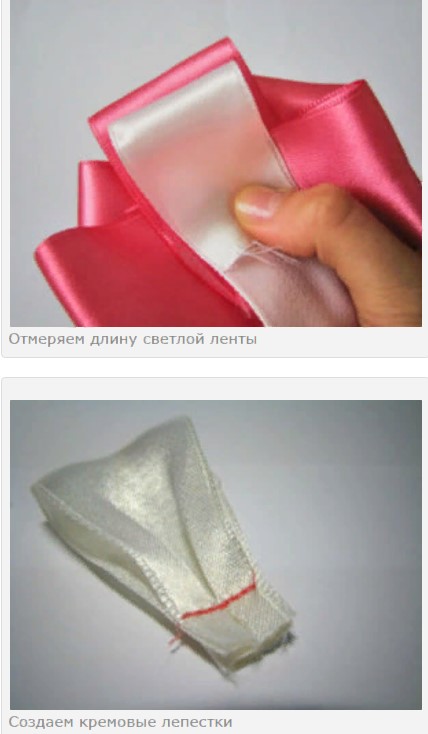
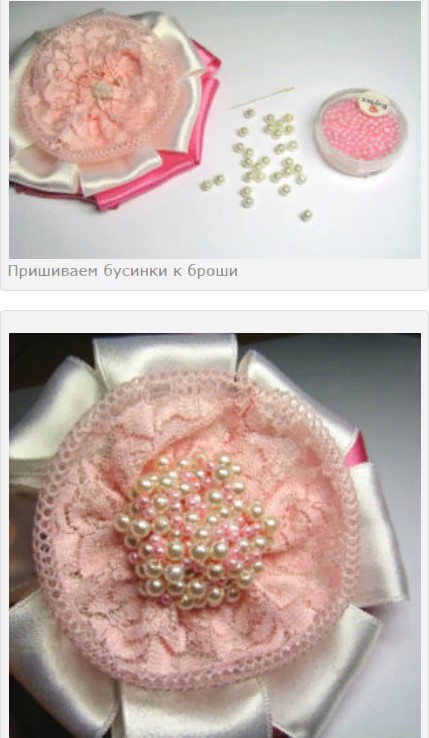
- sew a lace circle to the workpiece and decorate the middle of the product with beads, sewing them in random order;
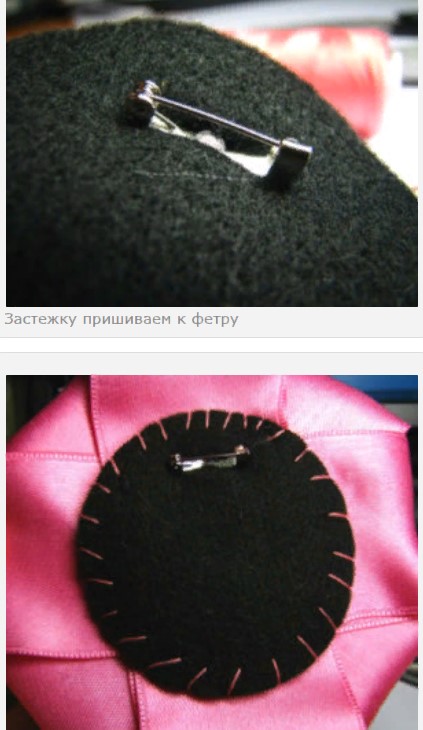
- Attach a clasp to the felt circle and sew it to the product from the inside out.
Various techniques
Many different methods are used to make such accessories. To make your own brooch, you can use one of the step-by-step instructions below as a basis.
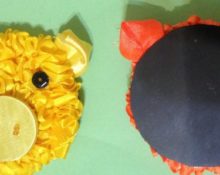
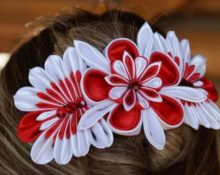
Kanzashi
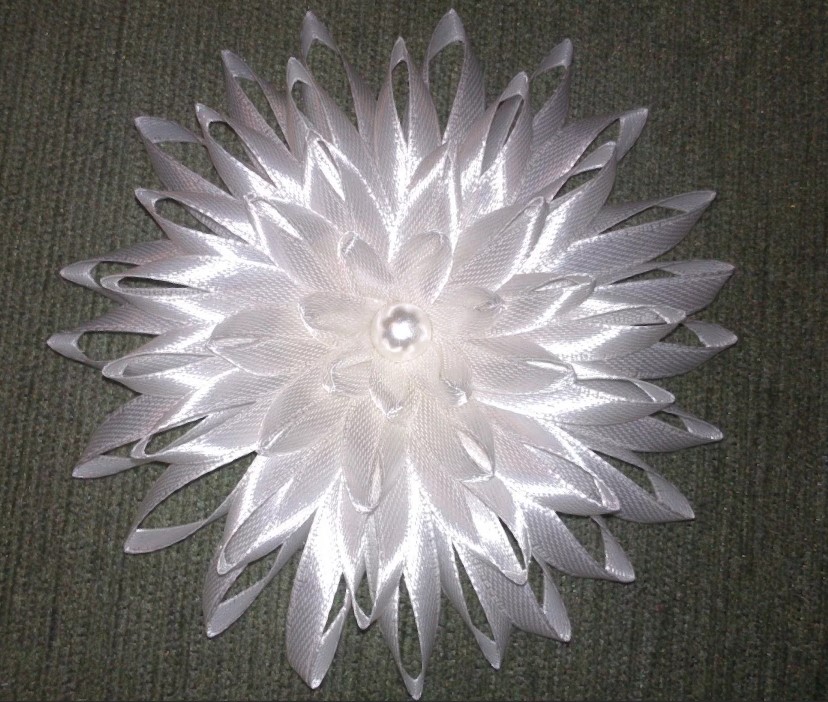
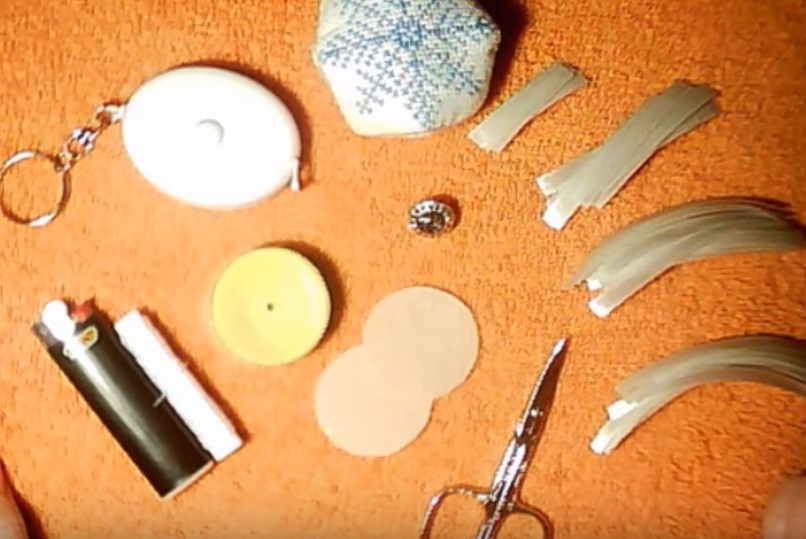
To create this version of a brooch, you need to prepare: 4.5 m of tape 0.5 cm thick, a ruler, 2 small felt circles of the same size, a large bead, a lighter, a clasp, a needle and thread.
 Execution order:
- make 20 pieces of tape 9 cm each, 15 8 cm each, 10 6 cm each and 7 4 cm each;
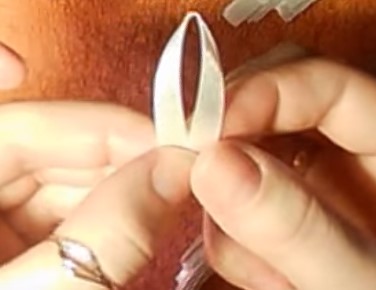
- make a petal out of one, folding it in half, pressing it slightly at the fold and turning the edges towards you;
- similarly form parts in the form of petals from all remaining parts and carefully singe the ends;
- sheathe one circle of felt around the circumference with large petals, retreating 2 mm from the edge;
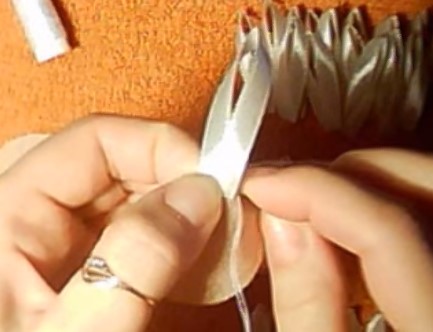
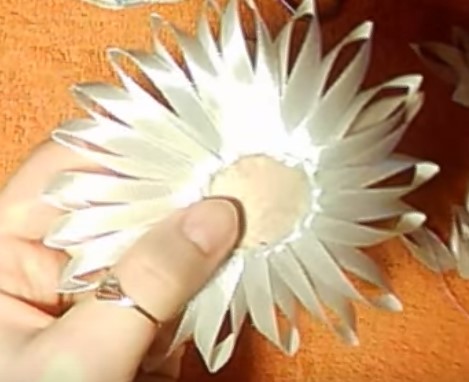
- Sew a second row of the same medium-sized parts a little closer to the center of the circle;
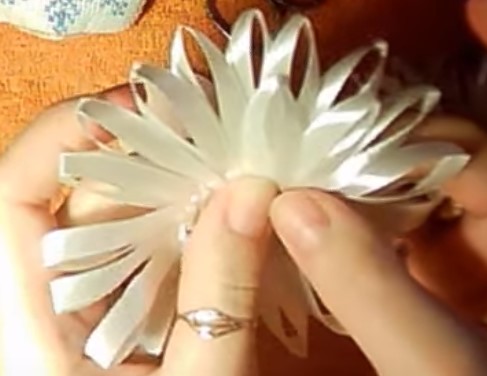
- gradually moving closer to the center of the circle, sew first the third row, and then the fourth (from the smallest parts);
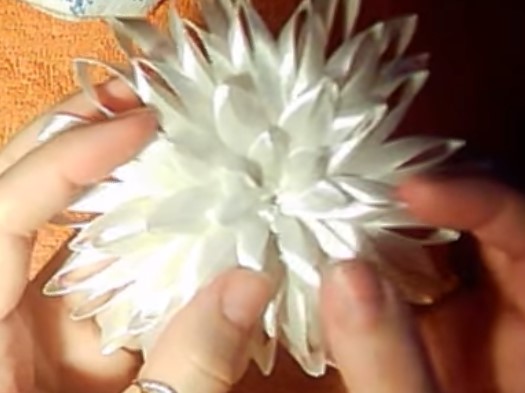
- glue a large bead in the center;
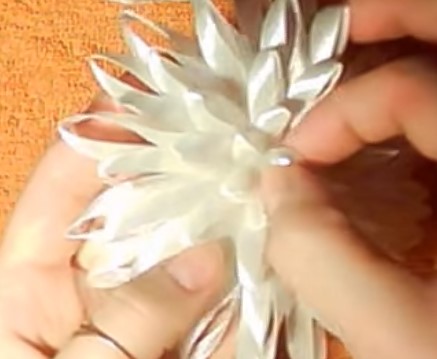
- disguise the seams by sewing a second circle of felt on the wrong side of the product (to prevent a void from forming in the center, it is necessary to lay a “forward needle” seam in the middle, sewing 2 felt circles at the same time);
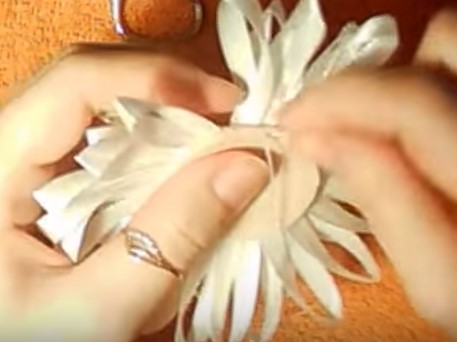
- attach a clasp on the wrong side in the center of the circle.
The brooch with openwork petals is ready.
Advice! It is recommended to store jewelry made from this material in a drawer or closed box, since the color may fade if exposed to direct sunlight.
Brooch tie
To make such an accessory, it is recommended to prepare cuts of lace 2.5 cm and 4 cm wide, satin ribbons (blue 4 cm wide and dark blue 2.5 cm wide).
 As well as a flower, a ruler, sharp scissors, a glue gun, a needle and thread of the appropriate color, a piece of felt and a suitable fastener for the finished product.
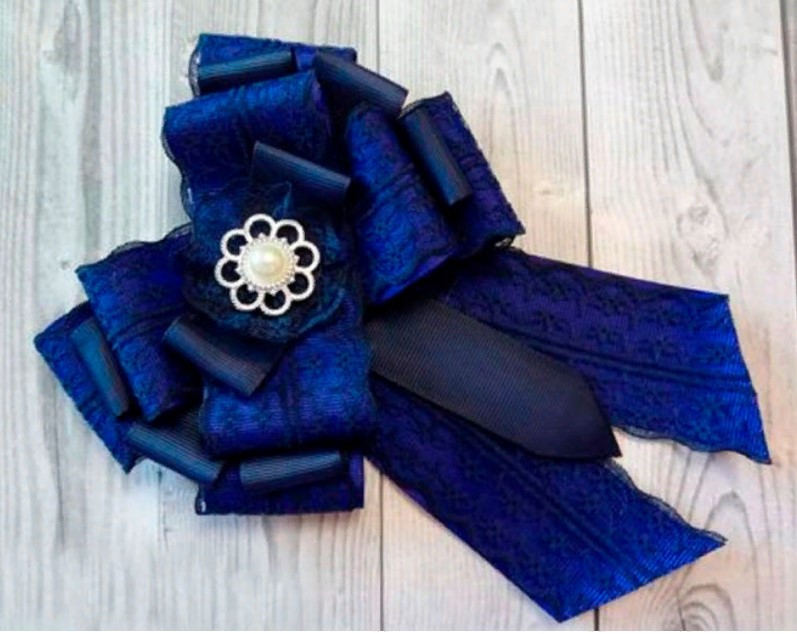 Technique:
- you need to cut out 4 fragments of satin and lace measuring 4x13 cm;
- the fragments should be combined, then loops should be made and secured with glue;
- 4 loops need to be gathered into a bow and secured with glue;
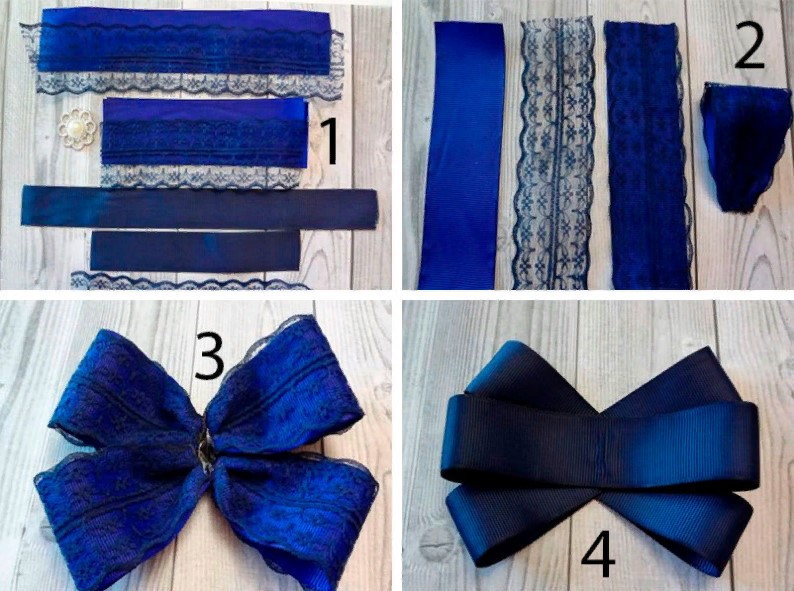
- then you should prepare 3 parts from satin measuring 2.5x24 cm;
- each element must be bent on both sides, aligning the ends in the middle and fastening with hot glue;
- The 3 resulting parts need to be assembled into a bow and secured with glue;
- then you need to prepare 2 parts of satin and lace measuring 4x20 cm and assemble a bow;
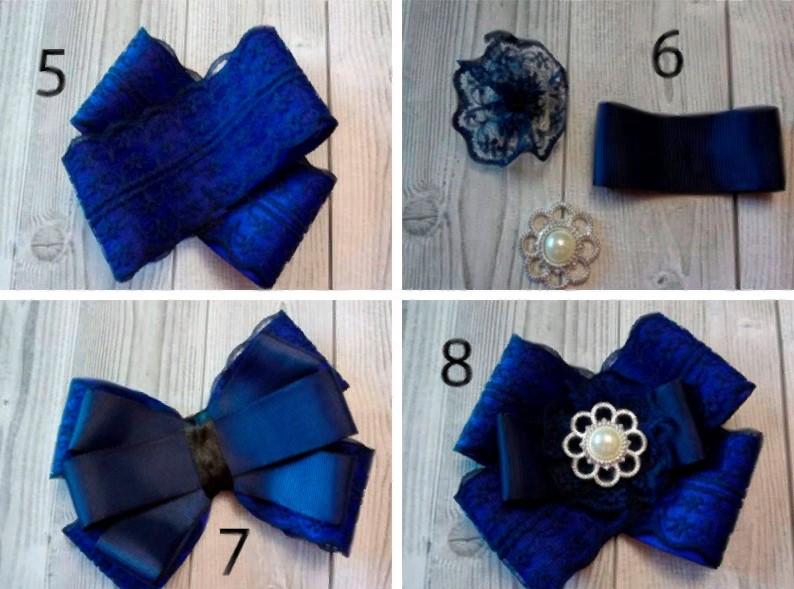
- it is necessary to cut off a piece measuring 2.5x16 cm from the lace and assemble a circle from it, using a needle and thread for this purpose;
- Next you need to cut off a part of the satin measuring 2.5x14 cm, then you need to bend the edges on both sides and align them in the center;
- a circle should be fixed in the middle of this element;
- in the center of the circle it is necessary to fix the flower with glue;
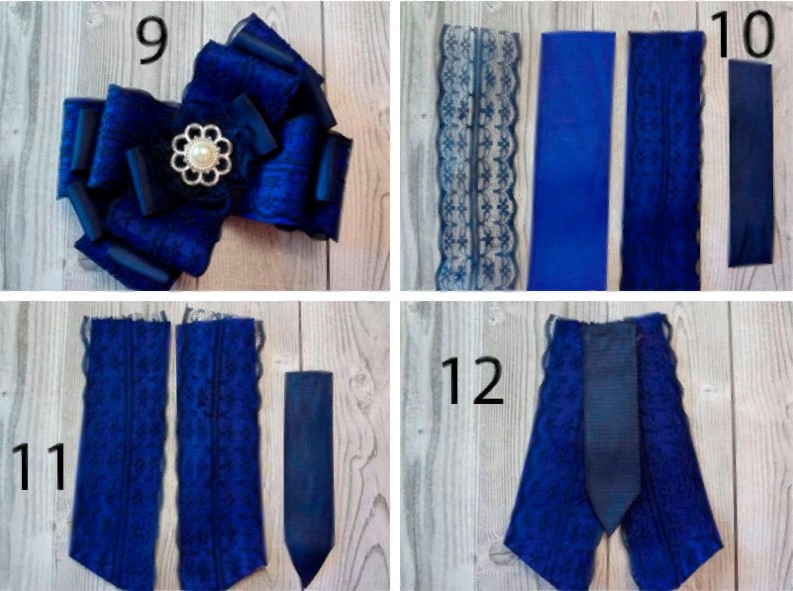
- the first part needs to be glued to the second;
- then connect the 3rd and 4th parts together in the same way (an element with a flower and an x-shaped bow);
- two large parts of the future brooch must be fastened together with glue and left for a while;
- then you need to cut out the elements for the tie (2 fragments of lace and satin measuring 4x13 cm and a fragment of satin measuring 2.5x10 cm);
- Align the resulting parts with each other, cut them off diagonally at the bottom and sharpen a thin strip;
- 2 strips need to be glued together, then attaching a thin strip in the center;
- Glue the resulting blank at the bottom of the product on the reverse side;
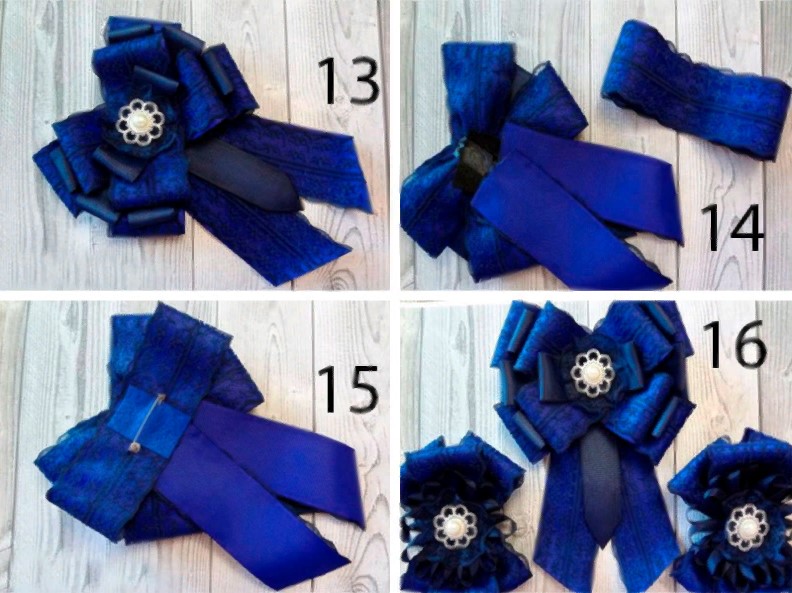
- then you need to cut out a fragment of lace and satin measuring 4x26 cm and make a double strip with loops at the ends;
- secure the resulting workpiece on the wrong side of the product;
- then glue a piece of felt to the underside and secure the fastener in it.
Advice! To prevent the edges of the brooch from fraying later, they should be carefully singed.
Brooch-bow
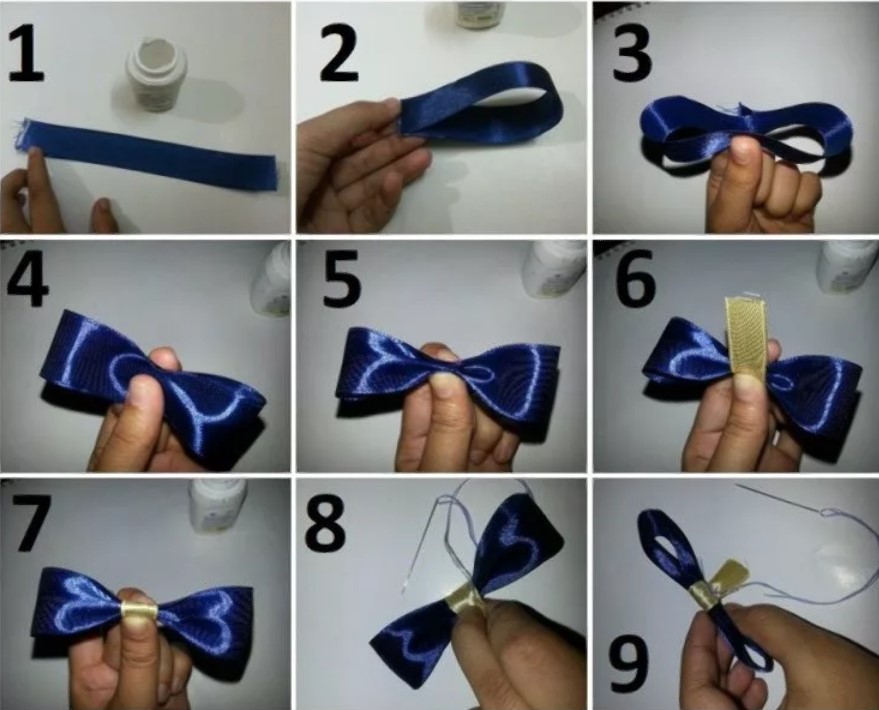
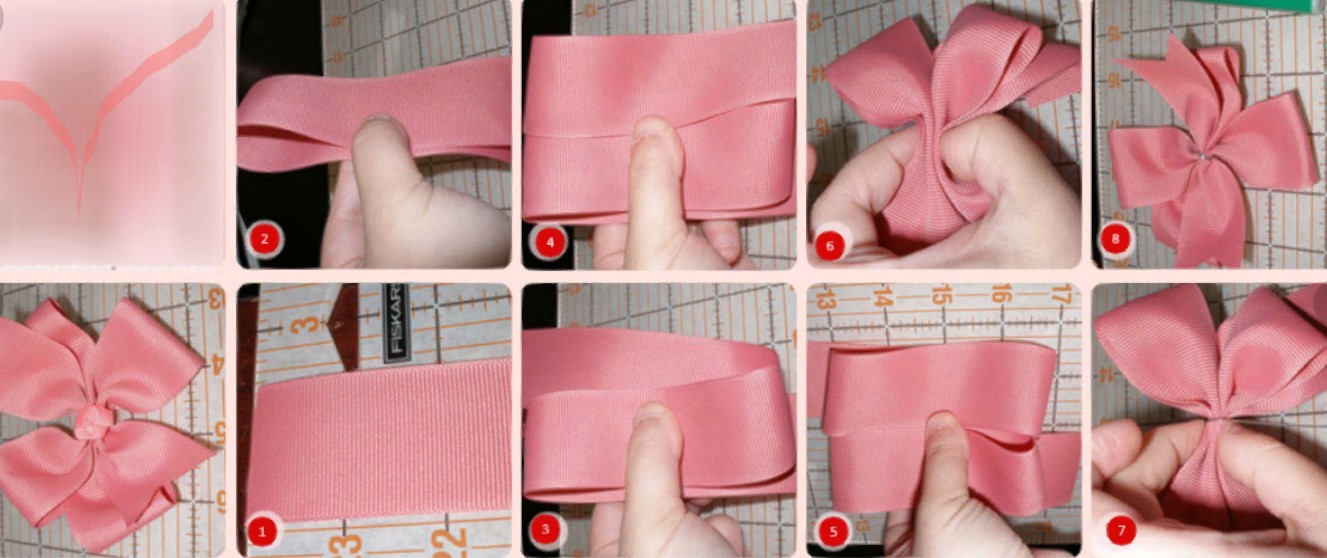
One of the simplest options. Ideal for beginners. For work you will need: 1-2 ribbons 1 cm and 3 cm wide, a needle and thread and a pin.
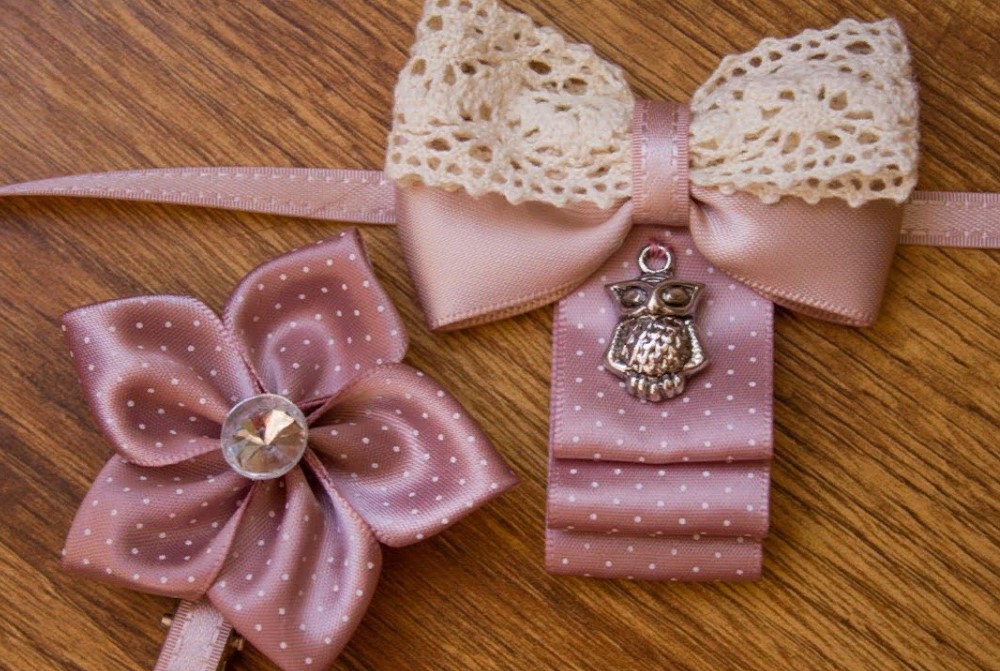
The techniques and order of execution may be different, but if you follow each step sequentially from the photo, you can easily create your own “masterpiece.”
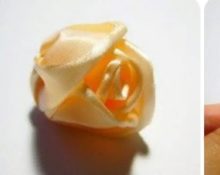
Brooch-flower
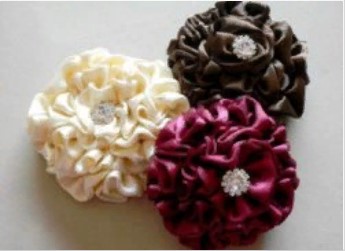
To make such a decoration you will need: satin of the desired color 2.5-3 cm wide, a small felt circle, rhinestones for decoration, a needle and thread, a glue gun, a clasp for the finished product and a lighter.
 Texecution technique:
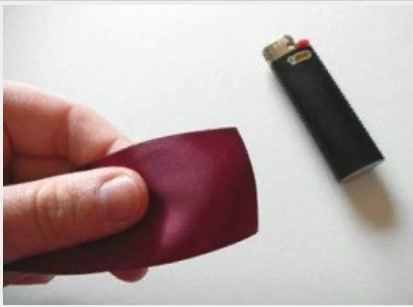
- Singe the cuts. This will help prevent shedding.
- Fold the satin in half with the wrong side inward and stitch it with double thread along the entire length using a “forward needle” seam, retreating 2-3 mm from the edge.
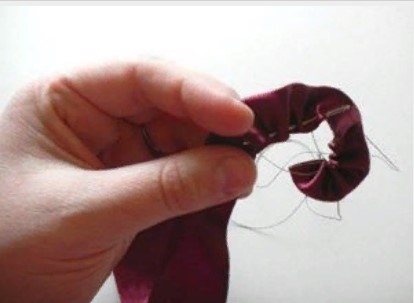
- Pull the thread and fasten. The result should be a wavy workpiece.
- On the one hand, the part obtained in this way must be twisted in a spiral. Each turn should be visible from under the one made earlier.
- Carefully glue the layers of material from the inside out.
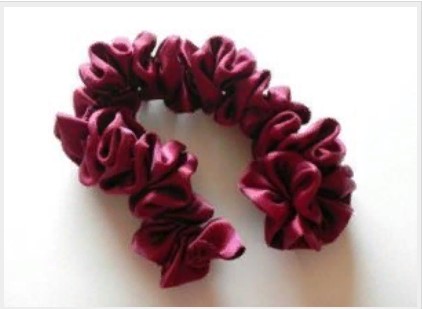
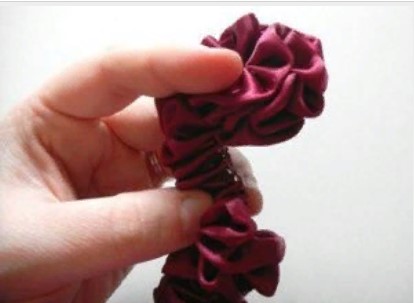
- Attach a rhinestone to the center of the resulting flower on the front side.
- Attach a felt circle with a fastener fixed to it from the inside of the product.
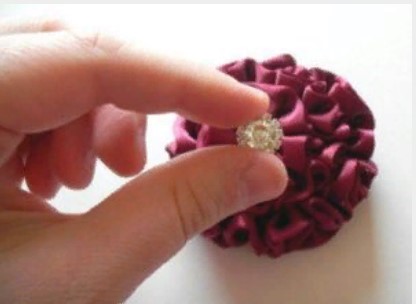
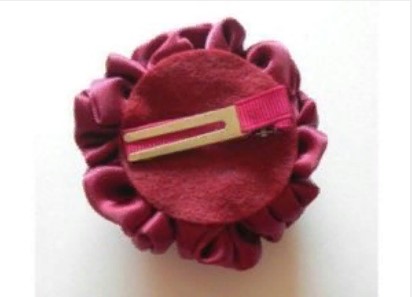 The original decoration is ready.
Other techniques
In addition to the above, there is also interesting tsumami technique, allowing you to create a beautiful rose from a wide satin strip.
For this you will need: material of the desired shade, match, lighter, glue and cotton wool.
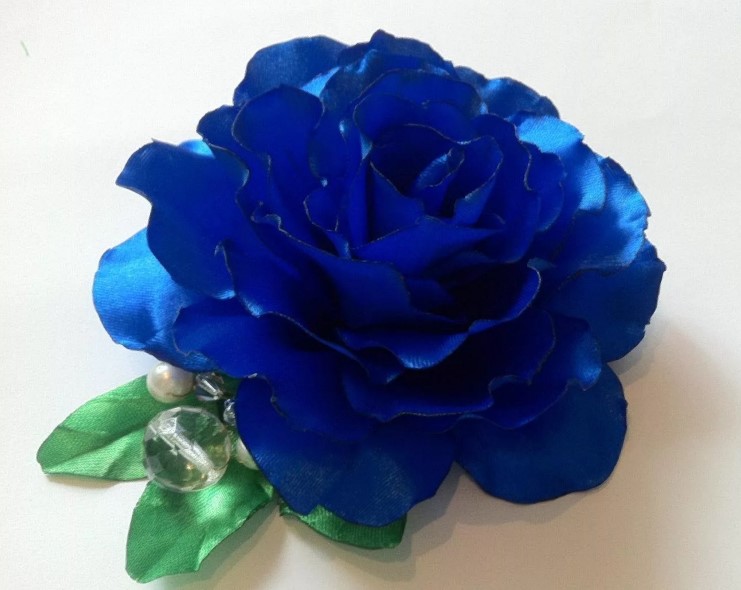 Execution order:
- cut out 25-30 petals measuring 5x6 cm from satin;
- singe the edges of each element, stretching them slightly with your fingers until waves form;
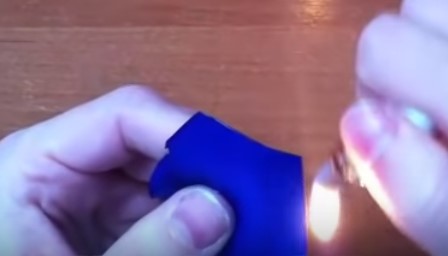
- bend the bottom edge of each petal until a fold is formed and seal it with a lighter;
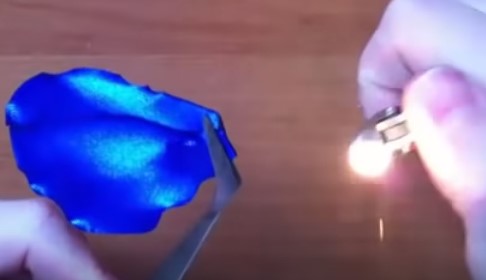
- grease the match with glue and wrap it with cotton wool so that you get a small elongated ball;
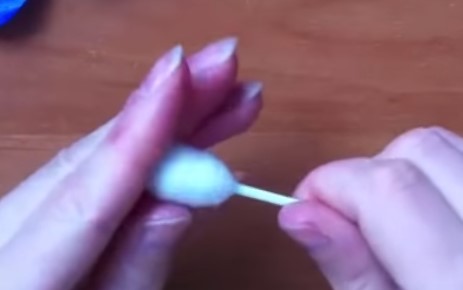
- lubricate the first element with glue and cover the cotton ball with it so that a cone is formed on top, and the ball itself is not visible;
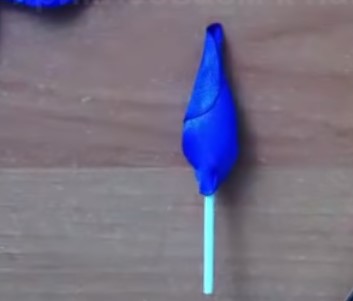
- spread glue on the bottom of the next petal and glue it to the resulting bud;
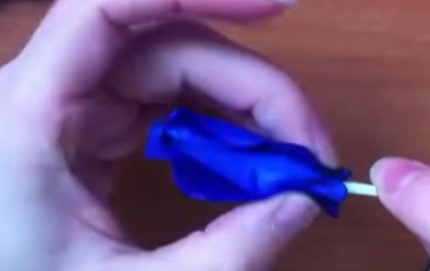
- Using the same principle, glue all other parts to the bud, pressing only the lower part (the middle of each petal must be placed on the edge of the previous one);
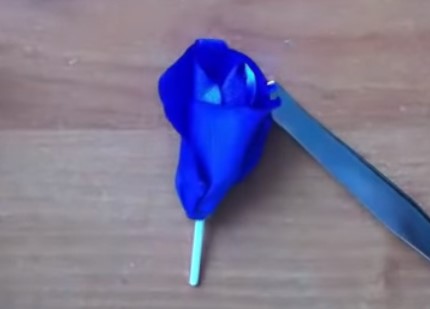
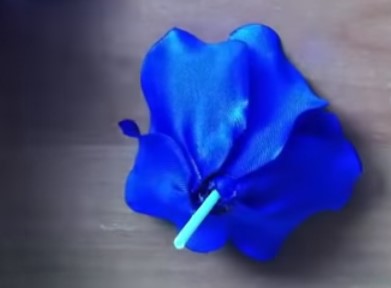
- 7-9 outer parts need to be slightly scorched at the bottom and slightly bent so that the petals become convex, then glue them to the bud;
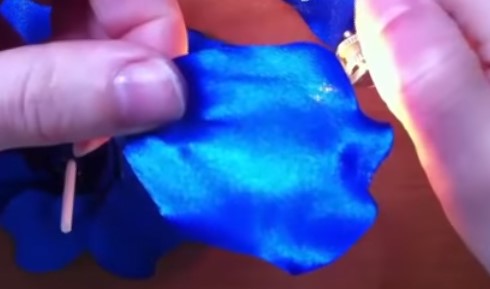
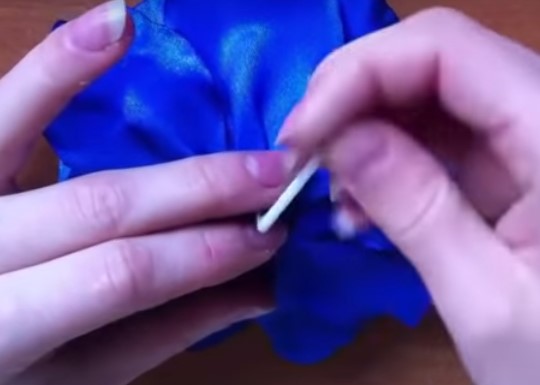
- the match must be removed from the finished product or cut;
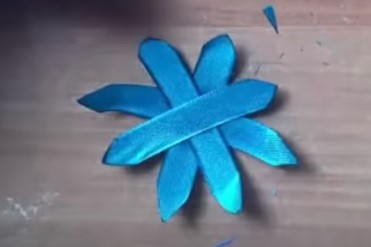
- Using cut strips pasted on top of each other, we cover the back side of the rose.
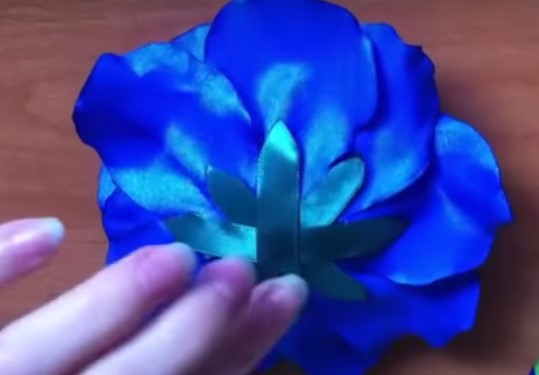
You can also add a green leaf, and dew is a frozen drop of glue. The rose is ready.
A brooch is an exquisite accessory that emphasizes individuality. An original decoration of this kind, made by yourself, will be an excellent gift for any holiday.


 0
0