 Crafts made from satin ribbons are quite easy to make. In addition, thanks to the reasonable cost of the material, such creativity is available to everyone. Many representatives of the fair sex who know how to sew can, if they wish, make a variety of original products from ribbons.
Creative crafts from satin ribbons
Jewelry and crafts are becoming incredibly popular.
Availability of material, aesthetic appearance, unlimited possibilities for creativity: from jewelry to all kinds of crafts for the home.
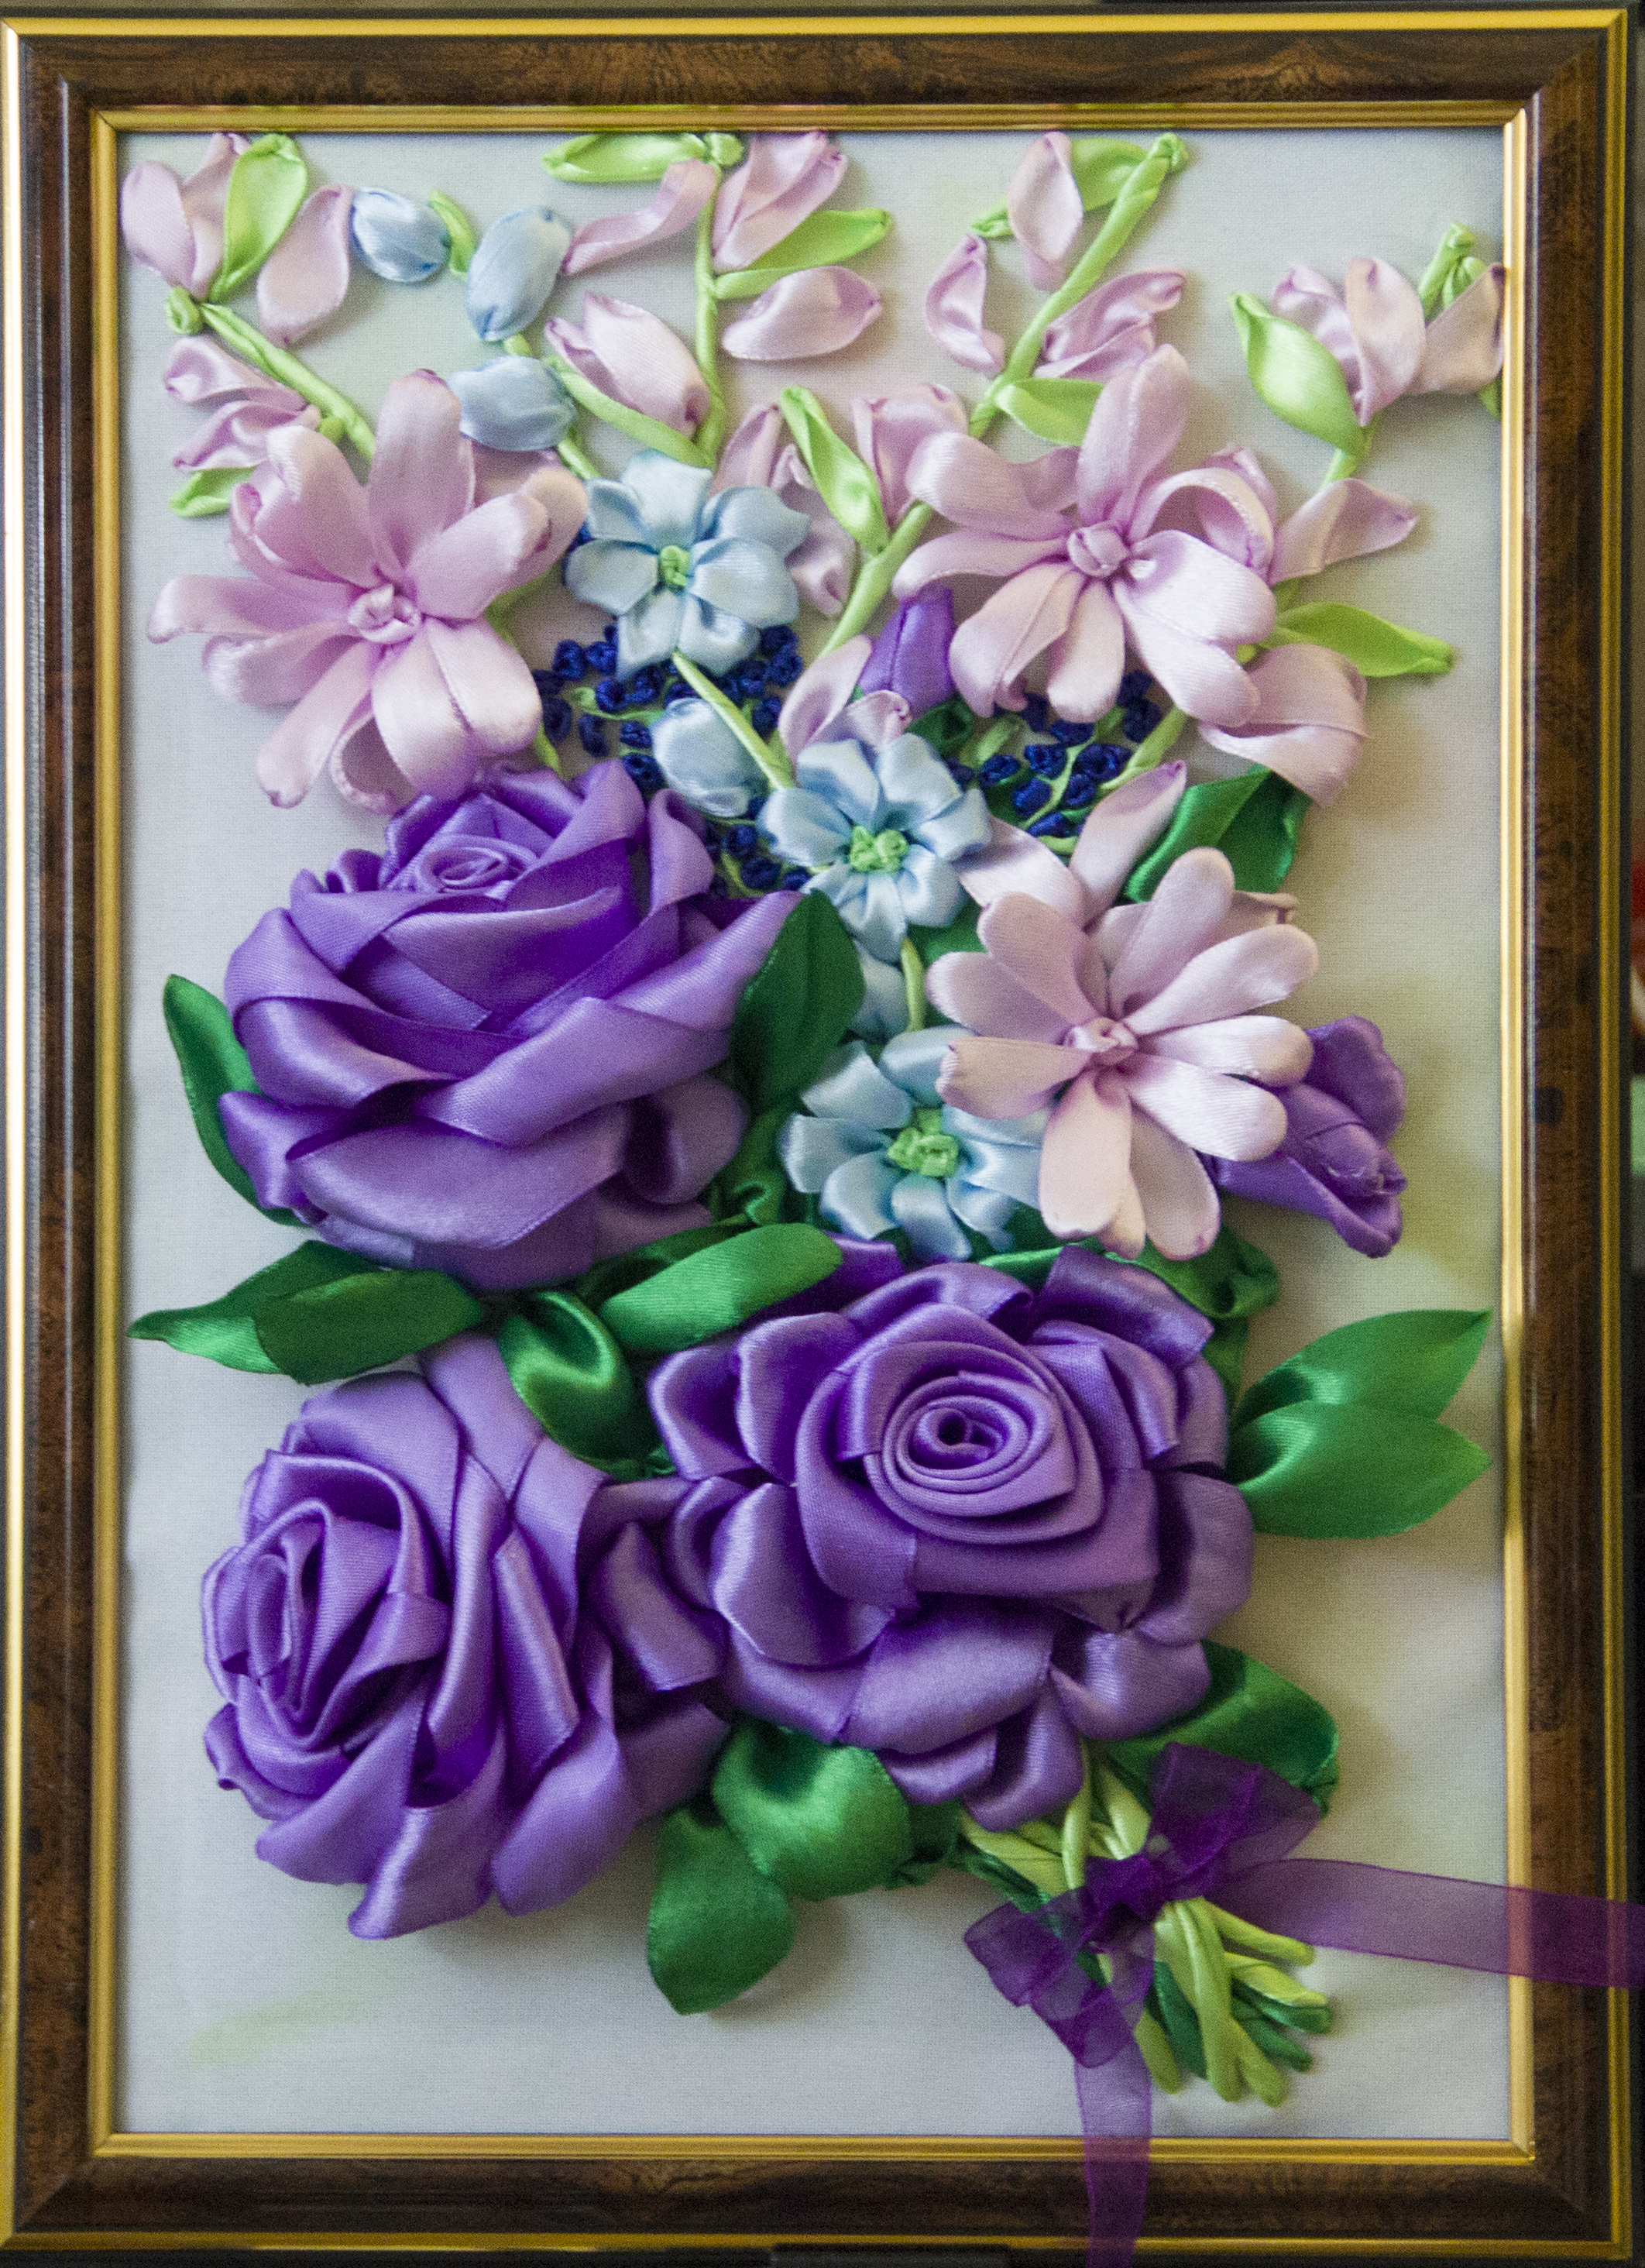
Collage
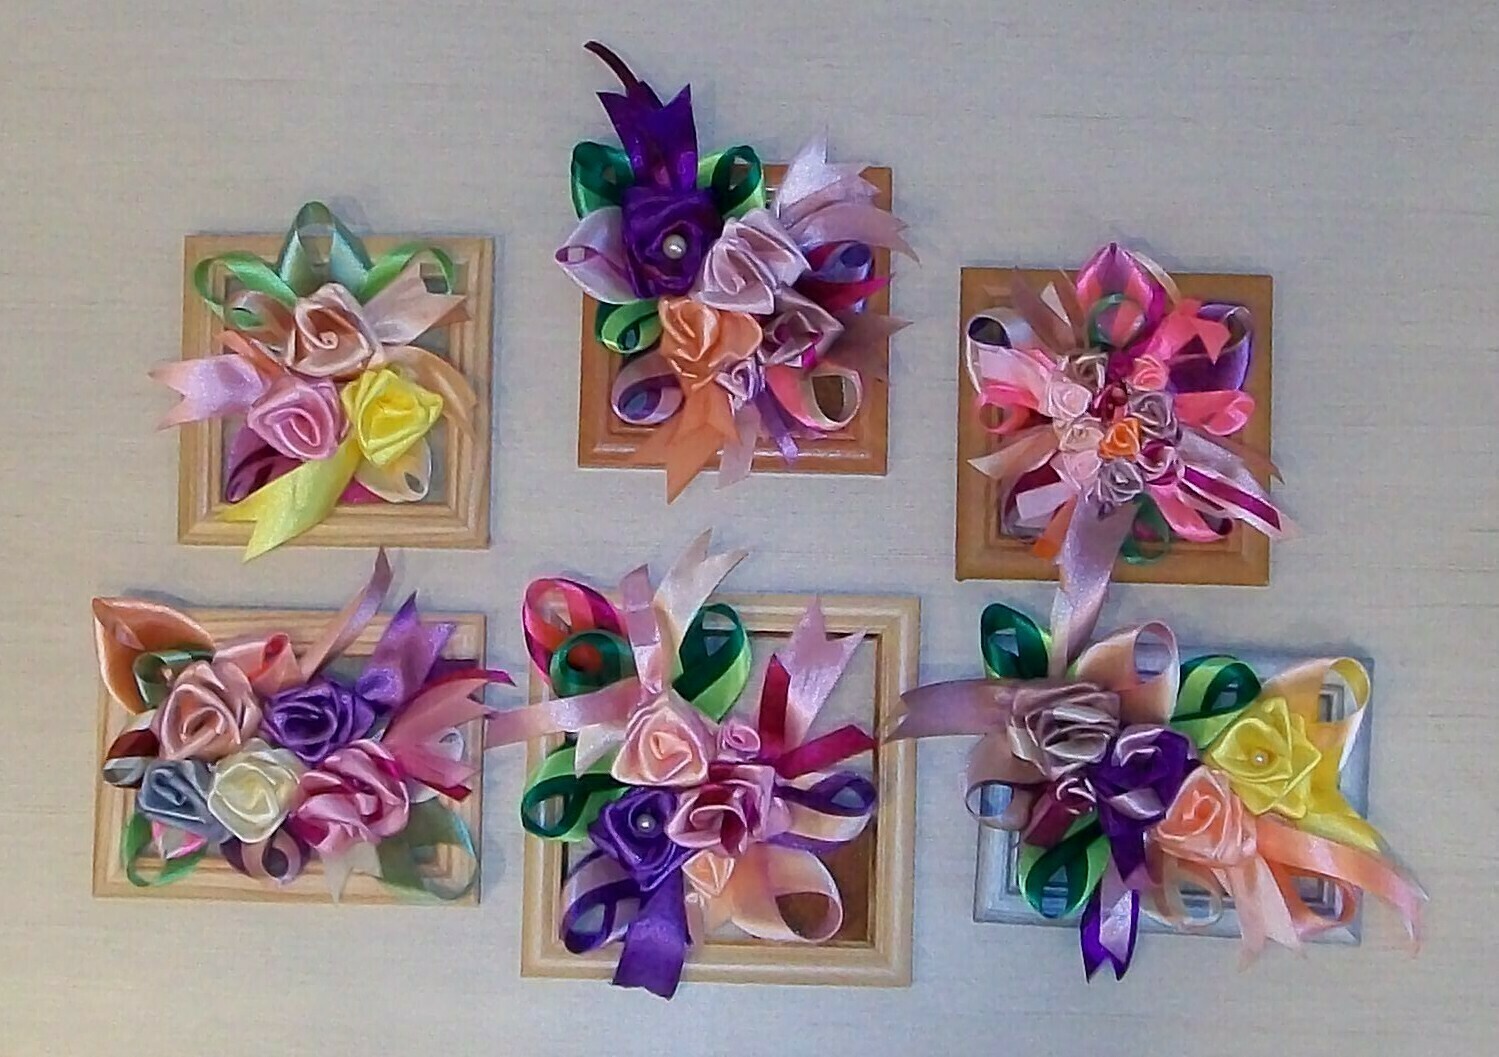
From such material you can create a beautiful and original collage. For this purpose you will need: an elegant frame, paper for decorating the background, satin braid of several shades (harmoniously combined with each other), scissors, rhinestones and beads of different sizes for decoration, and a glue gun.
 Technique:
- Cover the cardboard base of the frame with decorative paper.
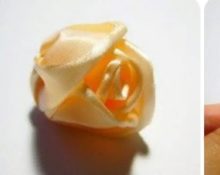
- Make several different flowers and buds from ribbons, differing in shades and sizes.
- Glue flowers and buds in random order to the base of the frame (start with the largest elements).
- Decorate the resulting composition with beads and rhinestones.
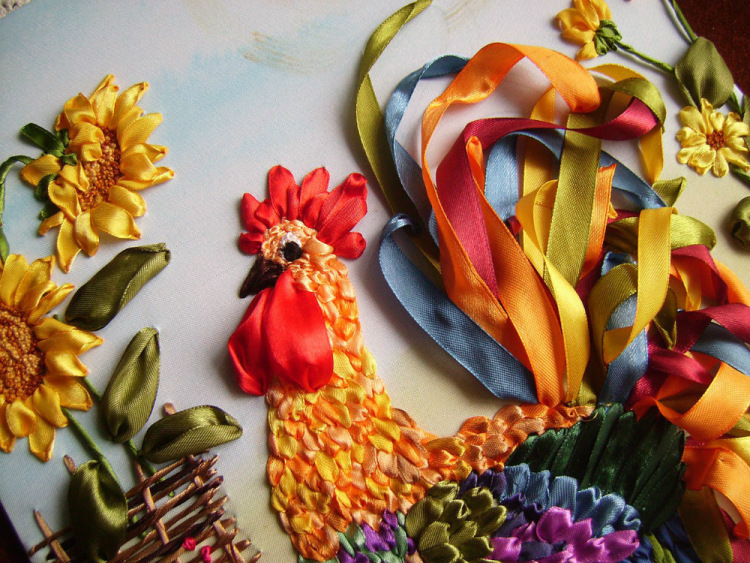 This handmade collage will be a wonderful decoration for your living room or bedroom.
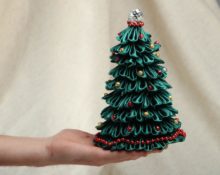
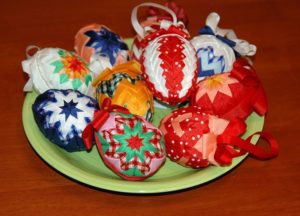
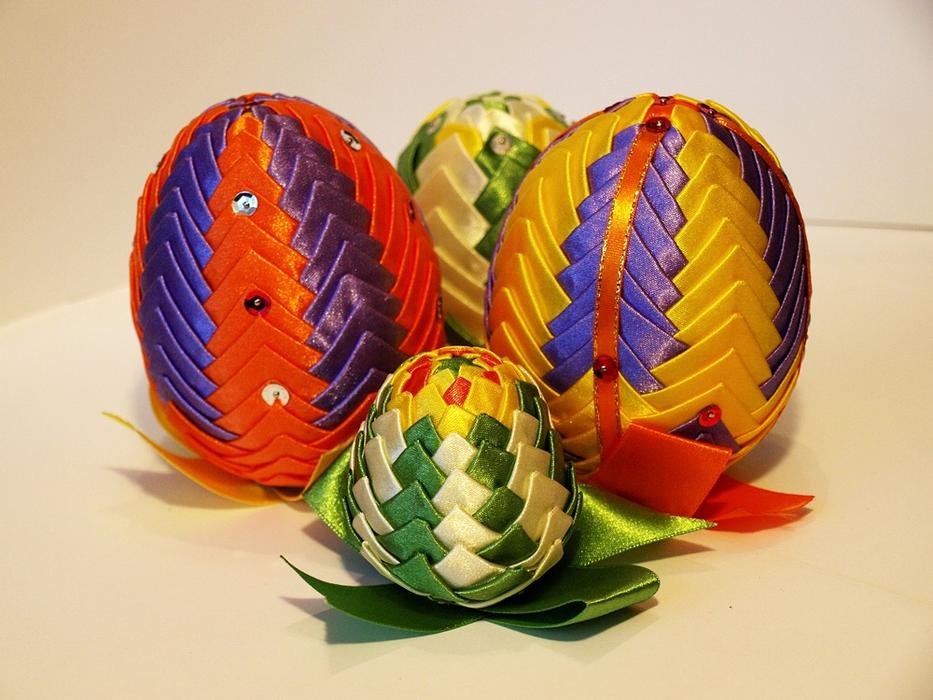
Easter egg using artichoke technique
You can also use these ribbons to make a decorative Easter egg using the artichoke technique. For this purpose, it is recommended to prepare: a blank of the appropriate shape, braid of four colors (white and 3 shades of the same color are required) 2.5 cm wide and 150 cm long, small pins and sharp scissors.
 Technique:
- Cut several pieces 2-2.5 cm long from white braid.
- Place one part on the sharp tip of the workpiece. Secure the edges of the tape with pins, and insert one pin in the center.
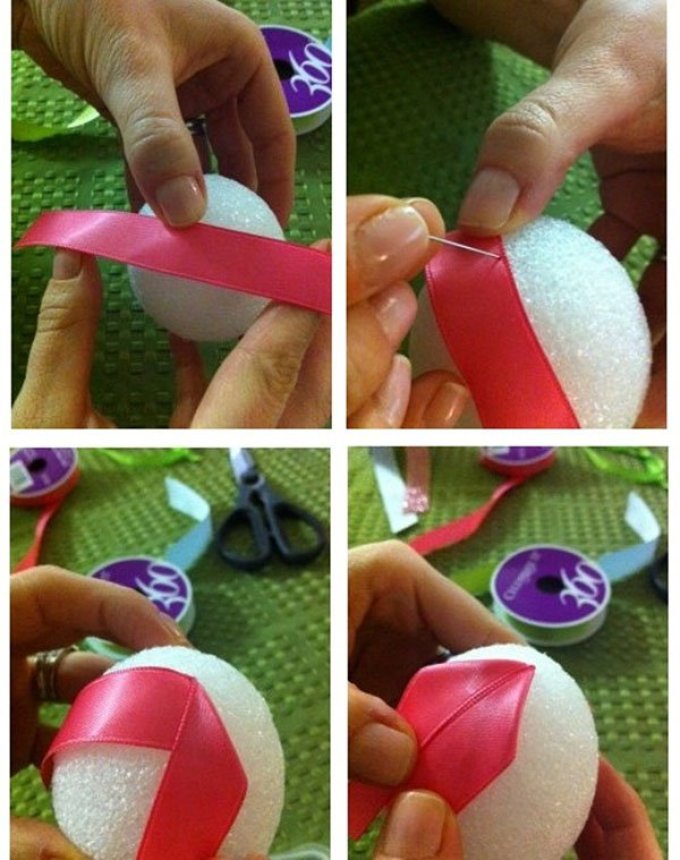
- Fold the second part in the shape of a triangle and bend it towards the center of the edge.
- Attach the formed corner to the egg along the base of the formed triangle using 3 pins.
- Repeat the same steps for three more corners, attaching them next to the one already made. It is necessary that the tapes are located around the entire circumference of the workpiece.
- In a similar way, fix 4 more corners, securing them slightly below the 1st row so that the tops of the triangles are between the corners of the 1st row.
- Using parts of the same shape and identical shade, form the 3rd row using the same principle. More parts may be required as the workpiece becomes wider at a given location.
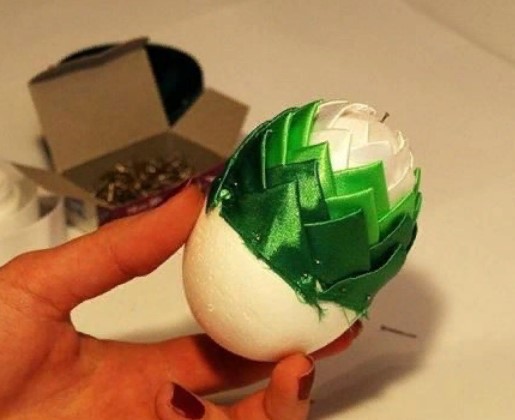
- Divide the braid in a lighter shade into the same parts and attach them to the workpiece in the same way. In total, with this tape you should get 2 or 3 rows.
- Then also attach 2 rows of ribbons of the two remaining shades to the workpiece, alternating them harmoniously.
- The darkest shade should be the largest on the workpiece, so triangles from this tape must be attached to the egg until there is 1 cm of free area left.
- Now the parts should be fastened closer to each other. The middle must also be covered with braid.
Advice! To complete the decorative Easter egg, you can attach a bow made from the remaining white braid to its blunt end.
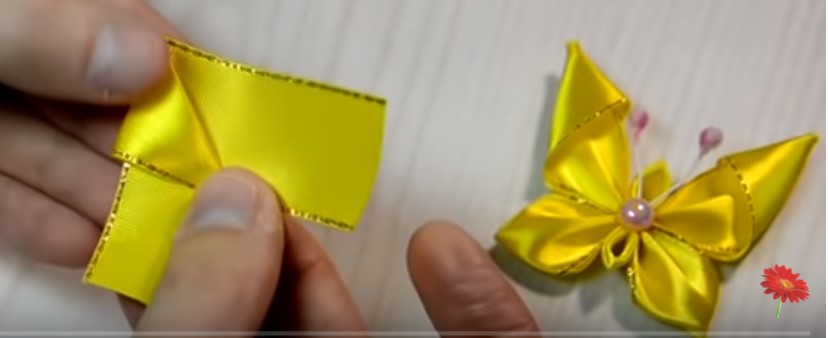
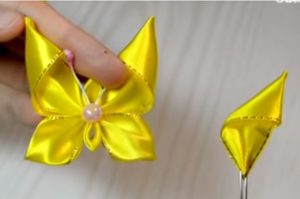
Butterfly

Can be made made of satin braid and a beautiful butterfly using the kanzashi technique. For this you will need: braid of the selected shade 37 cm long and 2.5 cm wide, tweezers, scissors, lighter or candle, hot glue, bead for decoration.
 Technique:
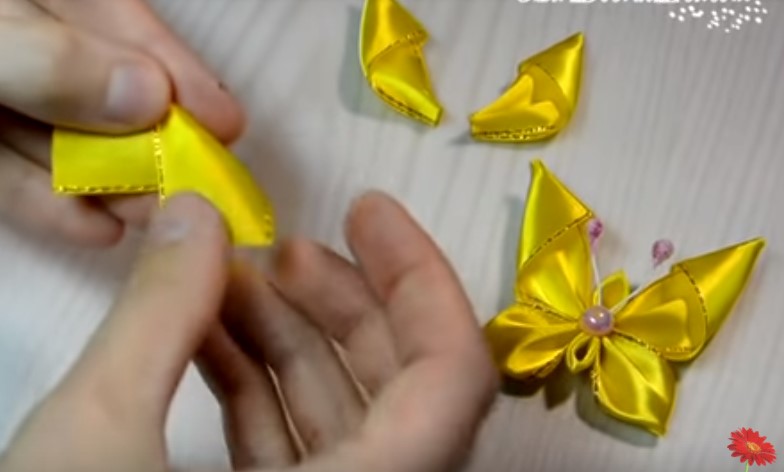
Cut 2 pieces of braid 10 cm long, 2 pieces 6 cm long and 2 more pieces 2.5 cm long.
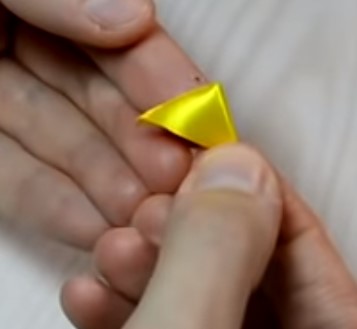
From the largest pieces you need to make the upper wings of the butterfly (mirror symmetrical). To do this, fold one piece in half and mark the middle.
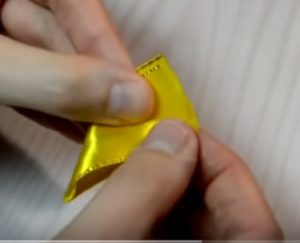 Fold the left edge of the tape to the intended middle and then fold it again. After this, you should bend the right edge of the tape so that it is on top of the left.
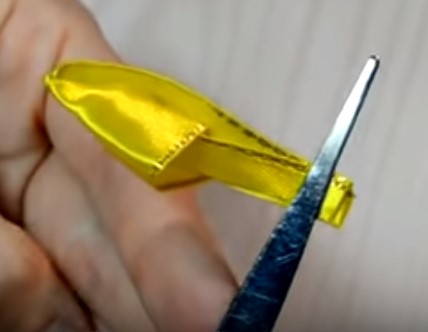
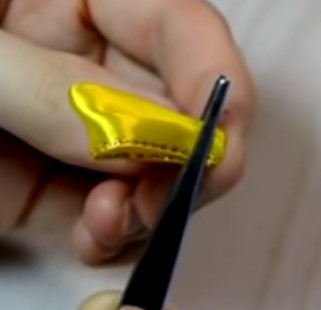
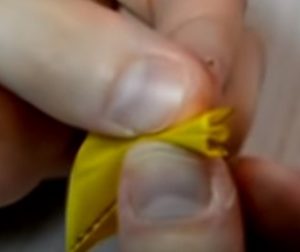 At the base in the middle you need to make a fold, pinch it with tweezers, trim the edge and singe it. The left upper wing is ready.
In a similar way, you need to make the upper right wing, starting the bend of the segment from the right edge of the tape.
 From pieces of medium length you need to make the lower pair of wings. To do this, lower the upper left edge of the tape at an angle of 90 degrees and fold the workpiece in half.
 The bottom edges must be aligned so that they coincide with each other.
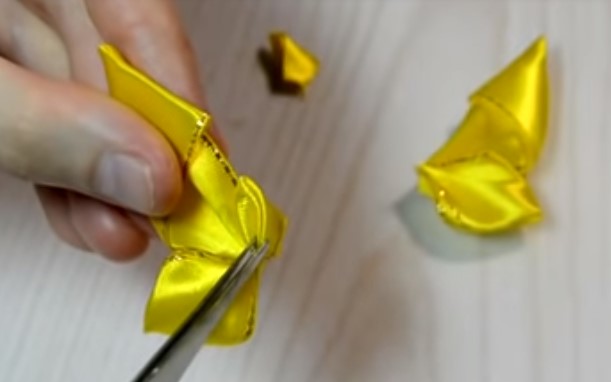
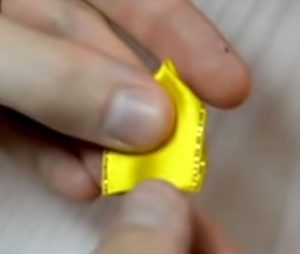 Make a fold in the middle at the base, pinch with tweezers, trim the edge and singe. One lower wing is ready.
 The second lower wing must be made in the same way.
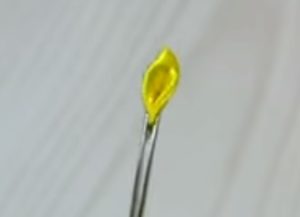
From the smallest pieces you need to make the body of a butterfly. To do this, each of them should be folded in half, then folded two more times to create a small sharp piece.
 The tip must be clamped with tweezers, cut off and singed. Then make a second similar part.
 Glue all parts of the butterfly together. The smallest ones must be placed in the center, forming a body from them.
 Decorate the middle of the resulting accessory with a large bead.
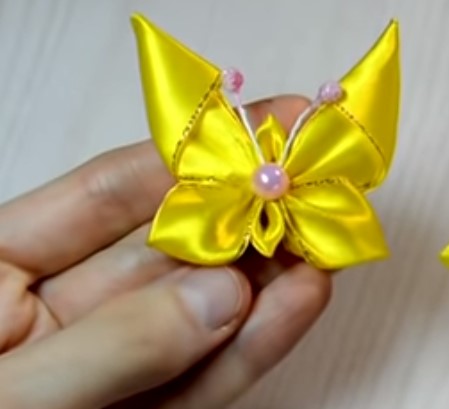 You can also make antennae from stamens by gluing them on the wrong side.
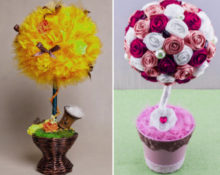
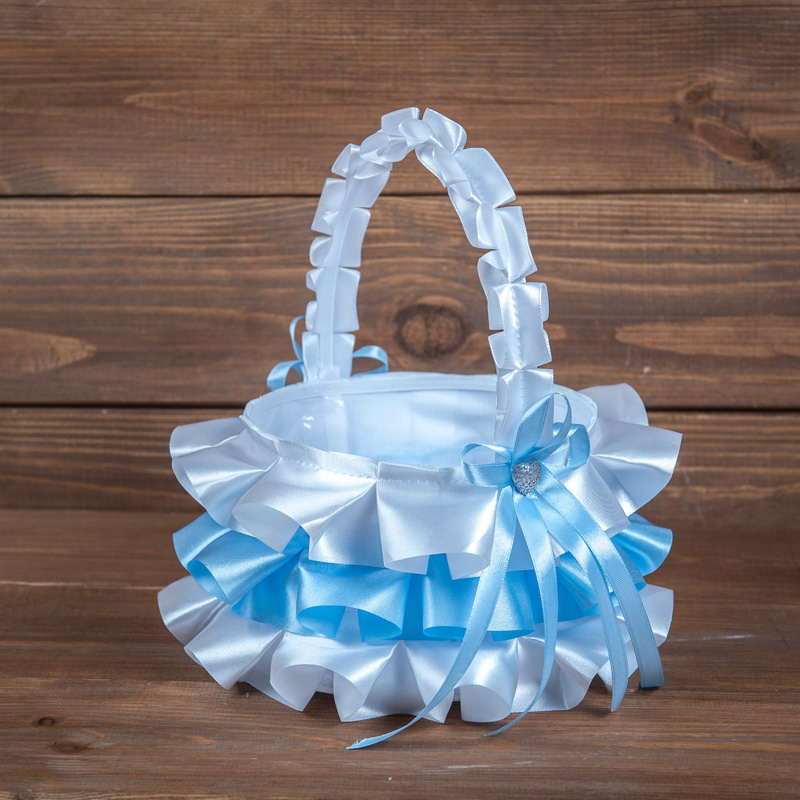
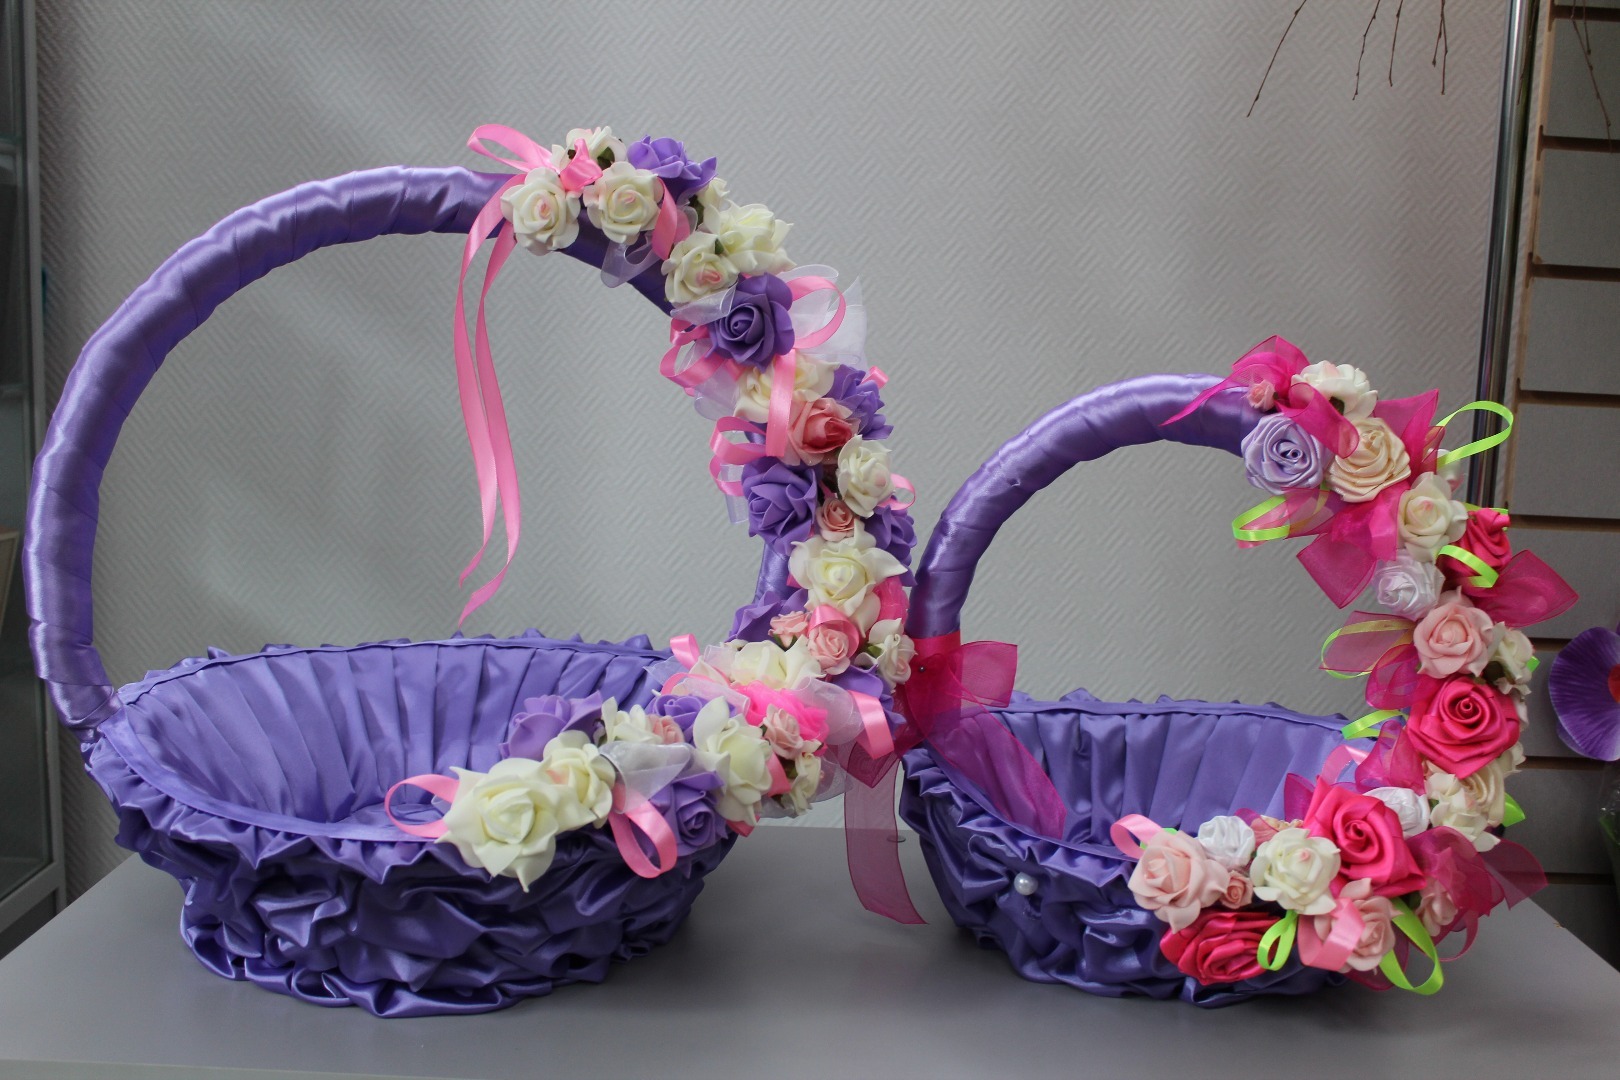
Baskets
Baskets made from this material have become very popular in recent years. Similar accessories are often found Use at birthdays, weddings, and other events.
To make a basket of ribbons you need to prepare: satin ribbon 2 cm wide, a piece of oval or round soap, scissors and several safety pins.
Advice! Such original products look harmonious with artificial flowers made from ribbons.
 Technique:
- You need to prepare the base. To do this, attach safety pins to a piece of soap, 0.5 cm from the edge, in increments of 8 mm. It is very important that the number of pins is the same.
- Then you need to fix the edge of the tape. To do this, you need to remove one of the pins and then put it back in place, thus securing the tape.
- Next, you need to form the walls of the future product. For this purpose, the braid should be hooked to the top pin and led down, where it should be hooked to the bottom pin and lifted up again.
- Similar steps should be repeated until the wall of the product is completely ready. It is necessary that the short end of the braid is at the top and the long end is at the bottom.The bottom edge of the product is formed by the long edge of the tape, forming the side of the basket. From the remnants of the braid you need to weave the upper edge of the accessory.
- When the basket is completely ready, a voluminous bow should be formed from the ends of the braid. The excess must be cut off with scissors.
Advice! Scraps of braid can be used to decorate the handle of a basket, for the base of which it is recommended to use wire.
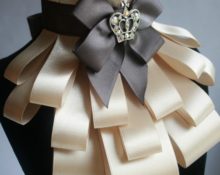
Such accessories made of satin ribbons in combination with other decorative elements can be used to decorate a festive table or to decorate a room.
Multi-colored satin ribbons provide the opportunity to experiment and create a variety of original crafts. This does not require any special skills. You can start with the simplest crafts possible, gradually increasing your skill and skill.
 0
0