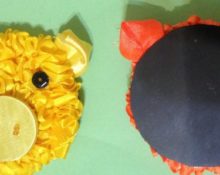
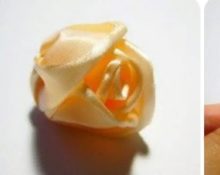
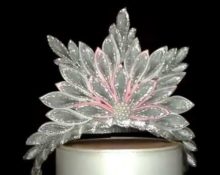
As the New Year approaches, the question of how to decorate a Christmas tree in an original way becomes more and more relevant. You can create decorations that will have a bright appearance with your own hands. Such toys will make the atmosphere in the house festive, and they look livelier and warmer than store-bought ones. You can use satin ribbons as a material for them.
The subtleties of making Christmas tree decorations in the kanzashi style
The Japanese technique of kanzashi weaving is used to create various decorative elements from ribbons. With its help, you can make a wide variety of crafts that will become the basis for toys, hair jewelry, jewelry boxes, jewelry and much more. At the same time, it is simple and easy to master on your own.
What do you need for work?
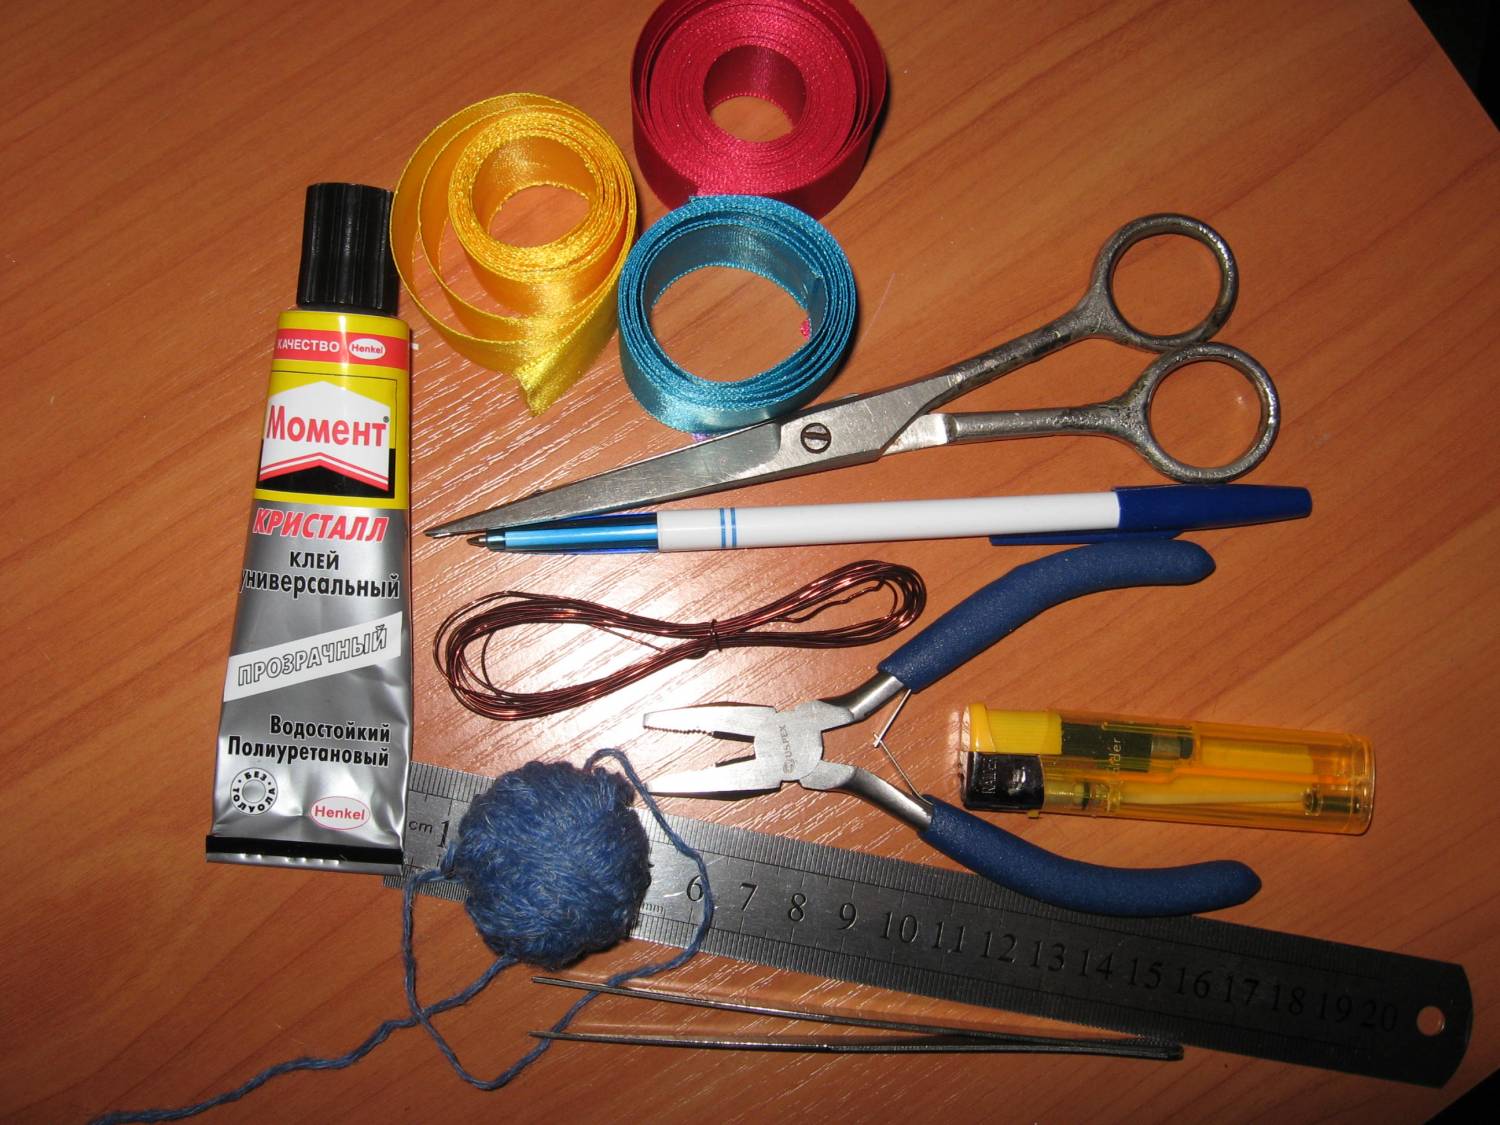
To do this, you will need a certain list of materials and tools that you need to acquire in advance. Especially if you plan to create in large volumes. The first and most important thing is the ribbons themselves are made of satin fabric. In handicraft stores they are presented in a large assortment, in different colors and widths. You can choose exactly what will help you realize your idea.
In addition to the material, you will also need tools:
- In order to measure and cut the tape you need a ruler or a tailor's centimeter, as well as good sharp scissors.
- To create some shapes and elements, you will need a sewing needle and a set of threads that match the colors of the ribbons.
- When assembling crafts, you will need to glue the parts together. To do this, you can take transparent glue or a small glue gun.. With its help, doing this is easier and more accurate.
- Forming complex parts of the decor will be easier using tweezers. You can look at a modeling kit, where there are several of them, differing in size and shape.
- A lighter or a children's wood burning device may also come in handy. With their help you can easily burn the tiny threads remaining after cutting the tape.
We make toys with our own hands
Before you start working on decorations for the Christmas tree, it will be a good help watch several lessons on the kanzashi technique, which will give a basic idea of how to work with ribbons. This will help you avoid many mistakes and make creativity much more enjoyable.
Snow White
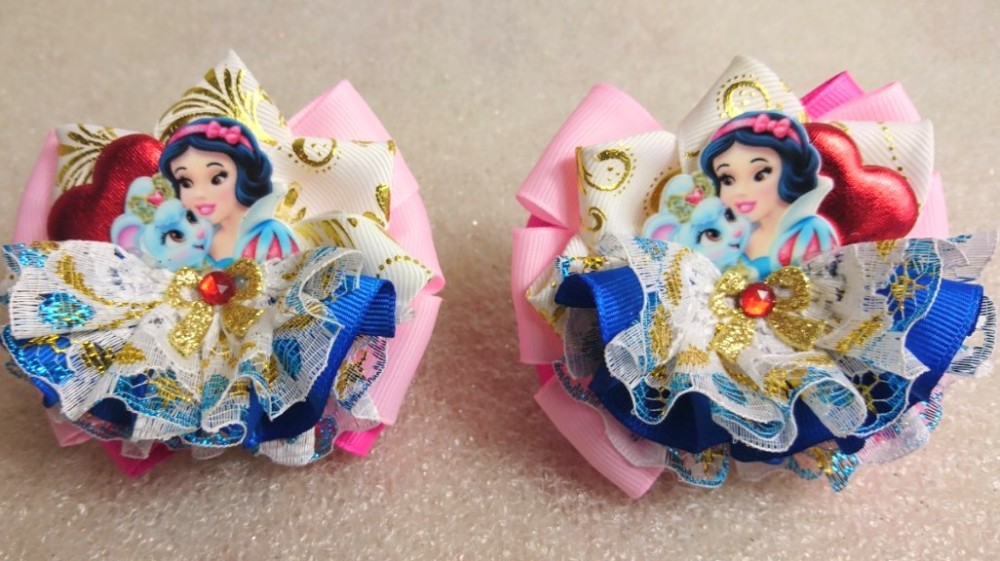
This elegant princess will undoubtedly delight little girls and will become a truly original Christmas tree decoration. As a base for it you will need an appropriate cabochon, preferably made of wood, so as not to weigh down the finished toy.. Her dress will be made from ribbons. So:
- The base for the dress is cut out of felt in the form of a triangle, the size of which is determined by the cabochon.
- 15 pieces of 1.2x4 cm are cut from pink ribbon, which are then folded into the shape of pointed petals.
- A piece of lace ribbon with beads is glued to the bottom of the base. In the process, you need to form neat folds that imitate the frills of the dress.
- The first row of petals is attached on top of it.
- Then the base is filled in in the same order, alternating lace stripes with beads and rows of petals. The first part of the decoration is ready.
- At the back of the dress you will need to attach a bow made from two types of ribbons - wide red and narrow white with lurex. Four parts are formed from them, glued together into a lush bow. It is attached to the top of the finished dress from the wrong side.
- A cord is glued to the middle of the toy on which it will hang.
- You need to attach a small ribbon decorated with rhinestones or sequins to the princess blank from below. It will imitate a belt and cover the junction of all the parts.
- The last step is to connect the cabochon to the dress.
Snowflake
An integral attribute of the New Year is snowflakes. They are cut out of fabric or paper, glued to windows and walls in the apartment, and hung on the Christmas tree. There can be an almost infinite number of shapes and sizes. An original snowflake can also be made from ribbons using kanzashi. Work process:
- Its creation begins with cutting the ribbons into blanks of the required size and forming petals from them. The color scheme can be any, here the only limitation is the author’s imagination.
- Large petals will be made from 5x5 cm squares.
- Their inner part is filled with a combination of three small petals glued together, the basis for which are 2.5x2.5 cm squares.
- Outside, between the large rays of snowflakes, small ones are also glued, but of a different color.
- A decorative bead or small cabochon imitating a precious stone is attached to the center of the resulting toy.
- On the wrong side, a cord is attached to the snowflake, which is closed on top with a small circle of white felt fabric.

Flashlight
A toy in the shape of a lantern will decorate the Christmas tree well. They are easy to cut out of paper, but the ribbons will look much more impressive.
The main element of the decoration is triangle-shaped pockets made from 5x10 cm pieces of ribbon.
- To form them, the corners are first bent down and then up, so that a small rhombus is formed.
- It is folded in half again, and the edge is carefully trimmed and singed using a lighter.
- Then the resulting pockets are glued together to form a small flashlight.
- The pendant is glued on top; the junction can be decorated with a small cap made of metal or plastic.
- The finished toy is decorated with beads and beads.

Christmas tree
A Christmas tree must also be present at the holiday. This toy will be an unusual and pleasant gift for friends and family.
Important! Before making it, you will need to learn how to fold double sharp petals using the kanzashi technique. They form the basis of an elegant tree.
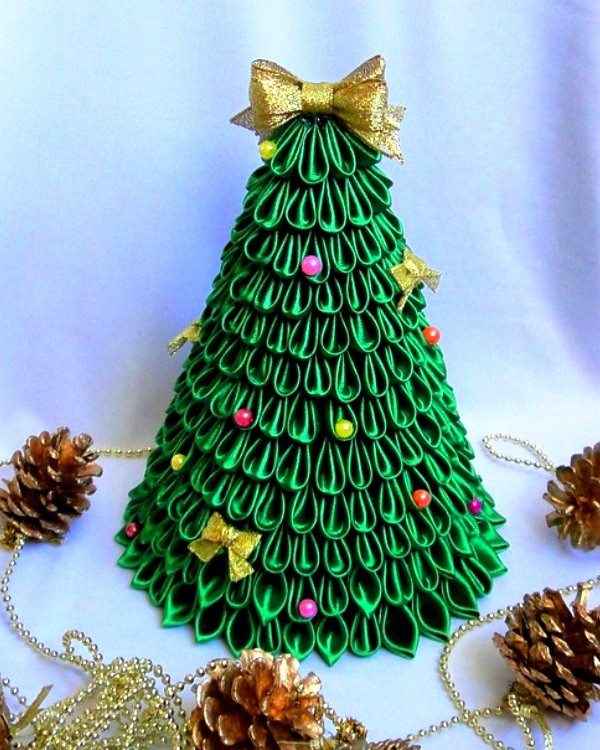
The number of petals will depend on the size of the finished decoration. A suitable color combination is dark green and gold. For the top, you can choose contrasting colors, such as white and red. It's done like this:
- The upper part of the tree is glued together from three petals, forming a cone.
- Then, first two and then four petals are sequentially attached to them, forming an expanding triangle - the shape of a spruce.
- The bottom row ends with five elements.
- The resulting base is covered on the back side with a piece of green felt cut to size.
- The top is decorated with small petals connected to each other in the form of a fan.
- A cord is glued to the back of the Christmas tree.
- Then it can be decorated with round beads that imitate Christmas tree decorations.
Bump
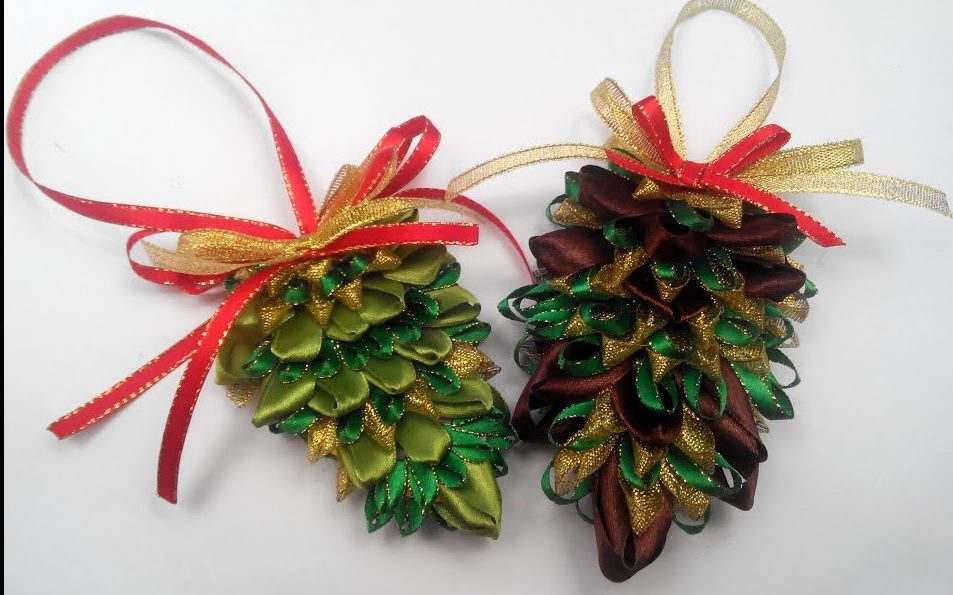
The traditional decoration of the New Year tree has always been pine cones of different shapes, colors and sizes. You can diversify the appearance of your holiday tree with a cone made of satin ribbons.
As a base for the toy you will need an oval piece of foam. You can also take a plastic egg from a famous surprise chocolate bar.
At the very beginning of manufacturing, you need to thread and secure the pendant through the base. The cone will be decorated with sharp inverted petals, which are made up of 2.5 x 2.5 cm pieces of ribbon. They are glued using a gun in rows, starting from the bottom, from the suspension unit. The petals are attached in a checkerboard pattern, so that there are no visible gaps between them. The last row, covering the top of the cone, can be made from ribbons of a different color, darker.
After the glue has dried, the outside of the finished decoration can be decorated with beads, beads or rhinestones.


 0
0