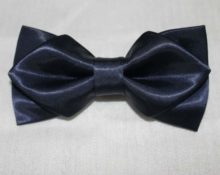
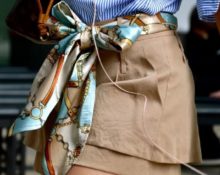
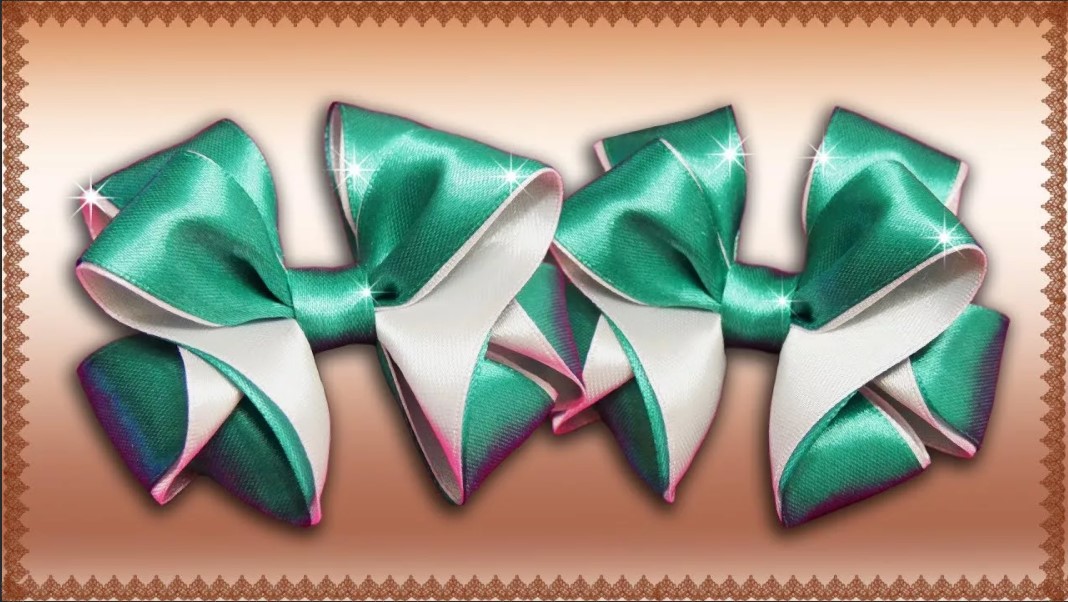
 Bows made from satin ribbons can be used in a wide variety of occasions. With such products, you can, for example, decorate a gift beautifully or decorate your hair in an original way. To make a truly beautiful decoration with your own hands, you will need not only manual dexterity, but also patience.
Varied bows are always relevant decorations for brooches, belts, toys and crafts not only for holidays, but for everyday life. Follow the exact diagrams and you will succeed.
Required tools and materials
For the manufacture of products of this type The following materials will be required:
- satin ribbons (main component);
- sharp scissors;
- ruler;
- tweezers to fix the ends of the tape;
- soldering iron or lighter to singe the ends;
- glue.
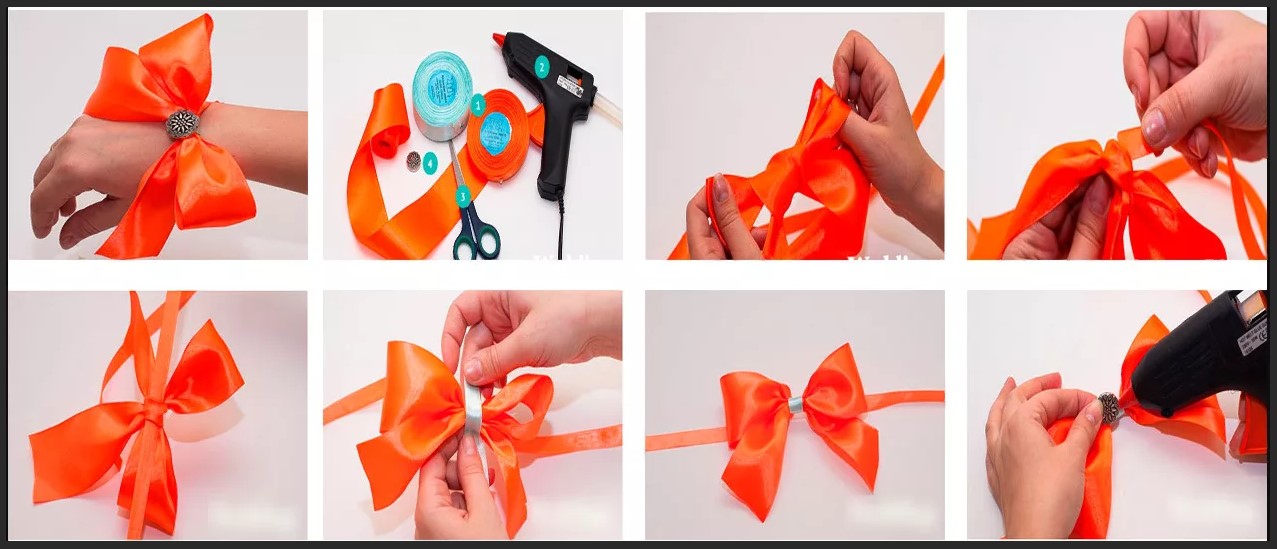
Advice! To decorate gift bags and flower bouquets, it is recommended to use ribbon containing wire inside. In this case, the original appearance of the decoration can be preserved for a long time.
General recommendations for making bows from satin ribbons
The formation of jewelry of this type has features that need to know:
- The ribbons should not be left tied for a long period (this may noticeably damage the shape);
- a correctly made bow will have a visible front side and a hidden back side;
- to determine exactly what length of ribbon is suitable for wrapping the package, you need to wrap it twice around the package and add at least 60 cm to the result obtained so that you can tie a bow;

“Dior” bow on the dress
- in the case of using such a product as a decorative element for clothing, it is necessary that its material is combined in structure with the material from which the clothing is made;
- The ends can be shortened in the following ways: cut them diagonally or in the form of a V.
Types of bows
There are many variations in the formation of bows, from the simplest to the very intricate and spectacular.
They vary in functionality, and can be either plain or multi-colored and sparkling.
The most popular varieties include:
- classical;
- strict;
- double;
- openwork “Dior”;
- two-color;
- longline;
- terry.
Double bow
An original and easy to implement option.
You can do it in the following way:
- the tape must be placed on the index and middle fingers;
- bringing it under the middle finger from below and wrapping it around it, the tape then needs to be passed under the index finger, and then again down under the middle finger (you should get 2 loops on each side);
- then the end of the tape must be passed between the fingers in the resulting hole;
- after this, the tape must be wound to the left and pulled under the last turn;
- Next, you should tighten the resulting knot;
- the resulting product must be removed from the fingers and the excess part of the tape should be cut off.
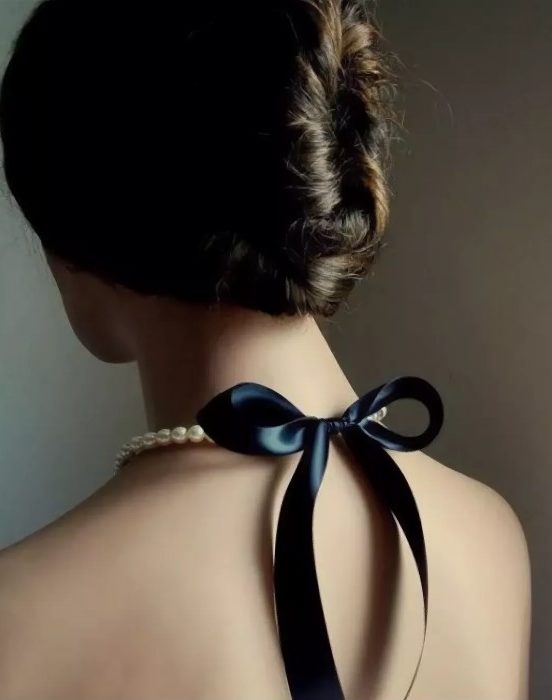
Bow in the shape of a butterfly for the neck, dress, belt
To effectively tie a scarf around your neck, sometimes this method is used:
- you need to wrap the product around your neck;

- the ends of the scarf need to create the shape of loops that need to be intertwined, tying them into a knot;
- the formed product should be straightened, giving it maximum fluffiness.
Bows attached to the dress can perform various functions: focus attention on advantages, mask disadvantages, or perform a purely decorative function.
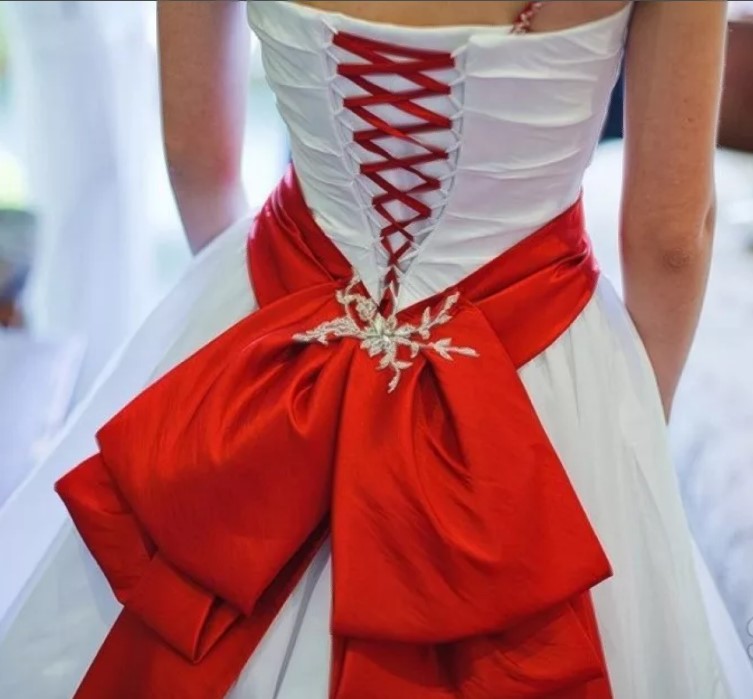
To form a bow suitable for this purpose, you need to perform the following steps:
- The 2 ends of the satin ribbon must be formed into loops and crossed with each other;
- the middle must be secured with a pin with decorations or a brooch of a suitable size;
- the resulting product should be sewn in the part of the dress where it was necessary.
Classic bow on the belt – a universal accessory for almost any type of dress.

You can do it this way:
- the ends of the belt must be folded in the form of loops and crossed among themselves;
- one of the formed elements should be inserted into the loop formed by the crossed ends;
- the resulting knot must be slowly tightened and the product smoothed out.
Bow for gift decoration
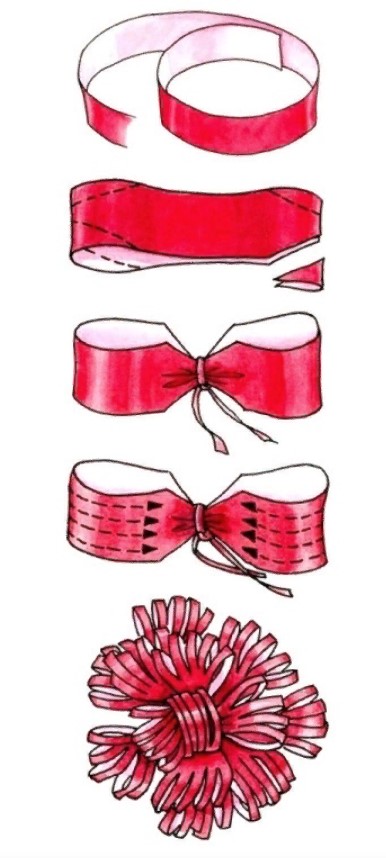
For this purpose, you can make the so-called terry bow, which looks very impressive. This option is often called multilayer.

Technique:
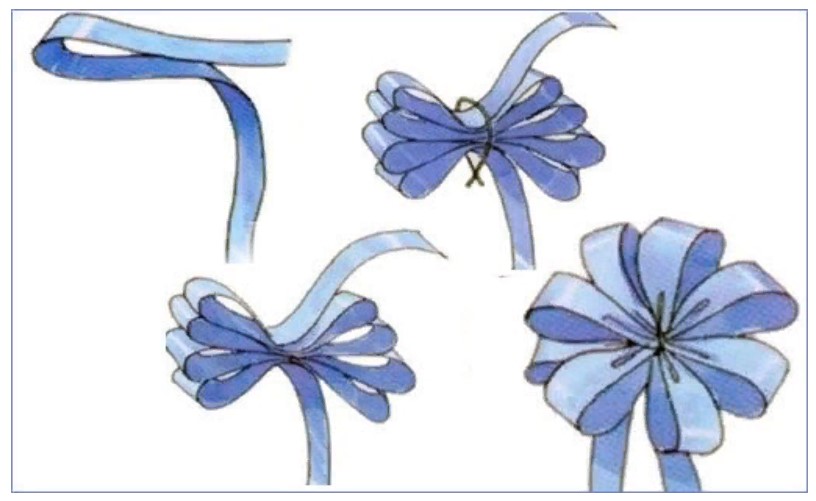
- fold the satin ribbon several times and make cuts in the same way as in the picture;
- the satin must be folded so that the sections fall into the middle of the strip (this place should be tied with a small piece of tape);
- then you need to take out all the petals one by one (pulling them out alternately to the left and then to the right), in the direction from internal to external, then you need to fluff them thoroughly.
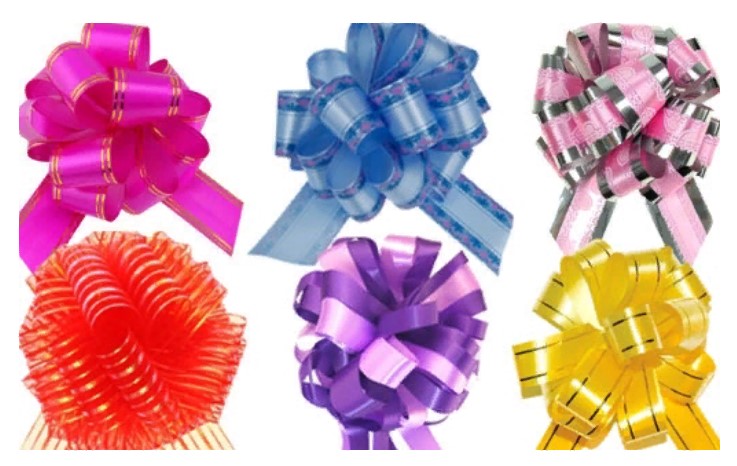
Advice! It is recommended to carefully singe the ends of the bow so that they do not fall off.
Lush bow made of thin satin ribbon
Quite an unusual variation spectacular bow, which is quite simple to do. The appearance of the finished product directly depends on how carefully each detail was executed. If you do not have the necessary experience working with such material, it is better to prepare it in advance in the amount necessary to create 5-7 spare blanks.
To make such a bow you need to prepare:
- satin ribbon 2.5 cm wide and 14 cm long;
- glue (Moment Crystal), soldering iron or lighter, scissors, pencil and ruler;
- a small circle of felt of the same color with a ribbon with a diameter of 5 cm;
- fastening (for this purpose you can use an elastic band or a hairpin).
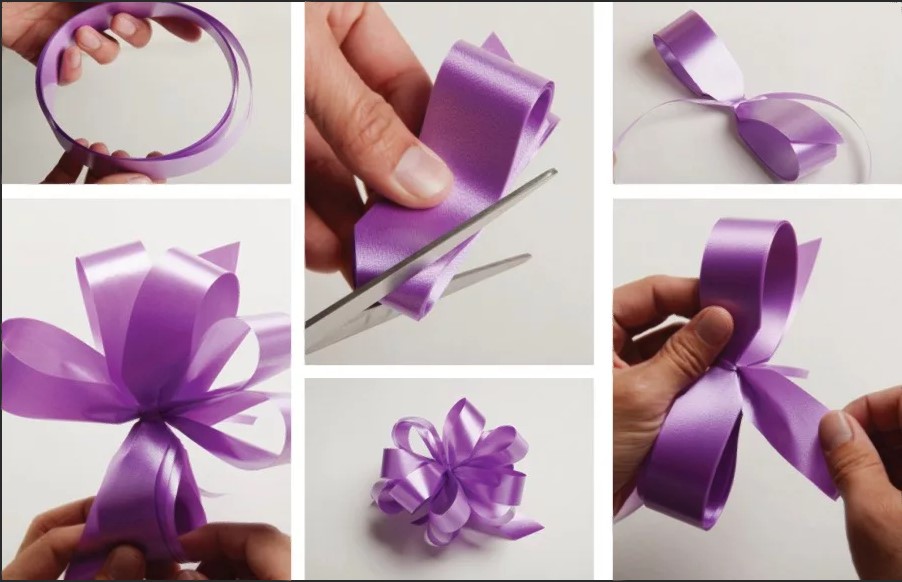
The tape must be cut into 6 equal parts. The resulting segments need to be folded in half and gathered onto a double thread. Then the thread must be pulled and secured to create a product that resembles a flower in shape. On the wrong side, a felt circle should be attached to the middle of the bow, and a fastener should be attached to it. The elegant decoration is ready.
Two-color bows
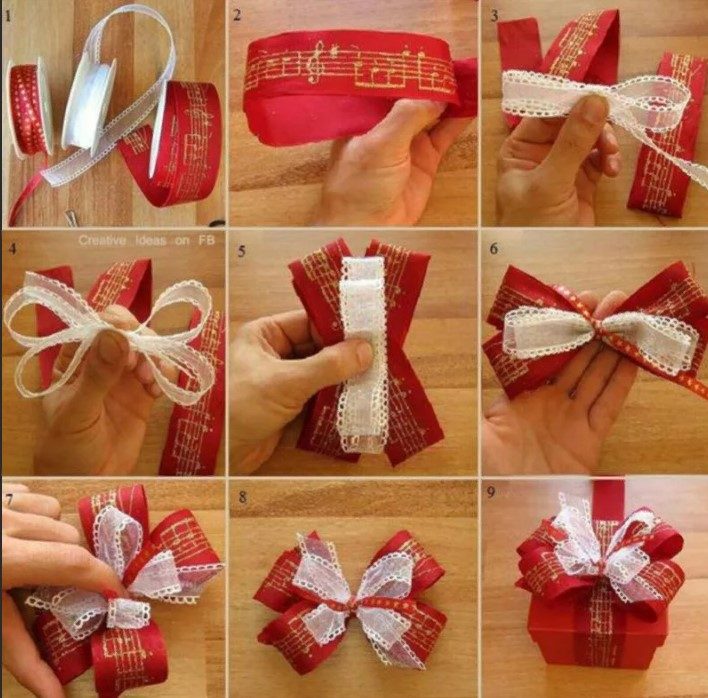
To make such decorative elements, you will need two satin ribbons (narrow and wide) of different colors. It is necessary to form a loop from the wider one, fixing its ends with glue. The same steps must be performed with a narrow tape placed on a wide one.
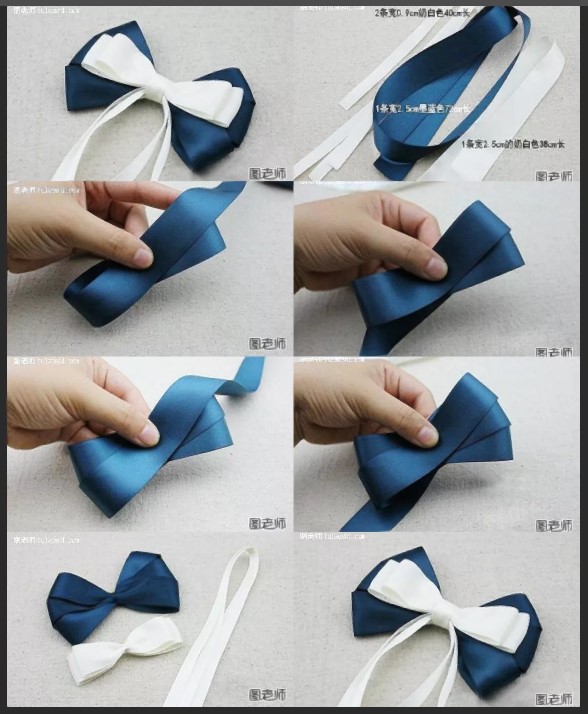
The “sandwich” made in this way must be carefully ironed with your hands, fixing it in the center from the wrong side.
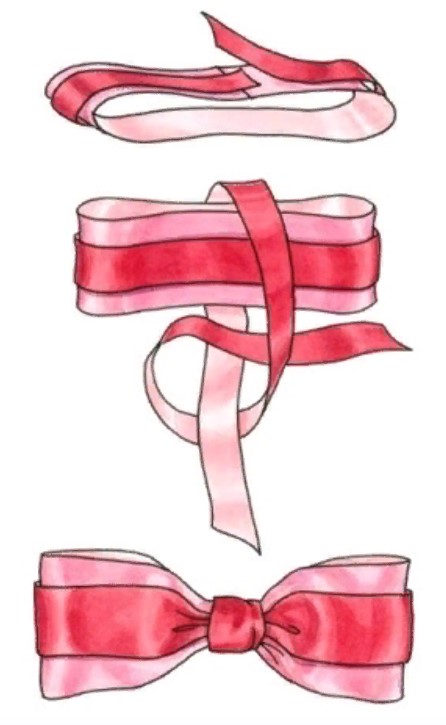
For this purpose, you can use glue or a paper clip. The final version of such a bow is formed using another ribbon of a suitable length, which will allow you to secure it to the box with the gift.
Openwork "Dior"
A very impressive product can be made from several ribbon rings of different diameters. Some people consider this to be a more sophisticated version of the formal bow. To get such a product, you need to glue together rings made from pieces of satin ribbon of different lengths. After this, they need to be connected to each other, fastened with glue or a stapler.
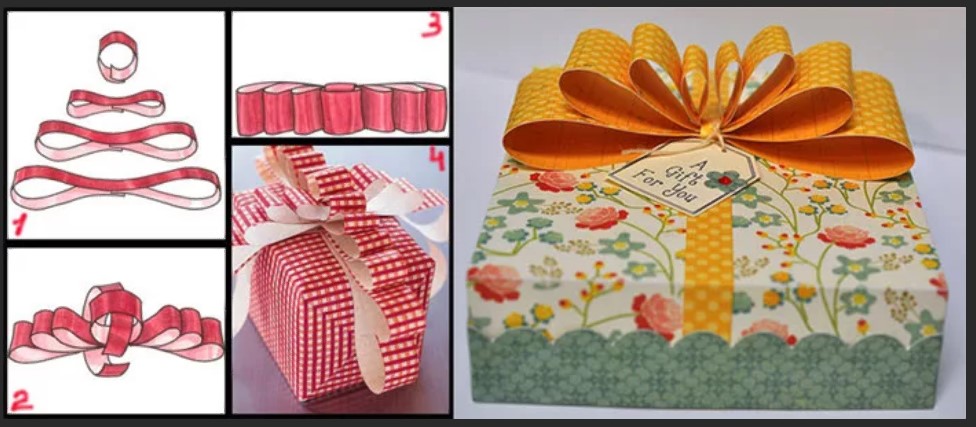
The resulting half of the bow should be placed on a base, which is a ribbon with cut out ends. Use a third (small) piece to hide the junction of the ribbons, securing its ends with glue from the wrong side of the resulting bow.
Bow with a fork
To create this type of decoration using a fork, you will need a ribbon at least 15 cm long and an ordinary four-pronged table fork.
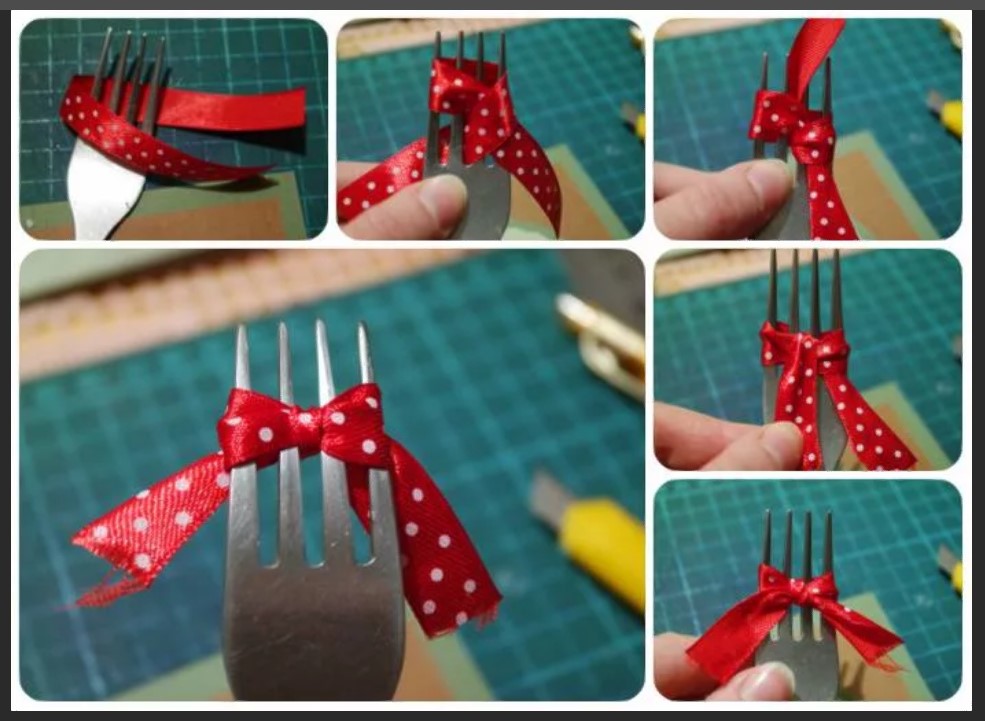
Technique:
- the ends of the fork must be wrapped in satin, crossing the ends on the inside;
- make the length of one end of the ribbon much greater than the length of the second;
- the end of the tape, which is longer, should be inserted into the middle gap between the tines of the fork, after which it must be brought up between the second and third tines (the resulting loop should not be tightened yet);
- the tape needs to be threaded inside the loop, from which you then need to stick out the end of the workpiece and tighten the knot;
- the resulting product must be removed from the fork and the ends straightened.
Kanzashi technique
To make a bow using this technique, you will need to perform the following steps:
- It is necessary to cut small rectangles from the tape for petals (the more of them you get, the more voluminous the product will be);
- the tape must be placed on a flat surface with the wrong side up;
- the upper corner must be folded to the bottom line and secured with a safety pin, after which the rectangle must be turned over;
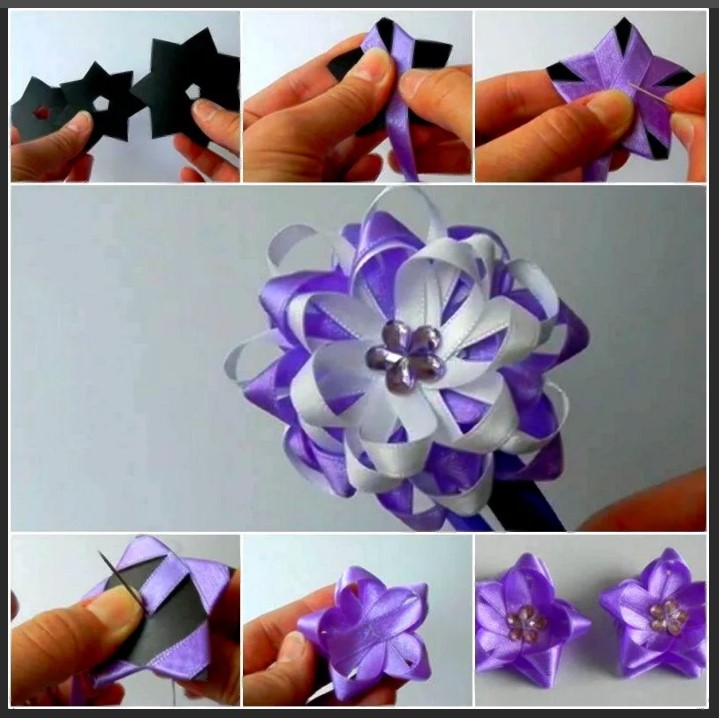
- on the front part you need to bend the sharp corner down, hide the end, and secure it with a pin;
- the same actions must be performed on the opposite side;
- the workpiece should be folded so that the curved corners fall inside;
- the bottom edge must be stitched and tightened, turn over and straighten the resulting element;
- you need to make the remaining petals in the same way;
- to form the bottom layer, you need to put 7 petals made using this method on a thread and close them in a circle, for the middle layer - 5, and for the top - 3;
- to the middle part of the bottom layer you need to attach the base from the inside with glue;
- on the front side it is necessary to glue the middle layer to the bottom layer, and then the top one.
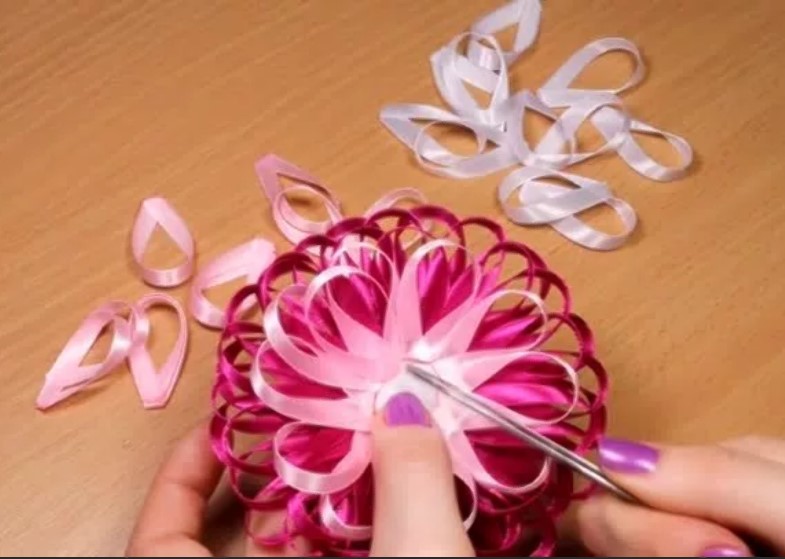
The middle of the finished product can be decorated with a large bead.
Having mastered the basic techniques for making bows, you can learn how to effectively decorate any clothes and wardrobe items.


 0
0