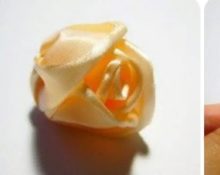
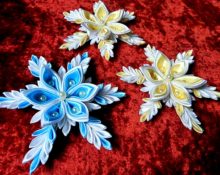
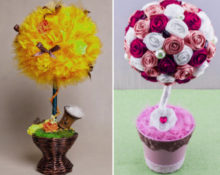
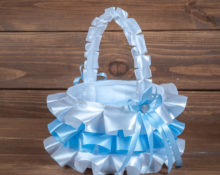
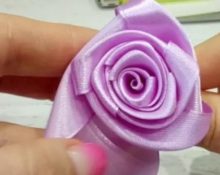
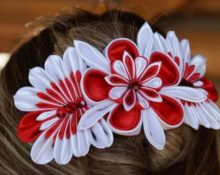
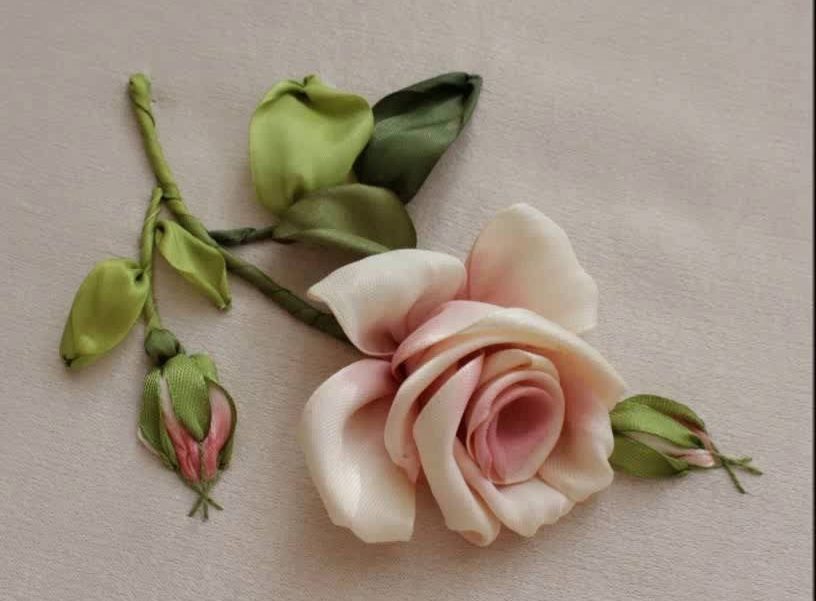
 Satin ribbons are soft and pliable, easy to shape, and to finish the edges you only need to burn them over a fire, so they are well suited for creativity. Making crafts will not take much time and labor, although they look complex and incomprehensible. Every needlewoman should once try to create a simple flower from this material.
DIY crafts made from satin ribbons
Satin ribbons are a universal material used for making crafts using various techniques. They are inexpensive and the consumption is quite small. A detailed description of satin ribbon crafts for beginners will allow you to start your creativity.
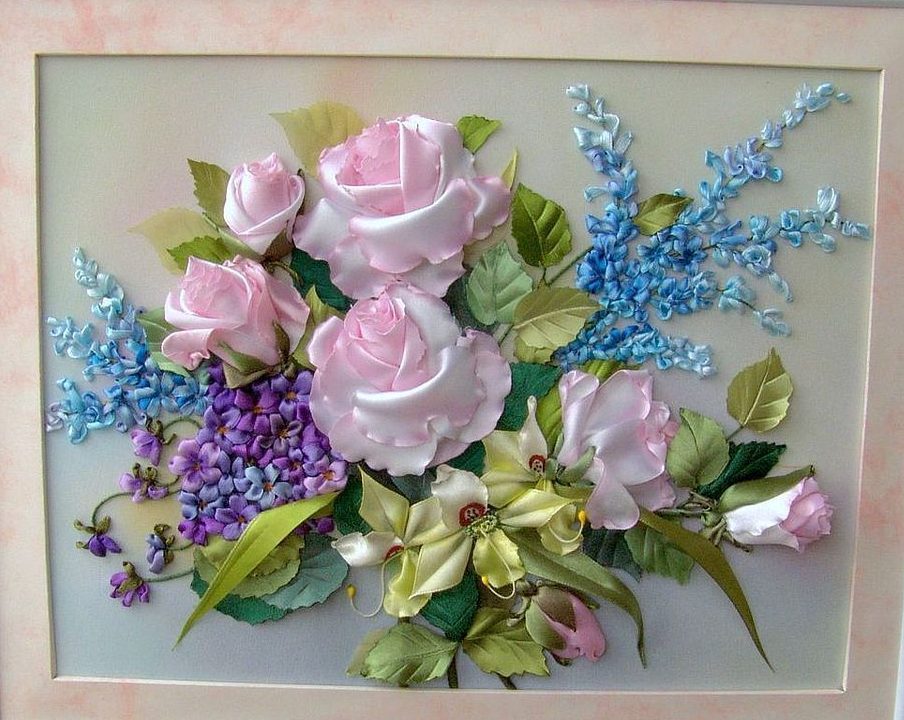
Satin ribbon panel
The tapes are suitable for making the following products:
- flowers, bows, snowflakes;
- voluminous animals;
- paintings and panels;
- Christmas trees and topiary.
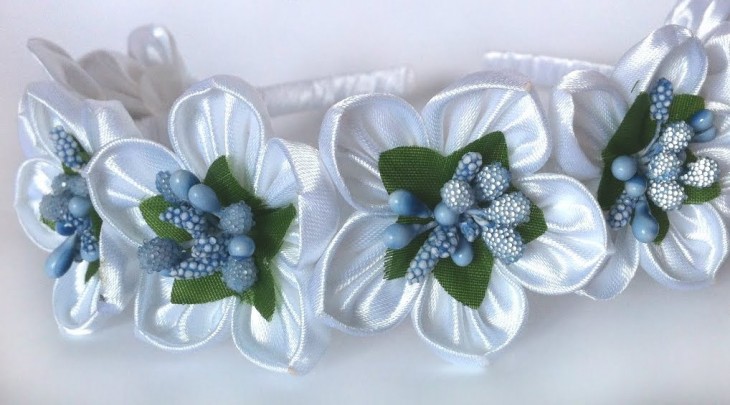
Flower headband
They also decorate:
- clothes, shoes and hats;
- wedding paraphernalia (glasses, bottles of champagne, bridal bouquet);
- premises;
- Easter eggs and New Year's balls.
Reference! To decorate a gift box or bouquet, you do not need any additional tools. Enough satin ribbons and a little work.
Necessary materials
For the manufacture of each craft, materials are selected individually. Depending on the size, desired colors and purpose.
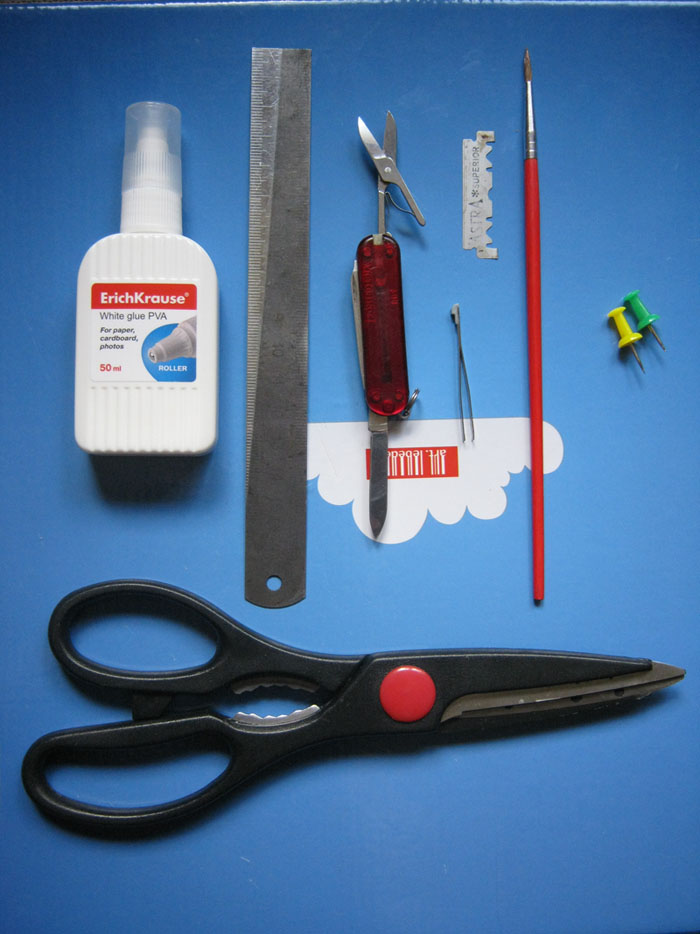 But there is materials and tools that will be needed in any case:
- ribbons of various shades and widths;
- scissors, pencil, ruler;
- needle, thread;
- lighter or candle.
Important! To make crafts from satin ribbons, you can use a special soldering iron, which simultaneously cuts the fabric and melts the edge.
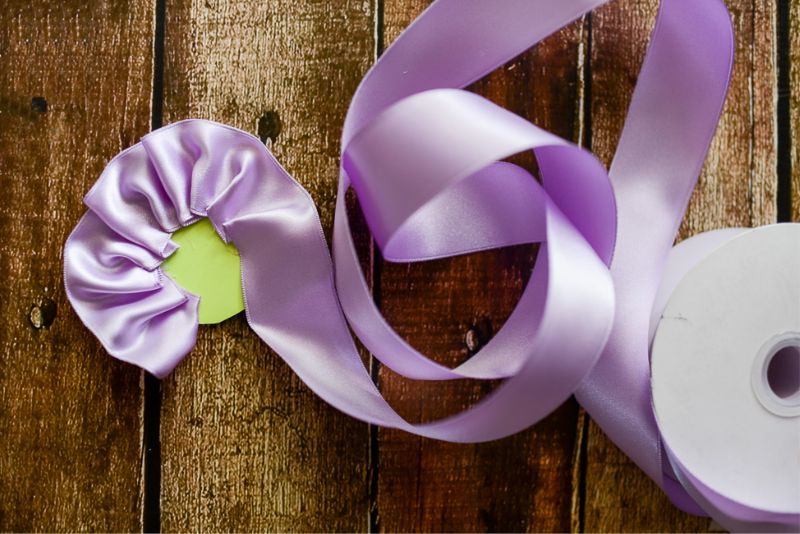
Different techniques for making crafts
Crafts are made using various methods. They are easy to understand even for a beginner, although the products often look luxurious, natural and complex.
Kanzashi
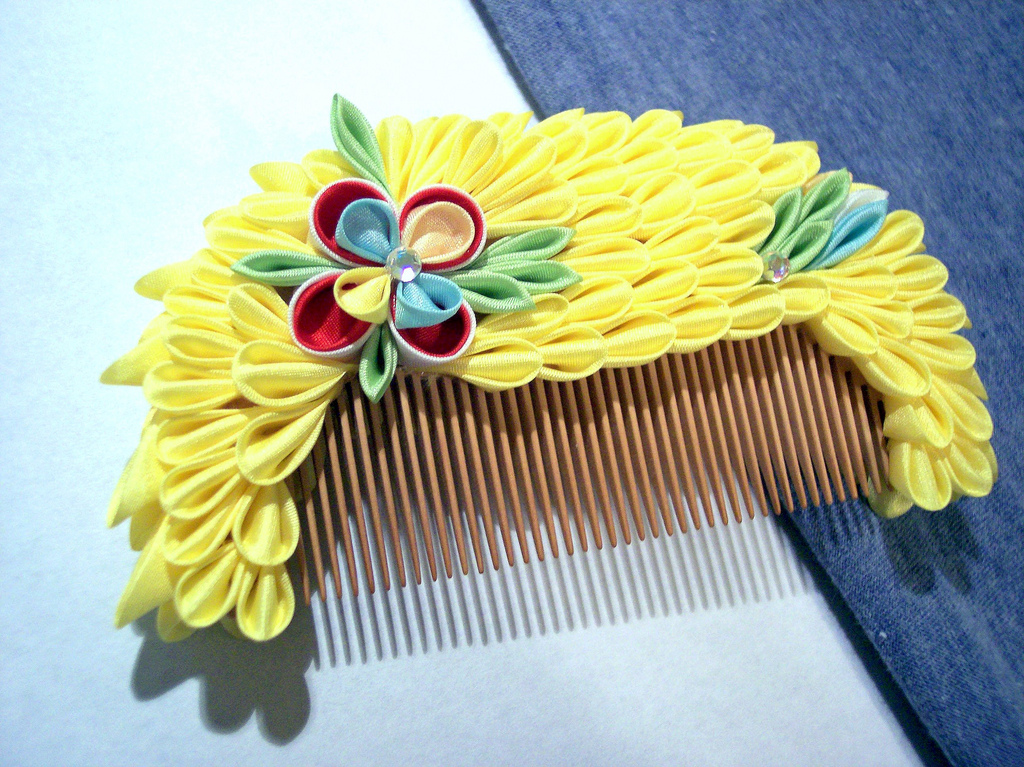
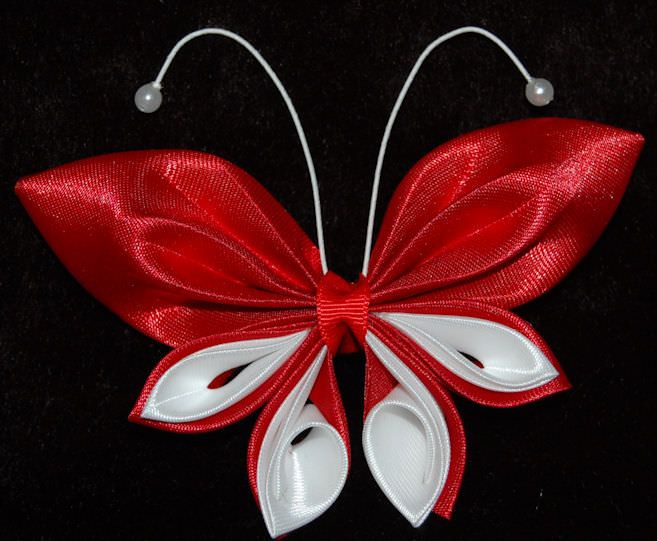
The Japanese technique of making decorations for hairpins, headbands and hair clips from ribbons is kanzashi. Modern craftswomen create not only hair decorations using this technology, but also many other crafts. They are assembled from individual petals, which are folded like origami. Kanzashi is based on two principles for creating petals: round and sharp. The rest is the imagination of the needlewomen (photo).
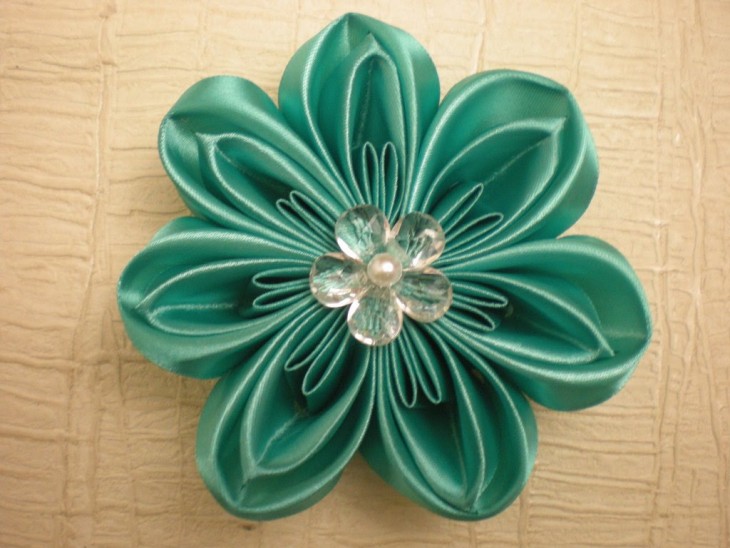 To work, you will additionally need glue and beads, rhinestones, and sequins. Satin ribbons are pre-cut into squares.
Making round petals:
- Fold the square into an equilateral triangle.
- Bring the corners from the fold to the bottom corner so that a rounded line is formed at the top.
- Fold the side corners at the back. Align the edges.
- Burn the cut and press to secure.
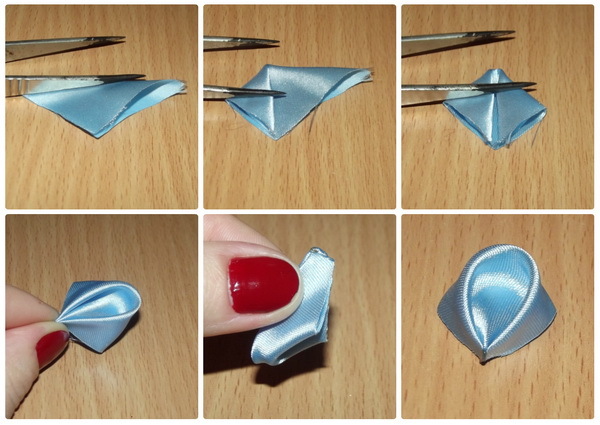
In the finished product:
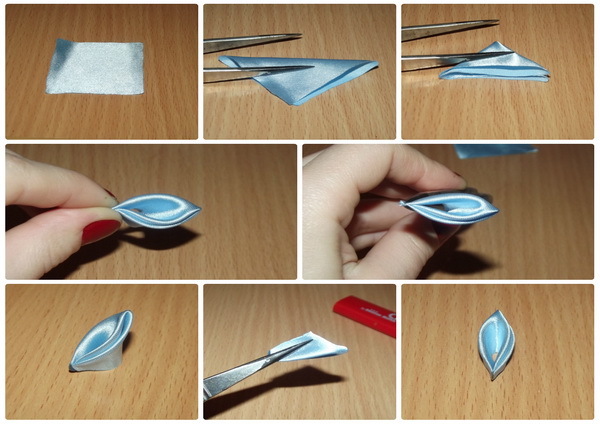
 Making sharp petals:
- Fold the square in the same way as in the first option.
- Connect two corners, folding at the top.
- Fold the petal in half again.
- Burn and fix the corner.
- Trim the bottom edge and melt the cut over the candle.
 More often, this technique is used to make flowers and snowflakes for hairpins, hairpins, headbands and elastic bands.
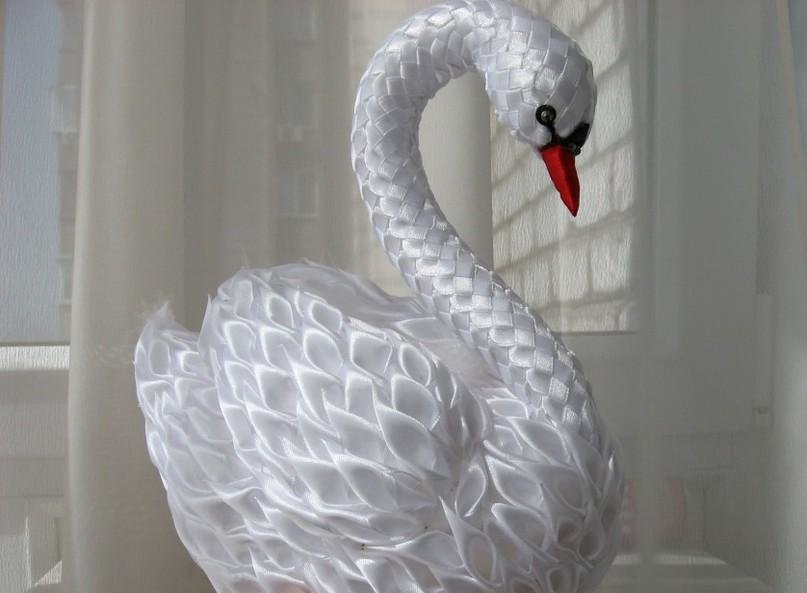 Butterflies and kanzashi flowers will be a wonderful decoration for clothes in the form of brooches, and voluminous swans, peacocks and Christmas trees will become interior decor.
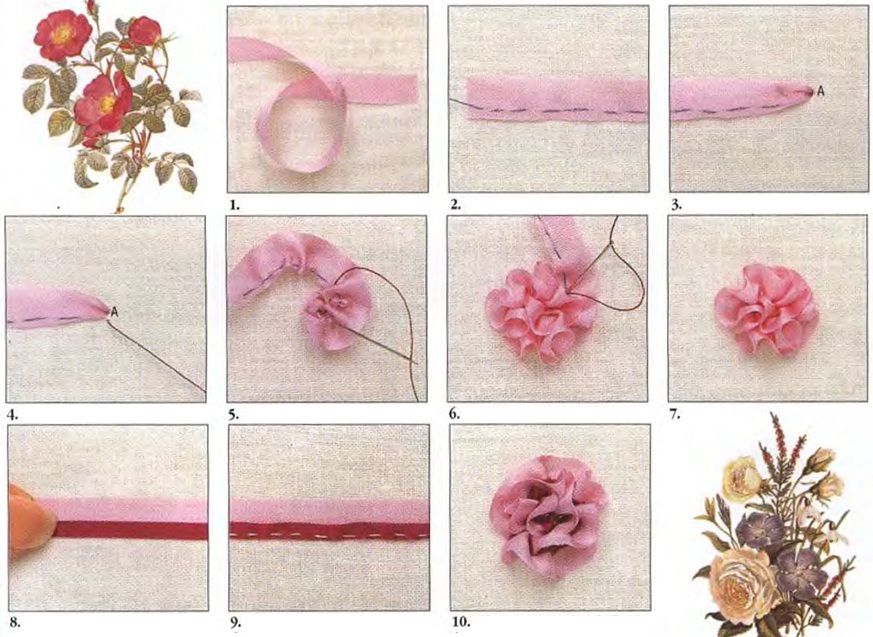
Melted petals
This technique is good for creating roses, peonies and poppies. The flowers look natural, but not as neat as kanzashi. Only synthetic tapes are suitable for work. You can only choose the right material by trying.
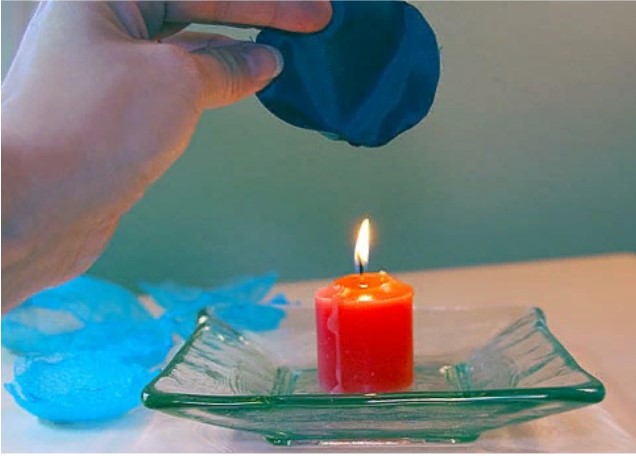 Additionally, prepare tweezers with long tips, cores or beads. To create flowers from melted petals you need:
- Draw a petal on paper. If it is a circle or a flower shape, then each piece is 0.5 cm smaller than the previous one, at least 10. If it is a drop or a heart, then make 3-4 sizes of at least 6 pieces.
- Cut blanks from tape.
- Melt the petals over a candle; it is better to hold them with tweezers and at a short distance from the fire.
- The petals in the shape of a circle and a flower are connected in the center, and the drop and the heart are collected at the bottom. Then the core is attached.
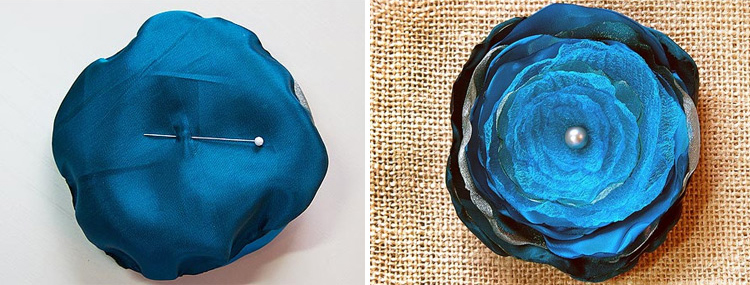 Crafts with melted petals are suitable for creating large flower arrangements. And also for decorating brooches or hats, but you should carefully select the clothing style for such accessories.
Embroidery with satin ribbons
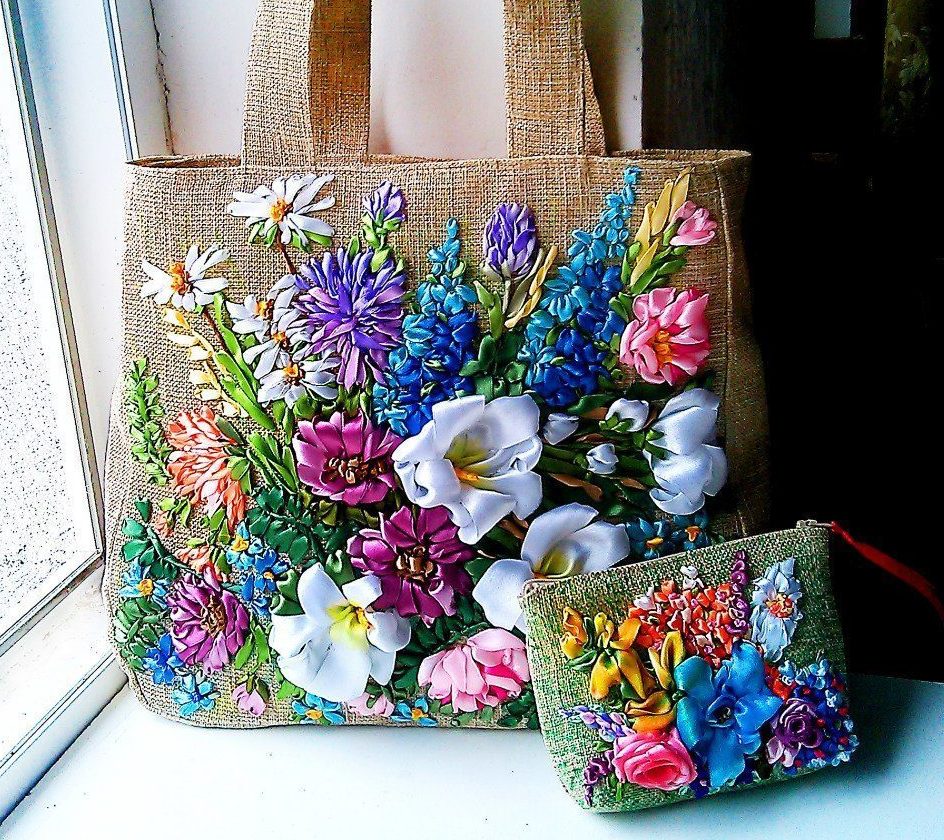
Any embroidery is popular at all times, and if you add ribbons to it, the picture seems to come to life. The creative process is complex and requires special perseverance and accuracy from the master. To work, you will need base fabric and a special needle with a large eye.
 Before you start working, it’s worth learning the basic stitches of the technique:
Straight stitch. It is made as a thread seam.Used to create petals.

Straight stitch
French knot. Suitable for depicting buds. The needle is brought out to the front side and wrapped with tape, then a puncture is made next to the previous one and the needle is returned inside out.
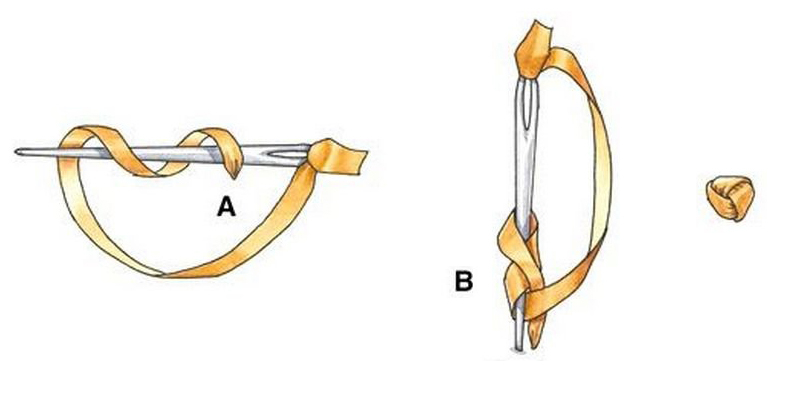
French knot
Twisted stitch. On the face, the tape is pulled and twisted so that even turns are obtained. The needle is inserted at the required distance and brought out to the wrong side, where the tape is secured with threads.
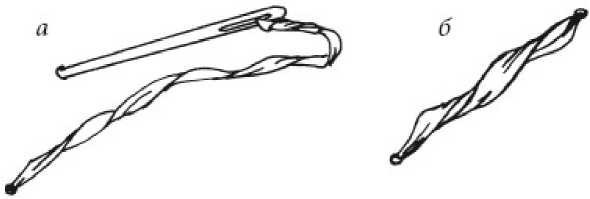
Twisted stitch
Japanese seam. The tape is laid out on the face and a needle is stuck into it, leading to the wrong side. This is how leaves are created.
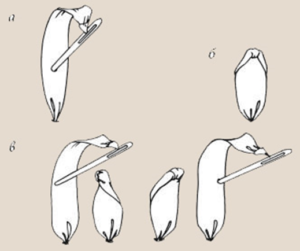
Japanese stitch
Knowing these stitches, you can easily learn how to make derivative stitches.
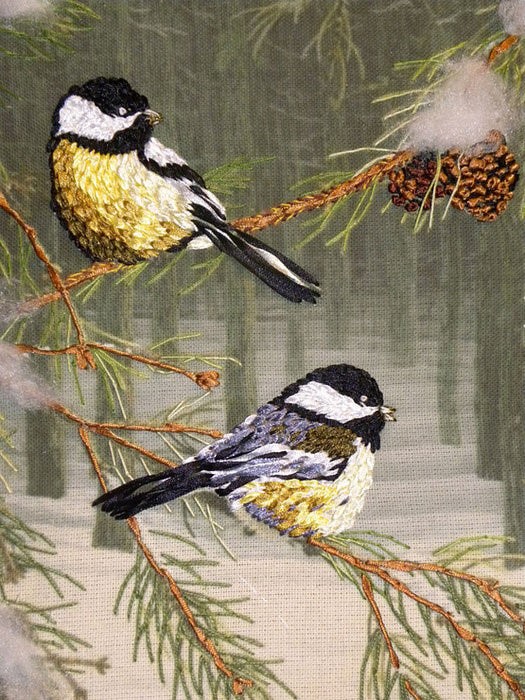
Embroidery with satin ribbons
Three-dimensional rose embroidery
Stages of work:
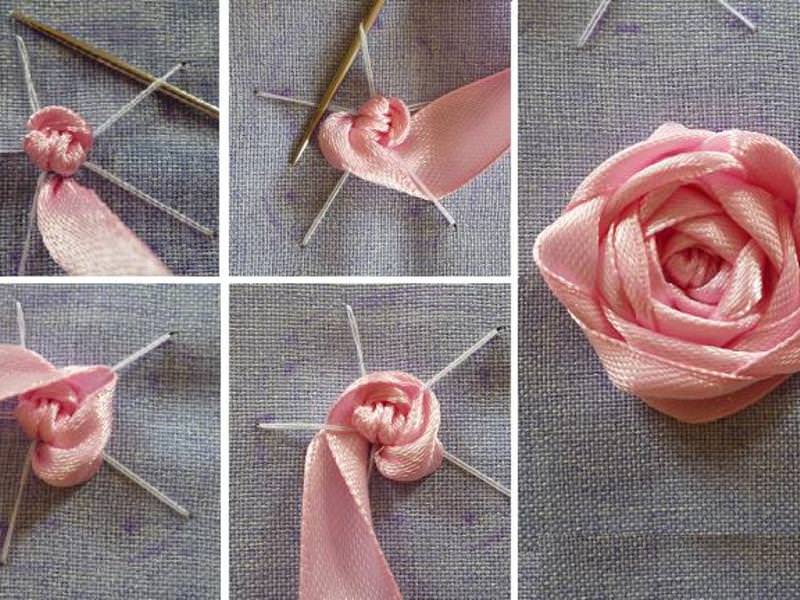
- The location and size of the flower are marked on the fabric. 5 rays are drawn from the center at equal distances. Thick threads are used to lay seams along these rays. And then the tape is pulled through them in a checkerboard pattern.
- A piece of tape is gathered at the bottom, twisted into a spiral to form a bud, and sewn on with thread.
- A rose embroidered with Japanese stitches looks most natural. Work begins from the core with small stitches, then they are enlarged and laid in the shape of the petals.
 Ribbons are used to embroider paintings and panels, and are also used to decorate clothes, bags, and pillows.
Important! It is better to use a thick, blunt needle. This way the hole will be large enough for the tape and it won’t break the threads of the materials.
Other options
There are many more different types of “tape creativity”.
For example, the bride's bouquet can be made from twisted roses. To do this, you will need a tape 4-5 cm, 1.2 m long. Fold a corner on one side and twist it into a tube.Wrap the core with tape until the end of the length, twisting it at small intervals, from the face inside out and back again. The second edge is hidden under the last petal, and the structure is secured by stitching with thread.
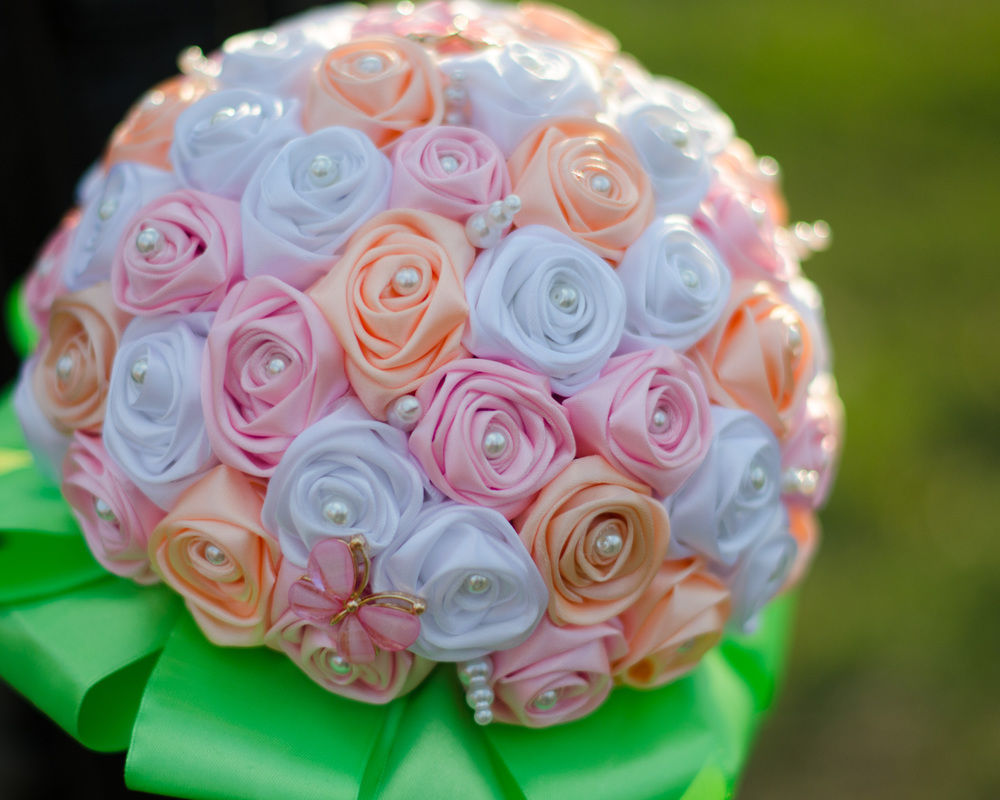
Bridal bouquet of twisted roses with beads
Using the artichoke technique they turn out great New Year's toys. To do this, you will need a foam base, satin ribbons of three colors, 5 cm wide. We cut them into squares and iron them in half. Attach one square to the base. Align the center of the rectangle with the center of the square, fold the corners and secure. Next, in the same spirit, pin the remaining parts. Decorate the top of the ball with a bow.
Advice! To fasten parts in this type of patchwork, it is customary to use pins with a flat head.
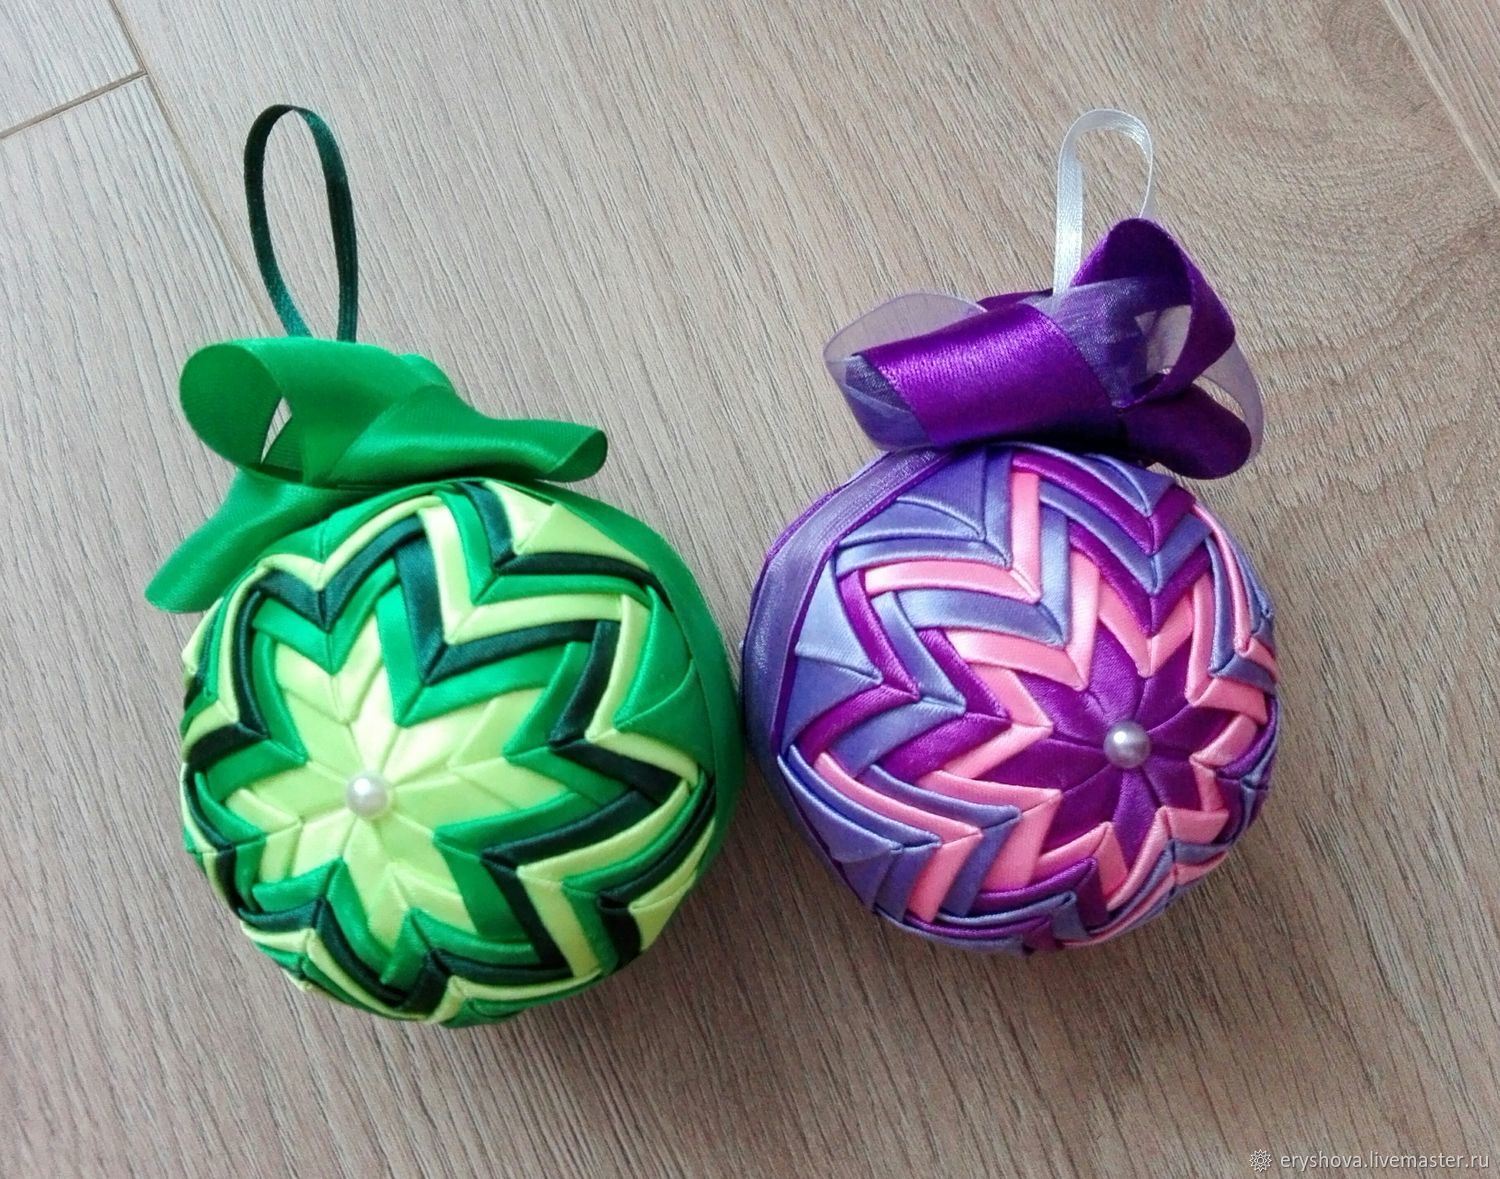
Artichoke technique: New Year's toys
The variety of colors and sizes of ribbons allows you to make each craft unique. And having gained experience, needlewomen begin to experiment, coming up with new ways of making petals. Therefore, every day more and more beautiful and interesting works appear in various techniques.


 0
0