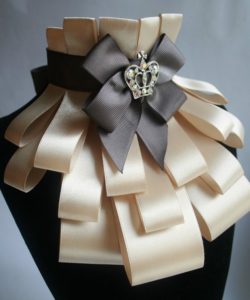
 Many clothing decorations that were popular many years ago are being reborn in modern fashion. One of these things is the forgotten jabot. This accessory can literally transform a strict office outfit, giving it originality and freshness.
It is easy to build using a minimum of materials, with a little imagination and spending a couple of free evenings. Even a novice craftswoman is quite capable of coping with this process.
To see this, let's take a closer look at the entire process. We will tell you how to make a frill from satin ribbons with your own hands.
Materials and tools
Jabot is one of the varieties of the tie we are used to. Before you start creating it, you need to prepare the necessary materials and tools.
To create it you will need to prepare the following
- Satin stripes different widths. The color can be either monochromatic or contrasting, depending on your idea.
- Felt in the same color as the main color;
- Fastening. As a basis, you can use it to create a clothespin.
- Open fire source: candle or lighter.
- Ruler, scissors, pins for temporary fixation;
- Glue or glue gun.
- Decorative elements: cameo, beads, rhinestones, sequins.
Reference! Instead of an open fire, you can use a wood burning device or even a regular soldering iron.
How to make a frill from satin ribbons
The process of creating this unusual thing is quite simple. To verify this, I propose to consider the creation of an object using a specific example.
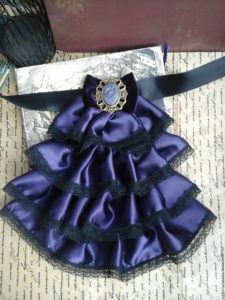
To implement it, you will need a satin strip 5 cm wide of dark blue color in sufficient quantity, a cameo (you can use a large rhinestone), black narrow lace and a satin ribbon for the base.
Completing of the work
- Cut four pieces of varying lengths from the navy blue ribbon. Each subsequent cut when gathering should be larger than the previous one.
- Fold the main ribbon into a bow-base.
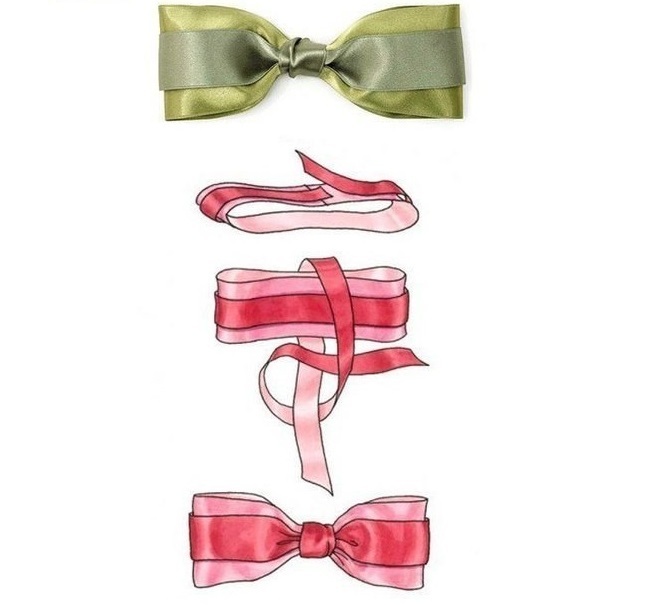
- Attach the smallest tier to the main bow.
Reference! Instead of PVA and a glue gun, you can use Moment-gel.
- Next, attach the shuttlecocks incrementally to each other.
- Glue the resulting blank to the main tape.
- Attach the central element.


 0
0