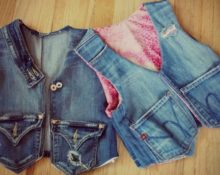
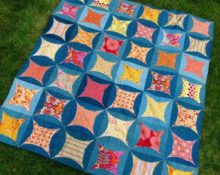
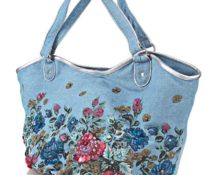
Over time, every family accumulates a whole stack of old jeans: men's, women's and children's. Out of fashion and becoming tight, with broken zippers and worn out knees, they can lie in the linen closet for years. From time to time, they are thrown out, along with other clothes that remain “out of use.” But not thrifty housewives - they can always find a use for used denim. For example, turn it into a stylish patchwork bedspread.
Is it difficult to sew a blanket from old jeans with your own hands?
No, but it will take some time, so you will have to be patient.
What will it take?
The following should be on hand at the work site:
- Old jeans.
- Ruler and centimeter.
- Pencil, pen, thin piece of chalk or soap.
- One or more stencils.
- Tailor's scissors, fabric ripper (or nail scissors).
- Sewing machine.
- Needles and threads.
- Additional fabrics and decorative supplies (as needed).
Important! A large blanket will take a good dozen jeans. It is desirable that they be the same in density and composition.
Where to begin
Before you start sewing, you need to decide on the appearance of the future product. It could be:
- simple and complex cut;
- single-layer and two-layer;
- without unnecessary details or decorated.
For beginners in sewing, it is better to limit yourself to a simple plaid style. It is a combination of identical square flaps, the edges of which are stitched onto the front side.

In order for the bedspread to be the desired length and width, you should calculate the exact number of squares and their parameters, taking into account seam allowances. For example, for a simple blanket measuring 150*210 cm, you will need 140 blanks with a side of 17 cm. In the finished product they will be 15*15 cm in size, since 1 cm on each side will be spent on seams.
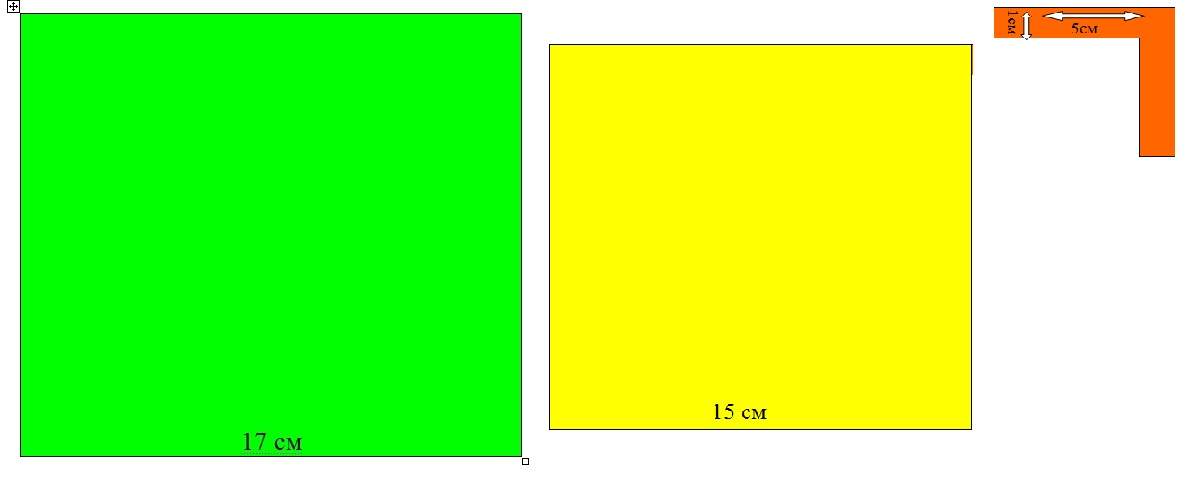
You also need to take care of stencils, which can be cut out of thick cardboard. You will need three of them:
- two squares 17 * 17 cm and 15 * 15 cm;
- angle with rays 5 cm long and 1 cm wide.
Step-by-step instructions for making a bedspread from old jeans
So that the painstaking work is not in vain, and the result does not become a disappointment of the year, you need to follow a certain sequence of actions.
Preparation of recyclable materials
First you need to wash and dry your denim items. For the creative process to be more or less comfortable, the material must be clean.
Then you will have to separate all the parts of the jeans from each other. This can be done in two ways:
- Open each item. In this case, there will be more fabric, but its color inside the seams is usually darker.
- Cut the single-layer fabric along the edge parallel to the lines.
Large pieces of workpieces need to be ironed carefully.
Cutting patchwork blanks
To speed up the process and obtain more even flaps, it is rational to use a prepared 17*17 stencil. You need to place the stencil on the fabric, trace it, and then cut out the square along the outlined contours with sharp scissors.
By the way! Having placed the pattern on the denim, you need to make sure that one side of the square coincides with the stroke of the grain thread, and the other with the transverse thread. If you do not do this, the bedspread may become deformed after the first wash.
It’s better to immediately mark the stitching areas. To do this, a corner stencil is placed on the corner of each workpiece on the front side, and a smaller square pattern is inserted into it. Then the corner is removed, and the square is outlined with a pen on a light material or with soap on a dark material.

Assembling the bedspread
At this stage you will need to “play” puzzles. Since it is almost impossible to choose a dozen old jeans of the same color, you need to lay out a drawing of the future blanket on the floor. Then number each flap so as not to confuse their order during further work.
You can also simulate the drawing on a computer, taking into account the number of squares of each color. After that, lay it out according to the diagram.
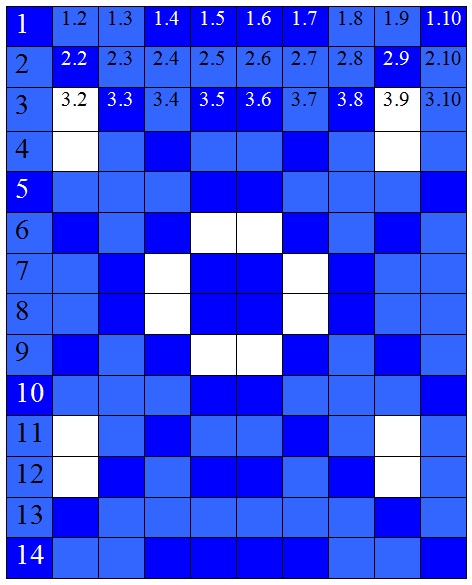
So, for example, in this pattern:
- 52 elements dark blue;
- 72 – light blue;
- 16 – white.
Stitching parts
First you need to form 1 row, then all subsequent ones to get patchwork stripes. Focusing on the outline of the part:
- fold;
- baste by hand;
- stitch.
The resulting “semi-finished products” should be thoroughly steamed, straightening the edges of the squares in different directions. After this, stitch adjacent strips together.
Finishing the finished patchwork fabric
To make it complete, you need to:
- using a sewing machine, sew a straight stitch or zigzag along the connecting lines of the flaps;
- do the same along each side of the sewn blanket, retreating 1 cm from the edge;
- sweep the protruding edges of the squares, pulling out the longitudinal threads, leaving the transverse ones, or vice versa (depending on the side);
- decorate the entire perimeter of the product with fringe.
 Old jeans are an inexhaustible source of creativity. Experienced needlewomen are able to create more complex and original bedspreads.
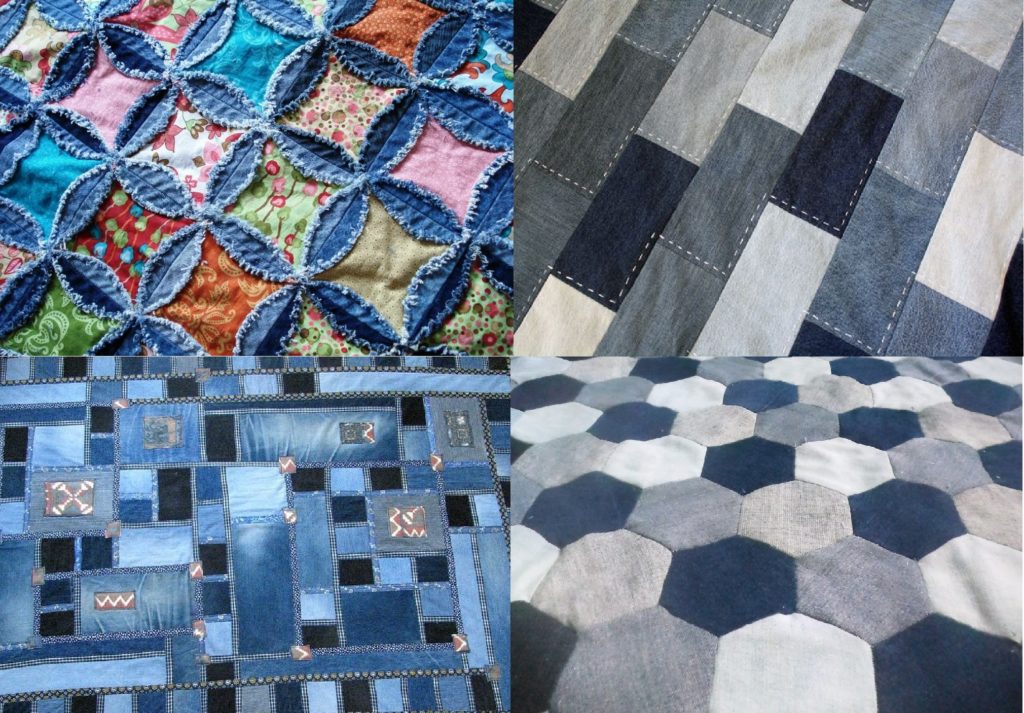
By using your imagination and experimenting with geometric shapes, textures and finishes, you can create a real patchwork masterpiece. It will add charm to the interior and become a source of pride for the owner of the house.


 0
0