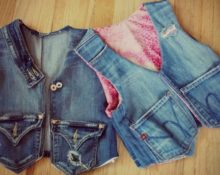
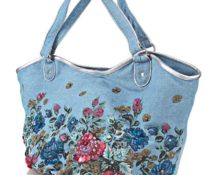
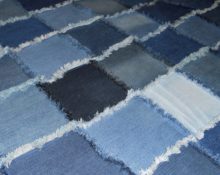
Every woman in her house has not only old jeans, but also remnants of other fabric. You can, of course, throw them away or use them as rags, or you can «dress up» furniture, both new and old, into patchwork style clothes.
@yandex.kz
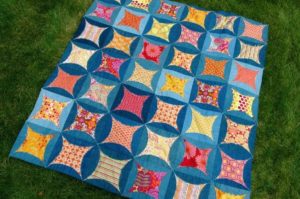
How to sew a colored blanket from old jeans and bright scraps
Everything you need, basic recommendations, as well as the sequence of actions will be approximately the same as described in previous article on how to make a simple denim blanket with topstitched edges. We will also leave the size unchanged - 150*210 cm. However, there are several differences:
- This time the blanket will be two-layered - «face» will be on both sides. If the raw materials (denim and cotton) are of different colors, you will have to work magic with the pattern twice to make the product look perfect.
- The stencils will change slightly: they will be of different shapes (round and square).
- At least twice as many parts will be required.
By the way! If you plan to cover yourself with this blanket, it is better that the denim is thin and soft. Otherwise, the product will be somewhat rough.
What should be on hand
In order not to run after this or that little thing, you need to place everything you need next to your workplace, namely:
- old jeans;
- pieces of colored cotton fabric (chintz, calico, satin);
- thick cardboard for stencils;
- ruler, compass, accessories for drawing on cardboard and fabric;
- scissors;
- sewing machine and other sewing accessories.
After everything is put in place at arm's length, we begin to act.
Preparation of patterns
For our blanket you will need two of them:
- Circle.
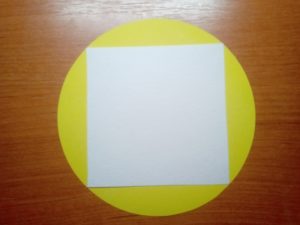
- Square: it itself should fit into a circle, and the corners should lie on the circle.
It is important to correctly calculate the size of the stencils. So, for example, if the square is 15*15, 140 pairs of parts will be required, 10*10 - 315. To calculate the diameter of the circle, use the well-known mathematical formula - the square of the hypotenuse is equal to the sum of the squares of the legs:
d2 = a2 + a2, where a is the side of the square pattern, d is the diameter of the round pattern;
d = √2a2
You need to substitute in the formula instead of “a” a value equal to the side of the square.
If a = 15 cm, then the diameter of the circle will be:
d = √2 * 152 = √2 * 225 = √450 = 21.2 cm.
If a = 10 cm, then the diameter of the circle will be:
d = √2 * 102 = √2 * 100 = √200 = 14.2 cm.

@textile-en.techinfus.com
The diameter of the round pattern intended for denim should not be greater than the width of the denim flaps. In my case, 21.2 cm is too much, so I settled on option No. 2 with a square side of 10 cm and a circle diameter of 14.2 cm.
With a square, everything is clear: we measure 10 cm sides on cardboard using a ruler (or better yet, a square) and cut them out.To make a circle:
- divide the diameter in half: 14.2 ÷ 2 = 7.1 cm;
- set the width of the legs of the compass according to the ruler to 7.1 cm;
- draw a circle on the cardboard and cut out a template;
- put the square into the circle and check whether the corners coincide with the circle.
@textile-en.techinfus.com
Transferring stencils to fabric
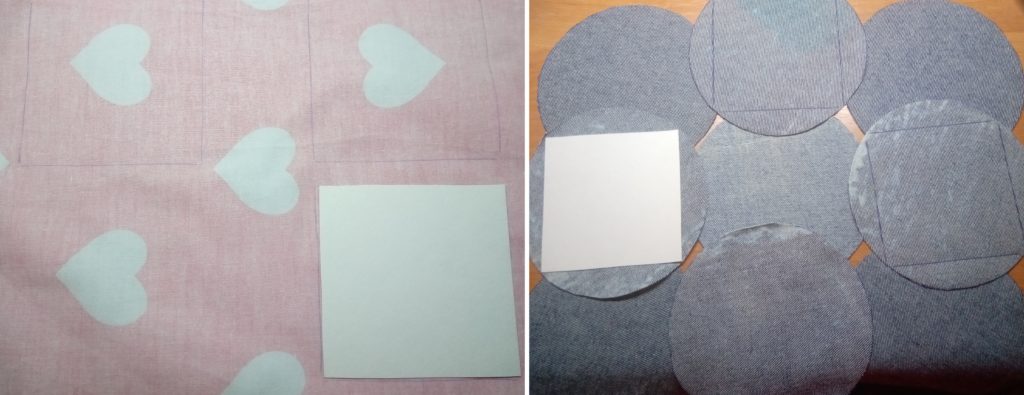
We apply a round pattern to the wrong side of the ripped, washed and ironed jeans, trace and cut out.

@textile-en.techinfus.com
The square template will come in handy twice:
- For the manufacture of «motley» half of the parts (the steps will be the same as in the case of a circle).
- For «drawings» on the denim blank, the stitching places and the positions of the colored flaps.
@textile-en.techinfus.com
After all the parts are prepared, you can start sewing.
Assembly
First you should tackle the denim part:
- make a drawing from denim (instructions are also in the previous article);
- baste and stitch the parts from the wrong side according to the markings.
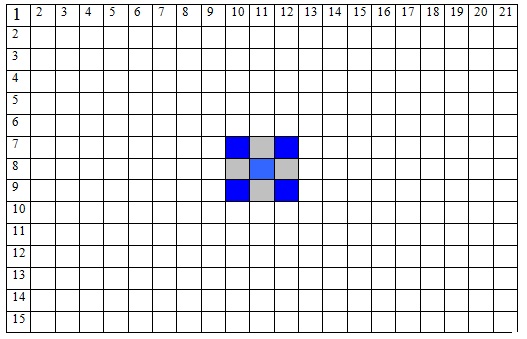
I will show in detail how to make the central part of the bedspread from 9 pairs of elements (it is color coded in the diagram).
@textile-en.techinfus.com
We lay out a model of the core of the future bedspread.

@textile-en.techinfus.com
We sew adjacent denim parts first vertically into stripes, and then stripes together.
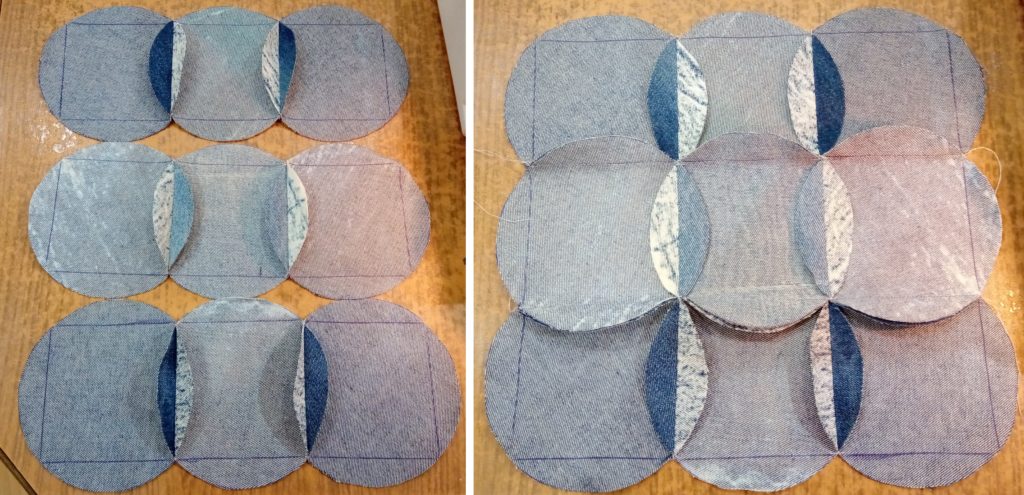
@textile-en.techinfus.com
We tie, trim off excess threads, and iron. This is what the intermediate result of the work looks like from one side and the other.
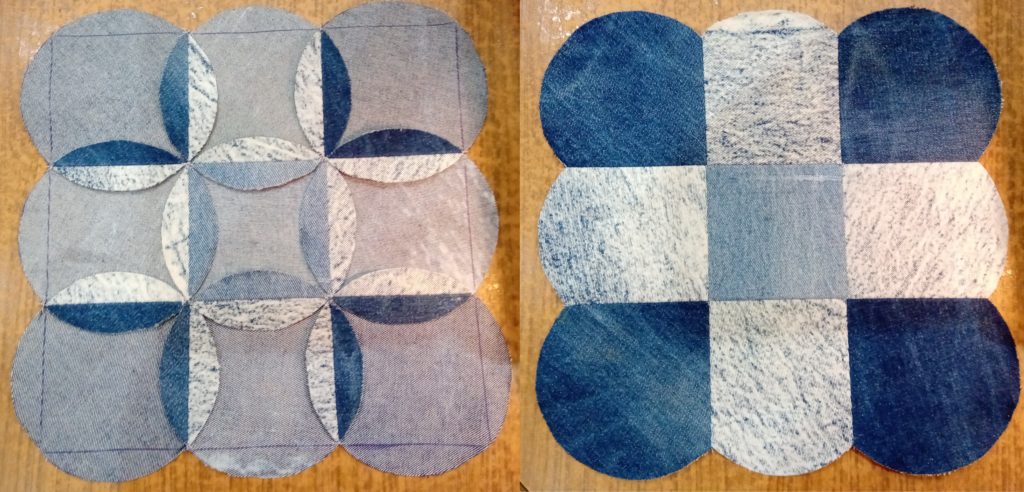
@textile-en.techinfus.com
Then, having laid the denim base face down, we insert colorful squares inside each cell in a chaotic order or in a certain pattern (here they are the same). After we bait (if necessary), cover with denim «petals», smooth and process the edges of the petals with a zigzag.
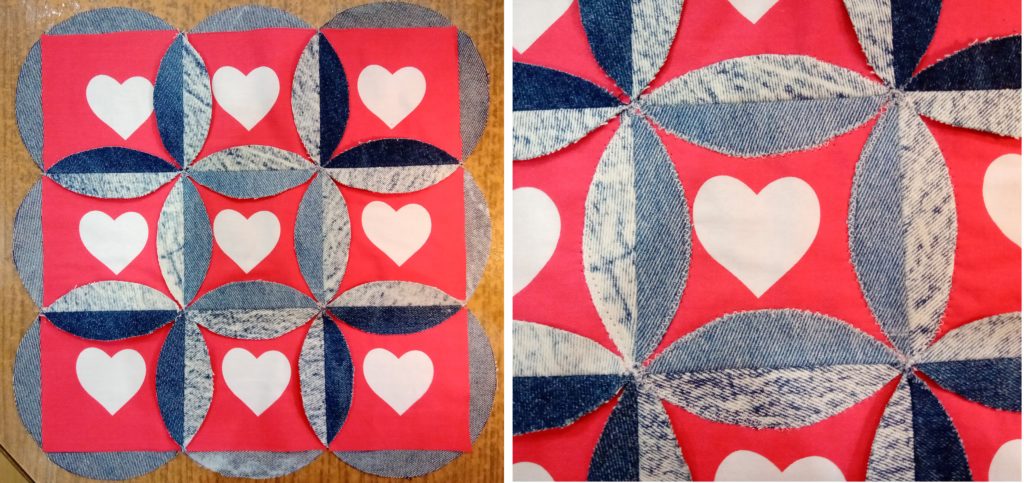
@textile-en.techinfus.com
If there is enough denim, you can continue adding elements around the perimeter. If there is not enough, set it aside until the material becomes available. When all 315 pieces are assembled, you will need to fold the petals along the edges of the blanket and complete the product.
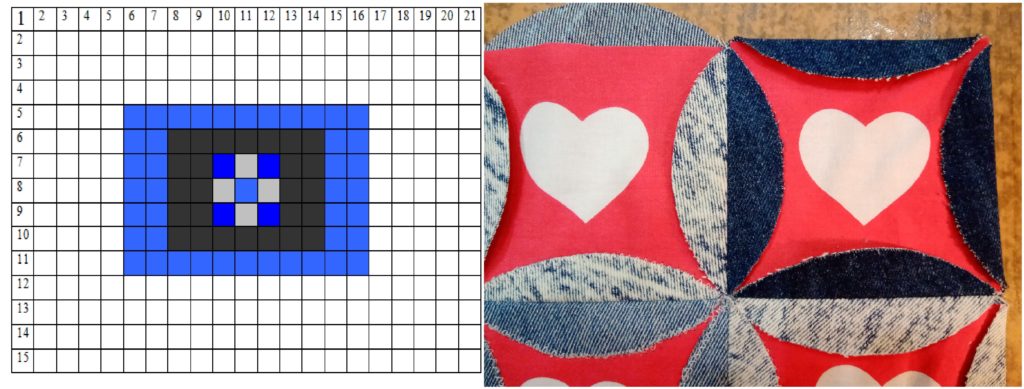
@textile-en.techinfus.com
Using this technique you can make not only a denim blanket. This way you can «dress» decorative pillow, old chair or pouf. You just need to show a little imagination and «attach» hands. Then the house will be cozy, and the goods (I mean denim and other remaining fabric) will not go to waste.
You can watch a detailed video on this topic here Here.


 0
0