 Do you want to make a felt hat, but are afraid that it will take a lot of time, effort and money. We will teach you how to easily and simply create such masterpieces. Handmade felt models will always be one and only, in it you will look elegant and feminine. To make it, you only need a couple of free evenings, desire and the necessary materials, which we will talk about in the article.
Review of felt hat models
There are several types of felt hat models, each of them has individual characteristics and some elements. To begin, choose the model that you like the most. To do this, look at the list of hats with a brief description:
 Wide-brimmed felt hat with soft, curved brims. A very beautiful version of a classic hat, perfect for everyone.
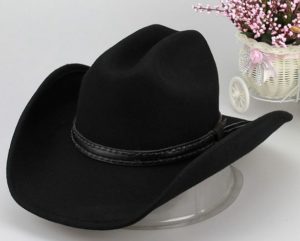 Felt cowboy hat. Everything is clear here, the Wild West immediately appears. Now it is also in demand.
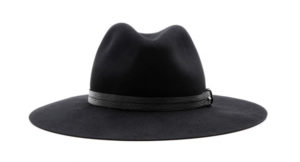 Fedora — a variation of the male model with a satin ribbon along the contour.Suitable for a representative suit, trousers with a jacket. Reminds me of the mafia.
 Cloche - the famous retro style of the hat, which has not gone unnoticed even today. Resembling a neat bell, such a hat covers the head completely, and its small brim beautifully complements the image.
 Slouch - translated means hanging. This word contains the essence of this model. The fields seem to hang evenly on the sides. It’s very beautiful, the main thing is not to choose models with very wide brims, otherwise beauty will turn into discomfort and the brims will hang unattractively and fall straight onto your face.
IMPORTANT! Among the variety of choices, you need to focus on facial contours, complexion and the color of the season. Taking into account all these factors, you can choose a felt hat to suit your look, emphasizing your strengths and hiding your flaws.
How to make a felt hat with your own hands
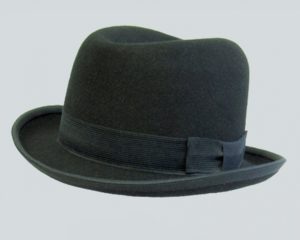 A felt hat is made very simply in just a few evenings and does not require much effort or skill. In order for everything to work out perfectly, you need to carefully study the action plan, prepare all the tools and materials, complete the drawings and get to work, making sure to involve creativity. You can find step-by-step instructions and manufacturing recommendations in this article. We'll tell you how to make a hat with your own hands and share your experience.
Required tools and materials
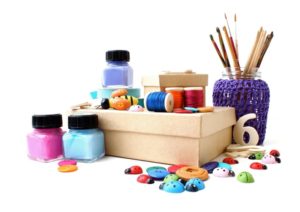 Making a felt hat is not particularly difficult. To do this, you need the following tools and materials in your arsenal:
- felt of any color to your taste;
- centimeter used in the studio;
- pins for securing parts at different stages;
- needles and threads. You will also have to sew;
- workpiece drawing;
- satin ribbons;
- glue;
- for convenience, take a jar or a special stand for making hats.
ATTENTION! This is a general set of tools for reference. In each specific case, the list can be supplemented with the necessary material supplies. For example, for decoration. The choice depends on the taste and preferences of the person.
Felt hat pattern
To obtain a finished headdress, we will need to manufacture its constituent parts. These include the brim, crown and bottom of the hat. It is necessary to take measurements from the head. The diameter will correspond to the circumference divided by pi (3.14). Based on this data, we build drawings. According to the drawings, we cut out the parts from felt:
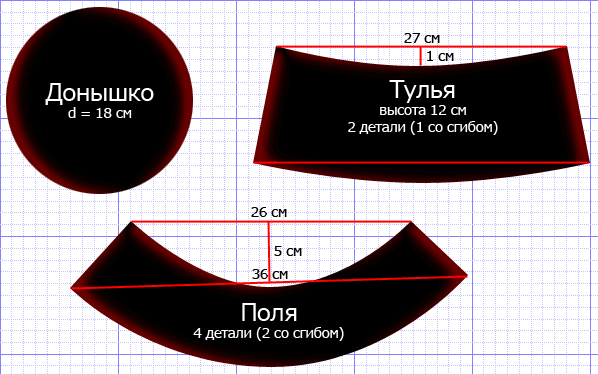
- Circle bottom 1 pc.
- Parts of the crown, average height from 10 to 15 cm 2 pcs.
- Parts of fields. You can also choose the field radius to your taste. We recommend up to 30 cm in the outer circle and 20 cm in the inner circle 4 pcs.
IMPORTANT! It is best to make all seams on a machine, this will ensure their beauty and high quality.
Cut out the felt
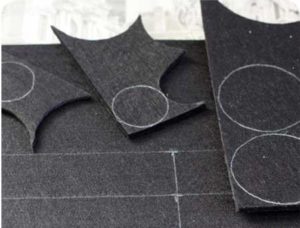 You can cut felt into pieces in the same way as other fabric, using scissors, but if they don’t work, then take a roller knife or a sharp stationery knife. When cutting, pull back the edges so that they do not jam between the scissors and under the knife blade. It is better to make marks and lines with a pencil, along which the cuts will then be made.
Step-by-step connection of hat parts
The parts are connected in stages: from bottom to top. First, the parts of the field are stitched together into a single form. Then the crown is made from 2 parts. After this, the fields are attached to the crown, and the bottom is sewn on top. The hat blank is ready. All that remains is to give it shape.
Step-by-step manufacturing instructions:
- Place the hat mold on a level place. Cover it with a bag and secure it with tape. This will make it easier to remove the finished product.
- Apply glue to the workpiece and give it time to dry.
- Steam the parts, this will allow you to give the workpiece any shape.
- Stretch the material to the desired dimensions and contours.
ATTENTION! It is better to carry out this work in a well-ventilated area to avoid dizziness.
How to decorate a felt hat
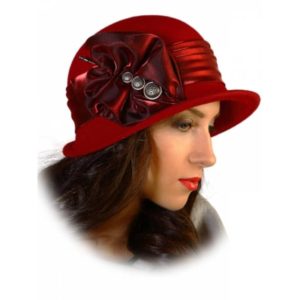 The felt hat itself is already a great addition to your wardrobe, but if you want to add some flair, you can do the following:
- Tie a beautiful ribbon around the circumference of the hat and secure it. Tie the loose ends with a bow and secure with a pin.
- Decorate the hat with fabric flowers. They can be attached to the brim or to the crown.
- You can make a composition of flowers and berries from fabric or wool, which will also be a colorful addition.
IMPORTANT! You should not make the decoration bulky, otherwise it will take all the attention and spoil the frame of the hat.


 0
0