Felting wool is a whole world that opens only to a select few.
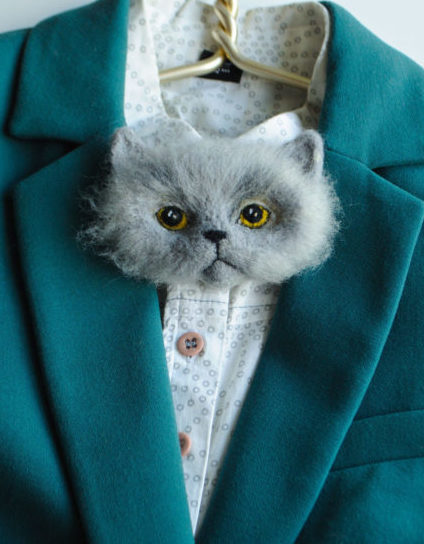
What is so good about a handmade wool brooch?
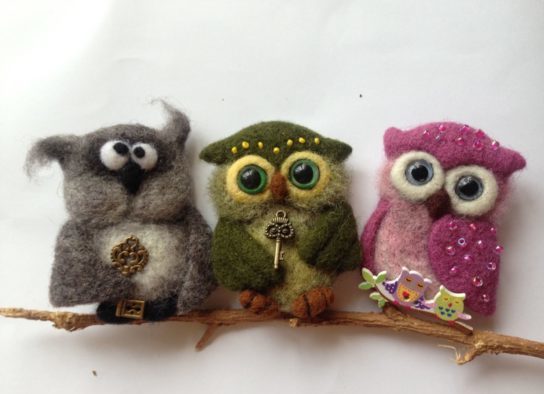
Most people today want to be stylish and unique, but how can you rush to follow all the fashion trends and how can your everyday outfit sparkle with new colors?
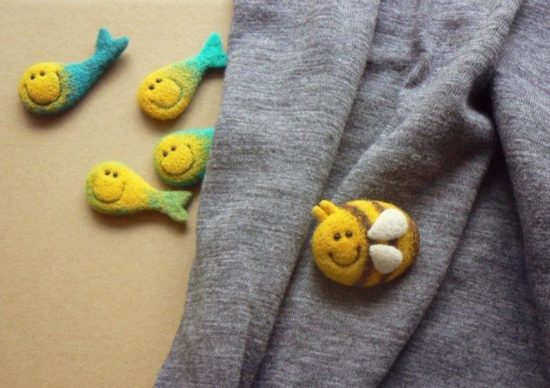
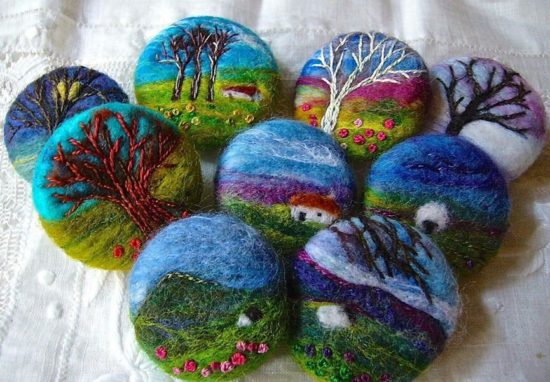
An excellent solution in such a situation would be brooch, felted wool. A handmade accessory will definitely become an object of attention not only among friends, but also among passers-by.
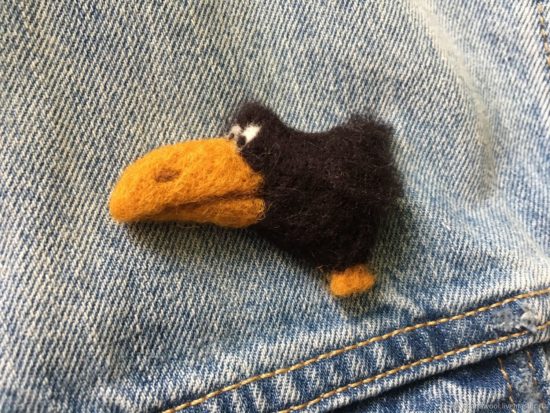
Wool brooches using dry felting technique - step-by-step instructions
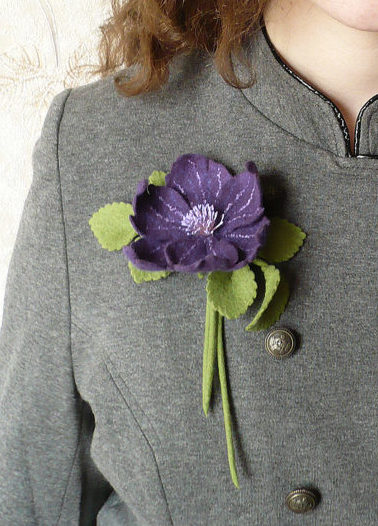
Making jewelry is a fairly common activity among needlewomen. Although the product is not large in size, there are no limits to the artist’s imagination. We invite you to dream up your imagination and make “your own” unique brooch with us. This article will introduce you closer to the intricacies of the process of felting a wool brooch, and therefore will help you avoid difficulties.
Materials
To work with wool you will need: light felt thick 3 mm And dark By 1-1.5 mm, wool for felting, needles (they are quite fragile, so buy several at once and in different sizes).
Also, to create a brooch you need foam sponge, metal clasp, zipper with large gold or silver links, transparent glue, scissors, thread in the color of the lightning, simple pencil And lighter.
Instructions
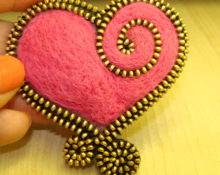
1. Prepare the zipper - remove the pawl, cut off the edges of the fabric without touching the links. To prevent the material from unraveling, burn the edges with a lighter.
To work, take a fastener with a well-melting synthetic base.
2. Then, on light felt, draw the outline of the brooch and cut it out. The base is ready. Now we take the zipper and sew it to the base. Once completed, begin felting.
Make stitches through each link, this will help achieve a more rigid and reliable shape. Pull tightly even if the brooch has curls. Carefully work out the zipper joints and corners.
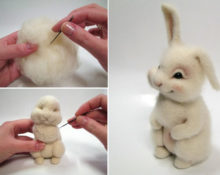
3. Place the workpiece on a foam sponge. Then take a small piece of wool and your thickest felting needle. Carefully, bypassing the zipper, you simply begin to pierce through the places that need to be highlighted with color.
Remember, needles are sharp and hurt easily.
4. Continue working with the wool until you have covered the entire surface. Next, take a thinner needle in your hands and use it to felt the wool more tightly. The thinnest needle will help to achieve a uniform surface. If felt is visible in places, then apply wool to these areas and also felt.
Separate the brooch from the foam sponge from time to time, otherwise they will become one.
5. When the wool becomes dense and felt-like, the work is finished. All that remains is to decorate it, for example, with beads or decorative stones - there is no limit to creativity.
6. Finally, you need to cover the back of the brooch.To do this, sew a fastener to thin felt. Then attach it to the back of the brooch using clear glue. When the glue has dried, carefully trim off the excess.
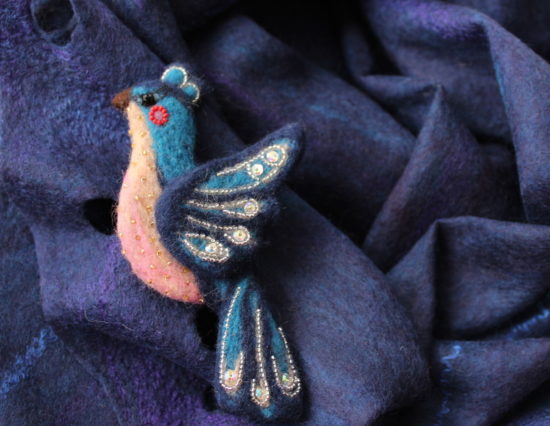
A felted wool brooch as a gift - how to decorate it beautifully?
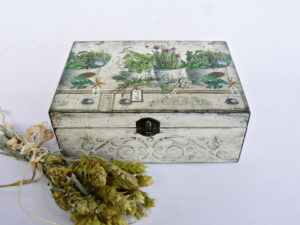
Don't know how to surprise a loved one? A homemade wool brooch can be an excellent gift idea. This can be either a simple option or an accessory with meaning. Beautiful packaging will highlight the uniqueness of the gift.
The brooch can be packed in a box - a chest, covered with napkins in decoupage style, or you can make original packaging in the Japanese furoshiki style. If the brooch is miniature, then try wrapping it in a walnut shell. As an option, also use an envelope decorated with a ribbon or a linen bag with a picture of meadow grass.


 0
0