Welcome to our master class. Today we will tell you how to felt a classic pencil skirt with your own hands. To felt a wool skirt using the wet felting method, you need to have considerable experience! If you came to us, it means you also want to buy it.
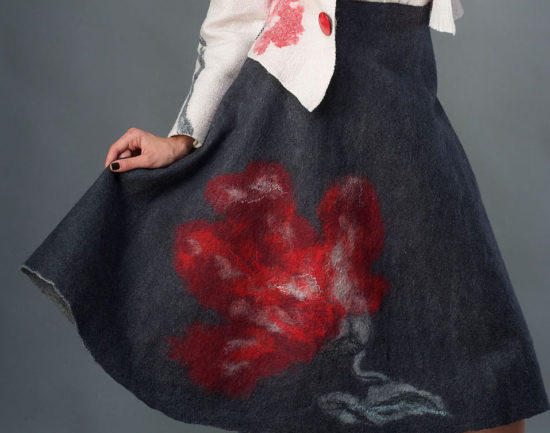
Skirt styles that you can make from wool with your own hands
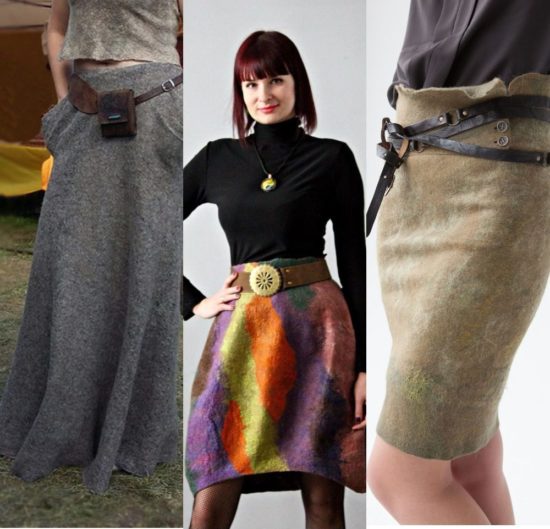
Masters of wool felting with a high professional level, can create any variety of styles of woolen skirts:
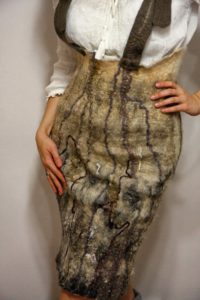
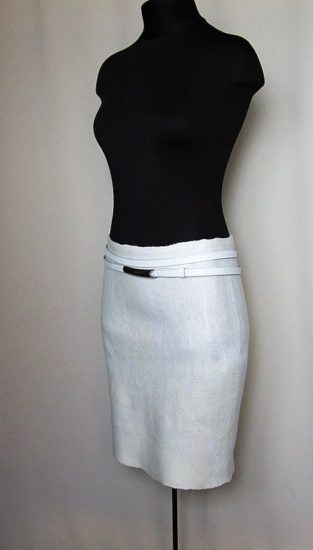
- pencil. Follows the curves of the figure. Can reach different lengths, but preferably not lower than 10-15 cm below the knee;
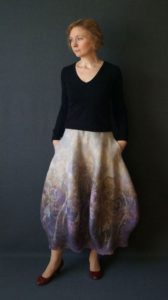
- in the shape of tulip (barrel);
- With cut: front center, hip, side, back;
- With overpriced or low waist;
- A-line, with expansion towards the bottom. May be in the shape of a “pear” or “rectangle”;
- in the shape of trapezoids (mini length or slightly below knee);
- with extended "tail" from behind or from the side;
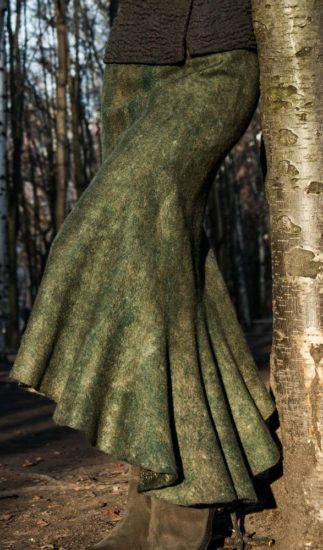
- year (“fish”);
- half sun or sun-flare;
- with multi-colored wedges and others, sometimes fantastically shaped skirts.
Do you want that too? Then we begin our master class.
How to felt a wool pencil skirt without a belt - manufacturing details
Our classic skirt will be 15 cm below the knee.
First we take measurements

We measure and be sure to record all the results:
- Waist circumference ‒ FROM (divide by 4).
- Hip girth - ABOUT (divide by 4).
- Height from waist to hips ‒ VB.
- Product length ‒ DI.
Do you need a pattern when felting skirts? How to build a template?
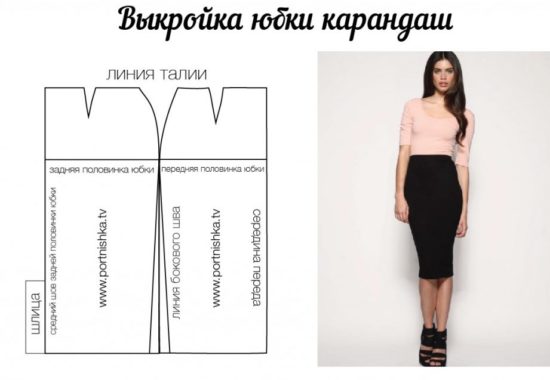
The pattern is not easy to use, it is necessary. Without it, you won’t succeed, you’ll just ruin valuable raw materials. Therefore, having taken measurements, we immediately begin to build it.
To build a template, a regular laminate underlay is most suitable. On the backing (from which we will create a pattern), use a ruler to mark an angle at 900. From the waist down, set aside 2 measurements: hip height (WB) and skirt length (D). From each point we draw 3 horizontal segments. Let's put it aside at the waist FROM:4, on the other two segments ABOUT:4 and DI:4. Mark their length and connect all 3 positions with a solid line.
So that our product actually takes shape "pencil skirts", lower the point in the center of the waist 2 cm down and connect it with a smooth concave line with the top point located on the side of the pattern. Cut out the template by folding the backing in half. It will be needed for felting and checking the correct shape of the finished skirt.
Fold the side and center lines towards each other and check that they are the same size.
A simple master class on felting a pencil skirt at home
Materials and tools used:
- semi-fine wool of any color you choose - up to 300 grams;
- hidden zipper for insertion into the skirt;
- film with air pimples 20 cm larger than the length of the future product;
- laminate substrate for constructing a template;
- laundry or liquid soap;
- warm water;
- spray;
- mesh fabric or mosquito net;
- rolling pin;
- VShM (vibratory grinding machine), if available;
- scissors;
- marker, square ruler;
- threads;
- gloves made of latex or cellophane;
- old bath towel;
- lining fabric.
Detailed instructions for wet felting a pencil-shaped skirt
Don't forget about wool shrinkage when wet felting your product. As you work, increase the original thickness by 2–3 times.
Step 1. Use a marker to transfer the pattern onto the bubble wrap. Lay out the scraps of wool in a thin layer overlapping in a checkerboard pattern - first horizontally, then vertically. Make sure to maintain the layer thickness. It should be uniform.
Lay out the wool, going beyond the drawn template, by about 5–8 cm, due to shrinkage.
Step 2. Moisten the workpiece with warm water from spray bottle. After this, cover it with a mesh cloth or mosquito net.
Add an allowance for a zipper 2-3 cm wide and up to 28 cm long on the left side of the pattern. A hidden zipper measuring 20 cm will fit here.
Step 3. Put on gloves and continue working in them, take care of your hands! Gently wet the workpiece with a solution of laundry soap or liquid soap without dislodging the fiber. Press the fabric against the film with your hands so that the wool is well saturated. Soak up excess liquid with a towel.
Step 4. We begin the felting process. Smooth and gradually rub each square of the product. Help yourself in the process with a rolling pin. Do the work carefully and slowly. The quality of the skirt depends on this.
Who has GSOM - this is your best assistant! Remember to use a sander when felting.You will have a perfectly smooth surface and beautifully finished edges of the product!
Step 5. Remove the mesh, turn the workpiece over, cover it again with the mesh and continue the process identically. When you notice that you have a dense piece of felt of uniform thickness, stop felting.
Step 6. Rinse the workpiece in warm water until the foam is completely removed. Lay it out on a dry, flat surface, slightly straightening it with your hands and folding the zipper allowance. Before the product is ready, let it dry.
Step 7 Felt the back of your business pencil skirt in the same way. Fold the zipper allowance and dry.
Step 8 Iron the skirt halves and compare the size of the resulting fabrics with the template. Trim them to the desired size, leaving seam allowances. Sew the sides of the skirt while sewing in the zipper.
Step 9 Iron the top cut edge of the skirt with adhesive tape so that the skirt does not stretch when worn. Sew on the lining. If you don’t know how to do it yourself, contact a professional seamstress.
Our master class has come to an end. Have you got the skirt? It will warm you in winter and keep you cool in summer. You will be very comfortable in it, the admiring glances of people around you will accompany you as you proudly walk down the street in a fashionable woolen skirt.
Remember that felted items are very practical and easy to care for.. All you have to do is wash it in warm water, dry it, iron it, and the item will look like new. Handmade, new modern the skirt will please you for a long time!


 0
0