"Give me a foothold and I'll topple the world"
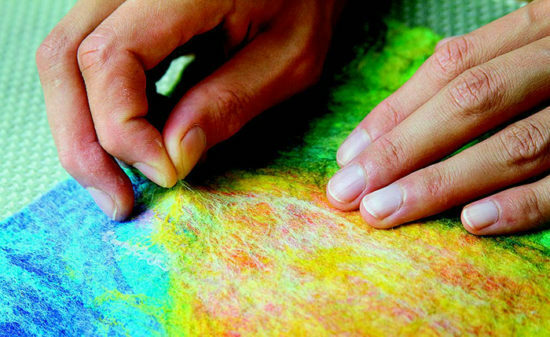
Everyone needs a favorite activity. It's difficult for a creative person to decide: painting or sculpture, design or decor? Felting wool provides an amazing opportunity for combination.
Wet felting technique from wool - description
Wet felting - one of the oldest types of decorative textiles, which uses the ability of wool fibers to adhere and weave in a wet alkaline environment. This environment is created by a soap solution.
Over the eight thousand years of its existence, the process of making felt works has hardly changed. Felting follows the same pattern: laying out the wool in accordance with the intended composition, wetting it with a soap solution and then doing it by hand. The latter is reminiscent of modeling from plasticine or rolling snowballs. Where flat wool is needed, felting is similar to rolling out dough with a rolling pin.
What can beginners do with wet felting?
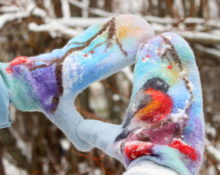
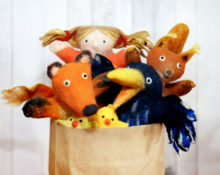
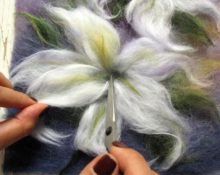
The technique is simple, even a child can master it. Without experience, but with patience and imagination, you can create a lot of useful and cute things: felt paintings, jewelry, accessories, photo and mirror frames, coasters, souvenirs, key rings, toys and much more.
Each work will be exclusive, because it is impossible to repeat a wool pattern.
Master class - wool felting for beginners
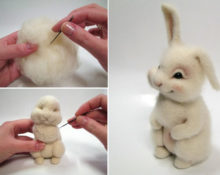
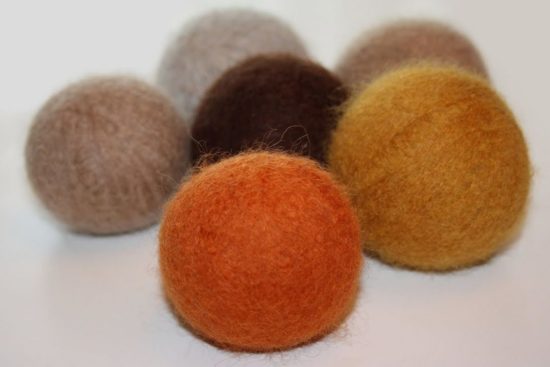
If you decide to take up this type of creativity, you will need the skill of felting one of the royal figures of the wool world - ball.
Form ball used as a basis for many products (beads, bracelets, berries, souvenirs, flower centers, doll parts).
To make the process of wet felting even more exciting, we present a felting master class ball - toys for pets.
Materials
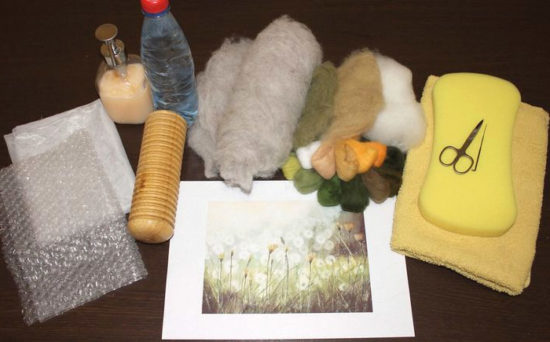
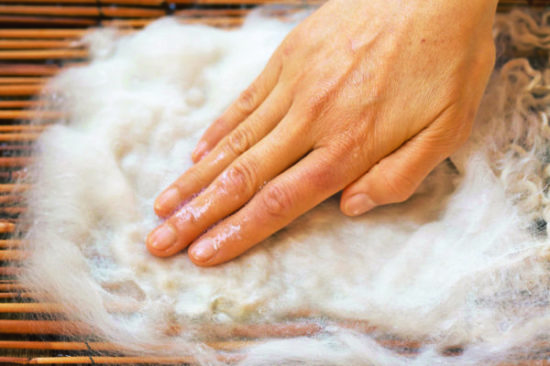
- Wool. To make a toy you will need unspun wool. Choose the color according to your taste. Use combed tape from the Trinity factory, which can be purchased in specialized stores.
For wet felting, only natural wool of different varieties is used. If the wool contains an admixture of artificial fibers, it will not mat well.
- Soap. You can use any soap or detergent. Ideally, a plant-based liquid soap that mats hair very well and does not dry out the skin of your hands.
- Rug (backing for felting). Any material with a textured surface will do. The most commonly used packaging is bubble wrap.
- Water container. Pour warm water into a wide-rimmed bowl.
- Towel.
detailed instructions
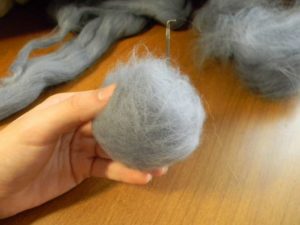
Making a blank
For the first experiment, it is enough to felt a ball the size of a walnut. You will need approximately six grams of wool (you can use a kitchen scale).To form the workpiece, it is necessary to tear off several layers of combed tape of the same length.
Sequencing:
1. Take the combed ribbon in your left hand.
2. Use all fingers of your right hand to grab the free edge. Gently and evenly pull the strand.
3. The tape will stretch out and split into two parts. The part that comes off will be the first layer of the workpiece. It is necessary to prepare several such strands.
4. The fibers are laid out in a neat stack, in one direction.
One elongated edge of the fibers is short. We begin to form the ball with it. We tuck the wool tightly and neatly, placing the edges one by one. Having reached the end, we wrap the remaining fluffy tail around the lump.
Take your time! The tighter and smoother the ball is twisted, the easier it will be to work with.
Felt the ball
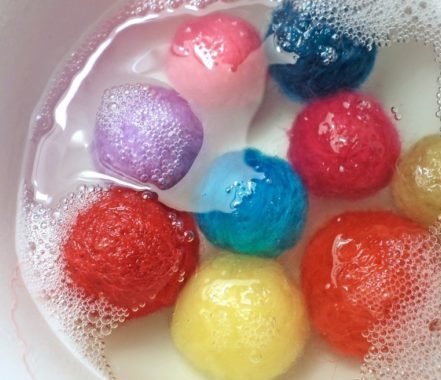
Begin wet felting is necessary immediately after forming the workpiece, otherwise it will unwind and lose density.
Take ball and wet the top layer of wool. There is no need to soak the entire workpiece; it is better to do it gradually.
Drip onto a ball of liquid soap and begin to roll it very gently, without pressure, between your palms, periodically slightly wetting the surface with water. At this stage of felting, creases (folds that spoil the appearance of the product) may appear. They are formed from excessive pressure.
Correcting the hall: Lightly rinse the ball in water to straighten it. Start felting first, with minimal pressure.
When will grapple fibers of the top layer, the surface will become dense and smooth, you need to add liquid soap and slightly increase the pressure.
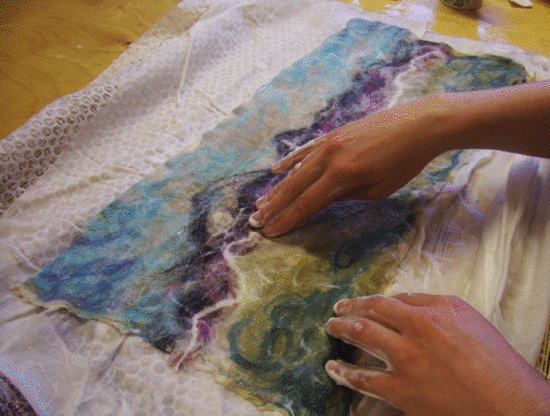
Wallow continue on bubble wrap laid out on a hard, moisture-resistant surface (bubbles up). We work with one hand.
From a ball will start stand out water, as it remains loose inside. Normal density is achieved when the product is reduced by approximately three times.
If there is excess soap suds, rinse the ball in water at room temperature, squeeze lightly and drop it again onto the surface of the liquid soap. Keep wallowing.
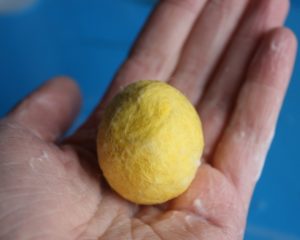
It will take more time to make a dense toy, but it will not deform under external influences. If the wool fibers do not separate from the surface of the product, and the ball springs when thrown on the table, then felting can be completed.
Wash and dry
Needs good Rinse product from a soap solution under a stream of contrasting running water.
Squeeze First, roll the ball with your hands, then roll it in a terry towel to remove excess moisture.
After washing, the product may become slightly deformed. Give it a ball shape by rolling it in your palms.
Drying at room temperature, about a day.
Tips for beginner felters
- To make the ball your pet's favorite toy, after rinsing, rinse it well in catnip infusion.
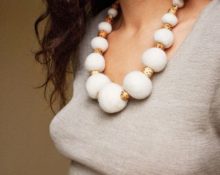
- By felting several wool balls of different colors and joining them with a thick needle and thread, you will get fashionable felt beads or a bracelet.
- Make your hobby a family activity. Wet felting is a safe form of needlework. Involve children in the activity. The unbridled thirst for creativity will be realized, and playful hands will be occupied.
- Don't be afraid to experiment; wool will forgive you a lot if you show patience and creativity.
 0
0