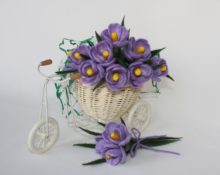
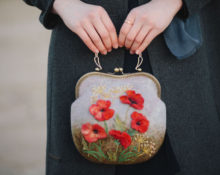
Felting, or as it is also called felting, has long been practiced in different parts of the world. For example, working with wet technology allows you to make many interesting and useful things: from clothes and shoes to toys and accessories. Do you want to get to know wet felting better and make a toy with your own hands? Then check out this article.
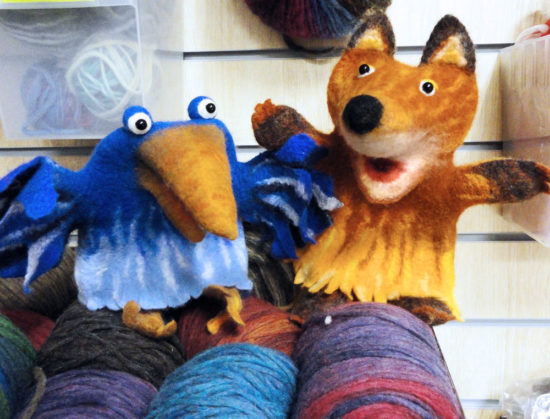
Wet felting wool toys - master class
Wool - natural, soft and pliable material. Thanks to its ability to fall, many craftswomen choose it to implement various ideas. One option is to make a toy. The product is not only soft, but also safe, because it is made from natural fiber.
Description of the future toy
We invite you to briefly plunge into childhood and remember how in most homes they played puppet theater.
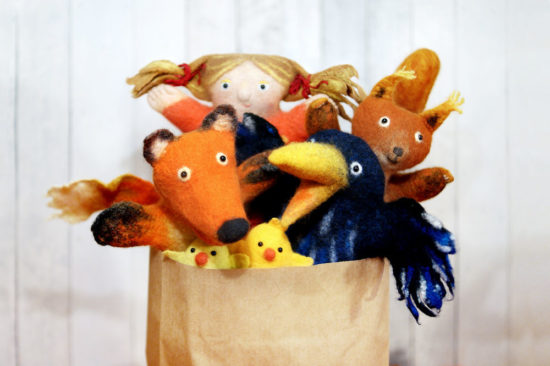
Do you remember the pleasant moments associated with this game, how much joy it brought to your family?! Why not go back to childhood and make a similar toy? Let's make a fox that you can put on your hand and play with your child.
What will you need during the work process?
When creating a toy you will need: 50 grams of unspun wool, polyethylene oilcloth, flexible waterproof material (isolon), soap solution, towel, wooden massager, plastic eyes.
Step-by-step instruction
Before starting work, please note that woolen items shrink by about 20 percent after contact with water. Keep this in mind when creating your pattern!
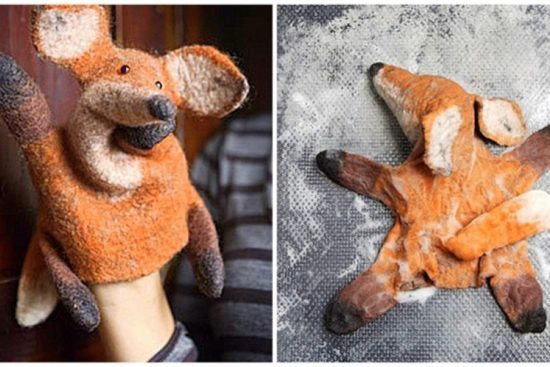
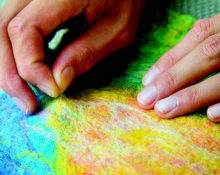
Prepare your workplace: set the table air bubble film, put wool, a wooden massager, a towel, and a soap solution.
1. From isolona cut out the fox template. We recommend immediately making a muzzle and sewing it to the pattern. Then we lay out the wool, starting from the back of the product.
It is necessary that the color of the first layer differs from the main one - red, then the fox will turn out more natural.
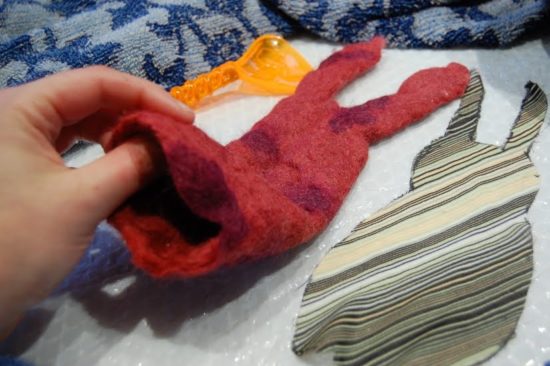
2. Start laying wool, for example, beige, across the pattern and very thinly. Second, parallel and more densely, place the red layer. The next one is dense - across.
We lay out a thin layer of wool on the tips of the paws; dark wool will still fall on them.
3. Separately we felt the tail. We place a small number of red layers horizontally, then vertically, highlighting the tip with white. We felt the tail until almost done, leaving the part that we attach to the back dry. Afterwards we fix it. We put a little wool on the joint area and slowly roll it down so that the tail holds well.
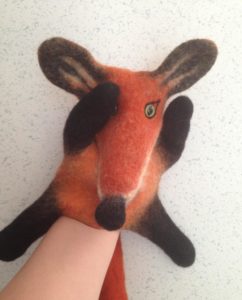
4. We lay out dark wool on the edges of the ears and paws. After that, we wet the product well with a soapy solution, cover it with bubble wrap and press it, without moving the wool from its place. We carry out from above massager, periodically pressing harder and harder.Then we turn it over and fold the edges.
5. We move on to the back side of the product, repeat the steps in the same order, but do not place the wool on the muzzle. We put a thin layer on the breast, later we will add light wool there. For a rich color, we place dark wool closely on the tips of the ears and paws. Watch the thickness. Then we moisten everything, turn it over, and fold the edges.
6. Now we lay out the chanterelle’s face in the same sequence. We put white wool on the chest and ears. We highlight the nose with a dark color. To prevent the tip from connecting to the body, we use bags on each side. At the junction of the nose and muzzle we lay an additional row of wool.
7. Cover the product with film with bubbles, press it, and pass it several times. massager, turn it over, fold the edges.
8. Now we massage the product, changing sides from time to time. Separate the muzzle periodically.
9. When the first outlines begin to appear, take out the template and cut the product. Then we work out the edge well.
10. Then we give shape to all the details. To form the head and face of the fox, we use plastic bags for stuffing. Remember to turn over and press out folds.
11. When the fox has been formed and felted, we rinse it in warm and cold water. In order for the fox to take on the desired volume, stuff its face and head with bags and dry it, pulling onto an elongated container. Then we glue on the eyes.
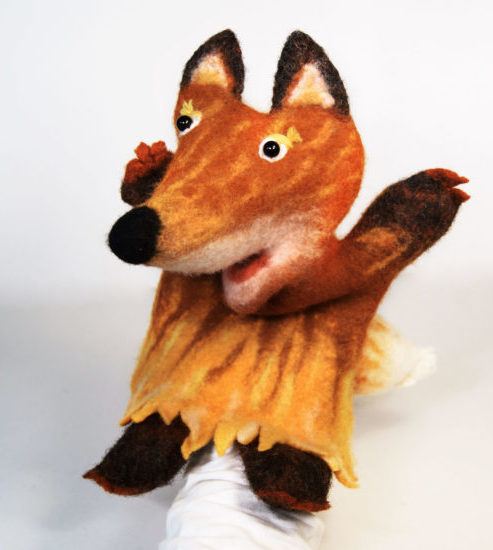
What other toys can be made using the wet felting technique?
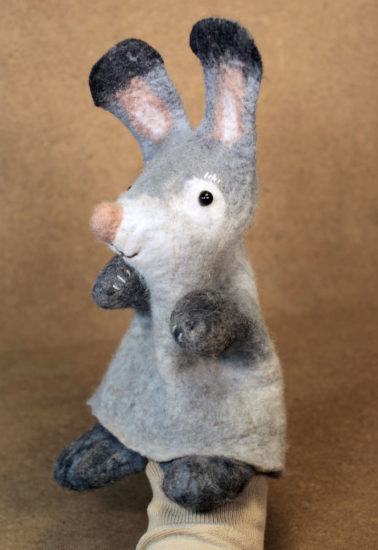
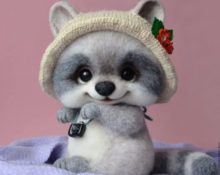
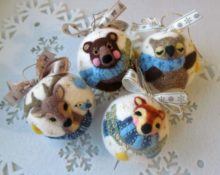
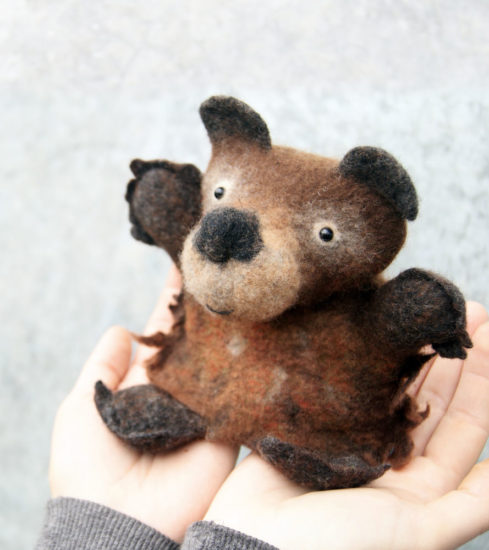
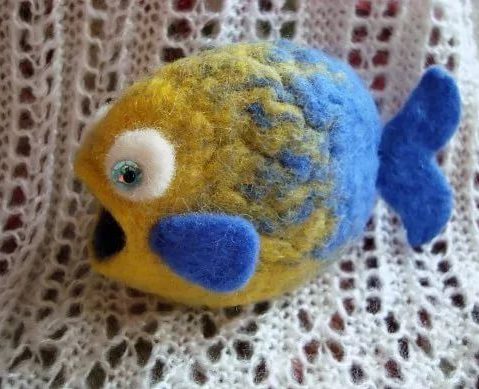
Felting is such a creative process that you can imagine endlessly. Toys in the form of funny pigs, kittens or dogs, cartoon characters, for example, Vinny Pooh or bun, fairy or cute princess can add to your home collection. Each will be unique and will definitely warm the soul of its owner.


 0
0