Today the art of wool felting (filting or in other words - felting) experiencing a rebirth. Gradually ceasing to be a leisure hobby, it moves into the category of decorative arts and crafts, allowing you to earn a good income from it. Unusual works performed by craftswomen using different felting techniques are in ever-increasing demand, and there are more people wanting to master such skills every day.
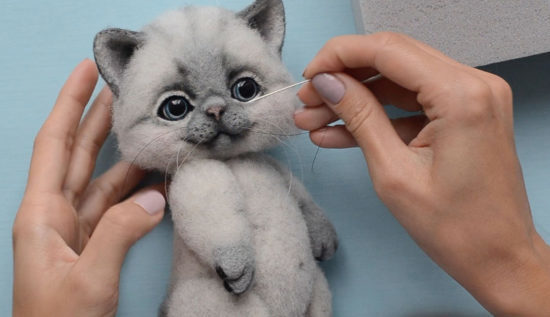
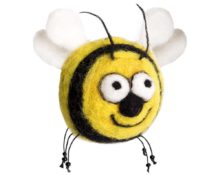
What is the secret of such a high popularity of this handicraft? Perhaps the reason is the special qualities of the material: wool’s own warm energy gives a positive charge to the products, and they, in turn, carry it to their owners. Each work just begs to be picked up: you want to touch it, look at it, and ultimately keep it. In addition to unique toys, this direction allows you to create clothes and shoes, jewelry and accessories, paintings and wall panels.
There are two felting techniques – dry and wet.Dry is used for bulky work, wet for flat items.
Along with the beauty and unusualness of the products, the popularity of felting is added by the ease of learning and the availability of working materials. The latter can be sold in sets, which simultaneously solves the problem of choosing yarn and finding tools for a specific craft.
Basic felting kit - what does it include?
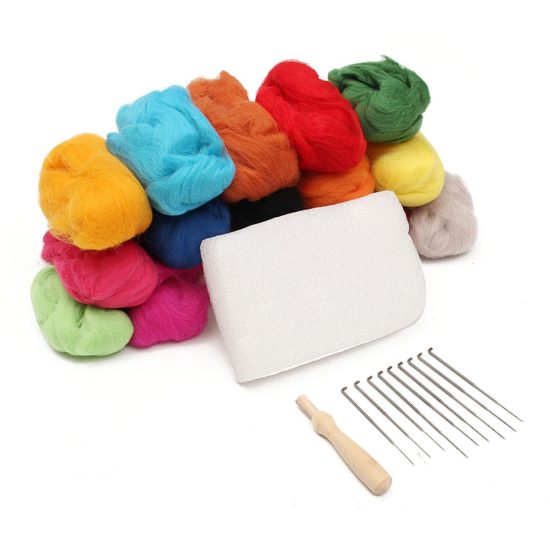
At the learning stage, it is recommended to purchase a basic felting kit, including the basic components to get started.
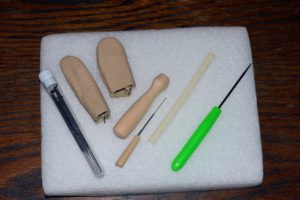
1. A set of different-sized needles. There are three of them in the basic set:
- triangular felting needle No. 36;
- thin triangular needle for threading No. 40;
- fine reverse needle for fluffing work No. 40.
Depending on the action being performed, needles of different thicknesses are required. Their volume is indicated by the number: the larger it is, the thinner the instrument.
In the basic set, felting needles can be either triangular or star-shaped. Triangular ones are preferable.
2. A sponge base on which the craft will be made.
It is strictly not recommended to work outside of the sponge! This is, first of all, dangerous, because the risk of missing and injuring your fingers in midair is very high. In addition, much more time is spent on work if the hand does not feel support.
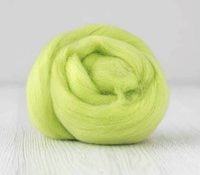
3. Ornamental wool.
There is no universal correlation between the thickness of fibers and specific needles. Their combination is selected experimentally.
Tools for dry and wet felting techniques - are there any differences?
Just as the technique of dry felting itself differs in its execution from wet felting, so the tools that perform this work are different.
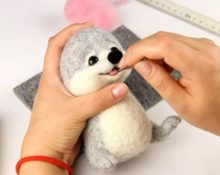
Dry felting requires the use of special needles, which, due to mechanical tangling (felting) of wool, create a three-dimensional object.
In addition to the basic set, needles are available for sale with a different number of faces of the working part:
- conical;
- tristar form;
- diamond shape;
- cylindrical.
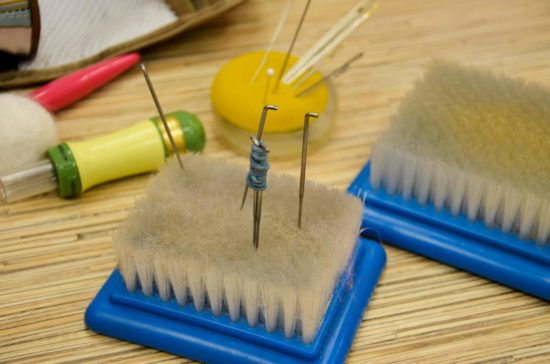
The whole creative process occurs on an ad hoc basis, which is a foam sponge or brush.
For convenience, you can use needle holders, and foam or polystyrene molds for deboning.
Felting needles are very sharp, and the wounds they cause take a long time to heal. A rubber thimble will protect your fingers from damage, making your favorite hobby safer.
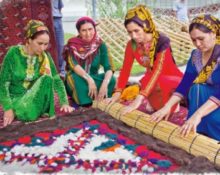
Technology wet felting is completely different from the process of creating crafts using the dry method. In this case, the main working “tool” is hot water. In the process of long friction, it binds the wool fibers together, and when dry, it “shrinks” the product, turning it into a solid material.
In addition to wool and water, this technique uses:
- corrugated waterproof mat for laying out fibers (irregularities will prevent the fibers from sliding);
- a spray bottle or devices for moisturizing strands;
- a mesh that prevents threads from mixing during operation;
- a rolling pin or an object that replaces it;
- terry towel to remove excess water.
The methods of wet and dry felting are so different that the only thing they have in common is the ornamental material, while the technologies and tools are completely different. Wet felting can be done using available materials, while dry felting can only be done using special equipment.
Wool color palette for beginners - what should it be?
When choosing a color scheme for felting, you need to remember that exposure of the selected shade to water or soap, as well as mixing with others, including contrasting colors, can distort the depth of its tone.
This happens for two reasons:
Reason #1. Wool from some manufacturersWhen shedding, it not only loses color saturation, but also stains neighboring fibers. In this case, it is recommended to rinse the product thoroughly using color fixatives.
Given the unpredictability of color combinations after processing, beginners should not use a bright and contrasting palette when using the wet-filtering technique.
Reason #2. Colors are washed out due to the mutual penetration of fibers. This is what indicates that the item has been tumbled. Taking into account this specificity, you should select shades that, when mixed, do not give a “dirty” tone.
For the convenience of combining colors, there are special color cards, based on which it will be much more convenient for a beginning felter to select shades of yarn for the product.
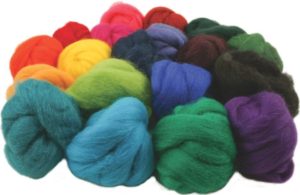
It will not be difficult for an experienced craftsman to find any materials and tools to implement his plan. However, a beginner should still not experiment with isolated purchases, but rather purchase ready-made felting kits. They are already equipped with everything necessary and, having a picture-sample of the craft, facilitate the creative process for the debutant.
In the future, varying in level of complexity, ready-made kits help you hone your skills, gain experience, and also finally decide whether you want to continue this hobby or stop after finishing a few crafts.


 0
0