Even if you are not very good at drawing, you can master the technique of making paintings from wool. After all, you don’t need to be a first-class artist to do this. And if something goes wrong, you can always easily correct and change the part of the picture you don’t like.
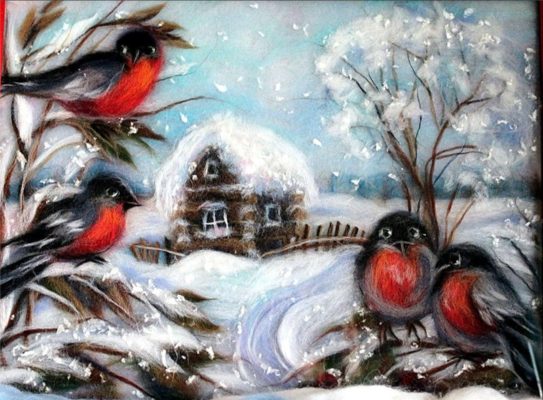
How to make New Year-themed wool paintings
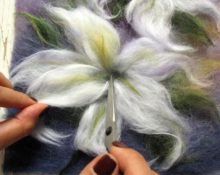
There is nothing complicated about wool watercolor. The main thing is to master the methods of felting:
- pulling thin strands from a skein;
- plucking from a skein placed on the index finger;
- cutting threads from a felted bundle with scissors.
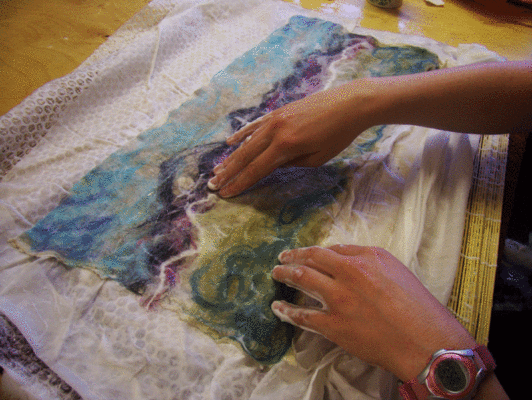
After a little practice, you can start making your first wool painting.
"Winter evening"
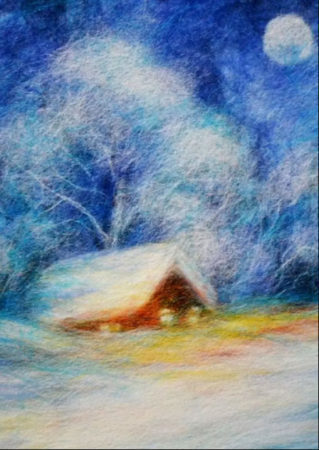
This simple drawing is well suited for beginner needlewomen. A house with luminous windows surrounded by trees. And everything around is thickly strewn with snow. Prepare:
- photo frame under glass;
- wool of white, blue, blue, brown and a little turquoise, yellow and red;
- a piece of non-woven fabric to fit the frame.
Now you can get started:
1. Disassemble the frame.Set the glass and rim aside, and attach a sheet of non-woven fabric to the base.
2. Pull out strands of white color, creating a background from below.
3. While plucking, fill the background from top to bottom with blue strands. The transition between blue and white strands should be smooth.
4. Place white strands at the base of the picture - these are snowdrifts.
5. By pulling and twisting the dark blue threads, form the silhouettes of trees with branches. Then powder them with white threads, which can be slightly twisted if desired.
6. Crumple up a fluffy white ball and make snow-covered crowns around the trees.
7. In the corner of the picture, use elongated threads to form a circle - the moon. Fill its interior with fluff from finely chopped wool.
8. Use brown threads to form a house - a log house and an attic.
9. Cut white wool and use it to make a roof covered with snow. Also cover the space around and in front of the house with white wool. The threads must lie in the same direction.
10. Use chopped white wool to make windows in the house. Shade the snowdrifts and roof with turquoise. Strands of yellow, red and orange colors should create the illusion of light streaming from the windows.
11. Use white fibers to tone down too bright colors. Lightly sprinkle the trees and horizon with turquoise threads.
The picture is ready. All that remains is to cover it with glass, put it in a frame and hang it on the wall. Let everyone see what a skilled craftswoman you are.
"Christmas tree in the forest"
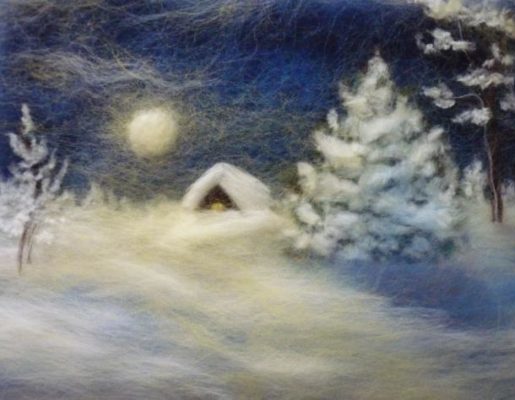
This one differs from the previous picture by the presence of a Christmas tree in the foreground, generously strewn with snow.
It is done in this order:
1. We lay white wool on a non-woven base using the pulling method, gradually filling the entire space of the picture with thin strands.
2. In the background, pinching blue fills the night sky. We dilute it with blue. In the middle we lighten the background with white wool.
3. We pull out the white fibers and form snowdrifts at the bottom of the picture, diluting them with a small amount of blue ones.
4. We make a white circle in the sky with the addition of yellow - this is the moon. We form a light halo around it. We cut the white hairs into the middle.
5. We cut the white line along the horizon, making silhouettes of snow-covered trees. Use tweezers to remove excess pieces.
6. We season the snow with yellow to make the picture look warmer.
7. From a brown strand we form a triangle - a house buried in snowdrifts, covering it with a white roof on top.
8. We mix green, brown and blue wool into one bundle and cut it in place of the Christmas tree. We cut the white one on top and sprinkle it with snow.
9. Pulling out thin brown threads, twist them slightly and draw trees and twigs. Use white to highlight the highlights on the trees. And we cut it into branches, imitating snow.
10. To the left of the moon we draw a tree in the same way, only a little lower.
The finished painting needs to be placed under glass, framed with a baguette and can be hung on the wall or given to someone close to you on New Year’s Eve.
Christmas tree
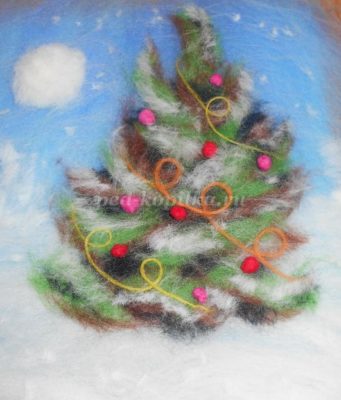
If the winter forest doesn’t seem Christmassy enough for you, make a picture of a real New Year’s tree. After all, not a single New Year's Eve can do without this attribute.
Here is the sequence in which the product needs to be made:
1. By pinching and tearing off the blue wool, we lay out the background of the picture by two-thirds. We do this vertically.
2. We fill the bottom with white wool, which we lay out in horizontal strands - this is snow.
3. Finely chop the white one and form it into a small circle - this is the moon. It should be placed on the side.
4. We place a Christmas tree in the center of the picture. It consists of flagella of green, brown and black colors, cut diagonally. First we work with brown wool, laying it out in the form of twigs.We shade the branches with black and fill the remaining gaps with green. Using white thin flagella we create a snowy effect.
5. We decorate the Christmas tree with New Year's toys. To do this, we roll small balls from brightly colored fibers and “hang” them on our Christmas tree. And we make serpentine from thin flagella of yellow and orange colors.
6. We cut snowflakes from a white strand and distribute them throughout the picture.
7. On the horizon line, white strands can depict the snow-covered contours of distant trees.
We hide the finished work under glass.
"Snowman"
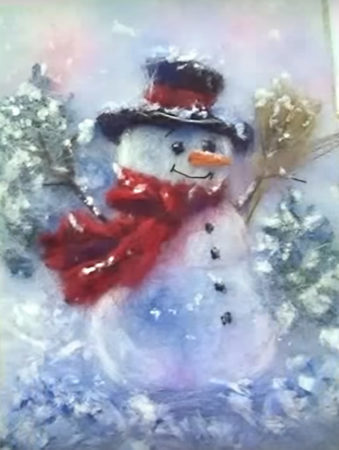
A cheerful snowman will fit perfectly into the New Year's theme.. To make it, you will need different shades of wool and a little perseverance.
Stages of work:
1. Glue the interlining using a glue stick to the cardboard base.
2. Draw a snowman surrounded by trees.
3. Start filling the picture with wool from the background. Wrap the white one around the index finger of your left hand, and with your right hand pluck pieces of white, pink and blue wool, placing them alternately along the perimeter of the contours of the picture.
4. Pluck green, blue and brown wool, mix them into one strand, twist them into a rope and start cutting into small pieces, drawing the branches of a Christmas tree. Pinch the white and blue ones and cover the tree with a very thin mist. Twist a white flagellum, cut a snowball into twigs and cover it with a thin web of blue wool.
5. In the same way, draw a second Christmas tree in the background.
6. We tear off a little white, blue and just a little blue wool, mix a bunch, pinch and form a thin cloud, from which we cut out a circle with scissors to the size of the snowman’s head and apply it to the drawing. We lighten the sides of the head by pinching white, and under the hat we make a shadow from sea green wool.
7. In the same way, we cover the other two snowman balls with wool, also shading them on the sides with white wool.
8. Mix red and burgundy, roll between your palms and cut into a scarf. Cover the scarf with a thin red layer so that it goes over the snowman's body. And shade the knot of the scarf with a blue haze. Cut red wool on top of the scarf.
9. Mix red, blue and brown strands in one direction. Using scissors, cut out the shape of the hat and brim and place it on the drawing. Make a headband using a mixture of burgundy and red wool. Use a mixture of white and blue wool to shade the hat. Place a thin white flagellum on the rim of your hat. Use the chopped blue and white mixture to form a snowball onto your hat.
10. Cut out buttons and eyes from the black flagellum. From white - highlights on them. From a piece of felted orange wool, cut a nose with a carrot, sprinkle it with white snow powder. Using a thin black flagellum, form a smile mouth and eyebrows. Make handles from a black-brown flagellum. Make a broom from a mixture of yellow-brown hairs and place it in the snowman’s hand.
11. Place blue flagella under the snowman, cutting white wool onto them.
Before inserting the finished picture into the frame, attach the glass to it and see if you like everything, maybe some details need to be corrected. After that, frame it so you can hang it on the wall.


 0
0