Any needlewoman knows how difficult it is to choose the right amount of material for her creations. And since their shortage is much worse than their excess, the magic chests of craftswomen always contain remnants of yarn, fabric, fringe, buttons or sequins. Maybe it's time to find a use for them? It is enough to use a little imagination and old unnecessary waste will become an excellent material for charming crafts.
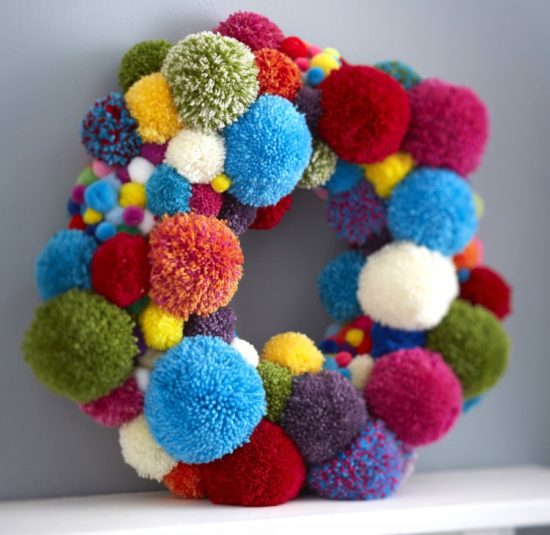
DIY wool crafts - interesting ideas
A huge variety of items can be made from leftover wool threads.
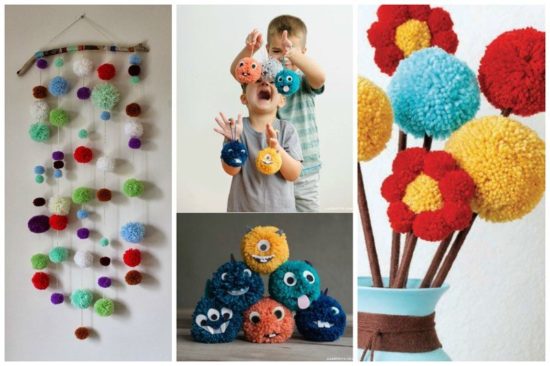
Since ancient times, housewives have tried not to throw away leftover yarn and use it to make household items, as well as all sorts of cozy rugs and crafts. Such handicrafts have remained relevant for a long time, so there are a lot of all kinds of recipes for making something necessary or beautiful.There are very simple crafts that even kids can do, and complex ones that require the help of adults.
Despite the fact that now there are no problems with buying everything you need for a comfortable life, DIY crafts can still be found in any home. These little things keep wonderful memories about the time of their creation and the enchanted breath of the baby. Such a pastime provides an excellent opportunity to communicate closer with your own child and give him the warmth of your hands.
Wool threads are simply meant for creativity - they are soft and thick. Their products are warm and cozy.
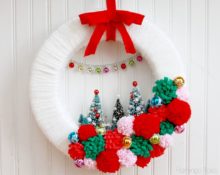
However, in addition to purely practical things such as sweaters, trousers, hats, scarves, mittens, socks, you can make a lot of crafts from them. These include:
- all kinds of toys;
- clothes for dolls;
- various vases and boxes;
- fluffy rugs;
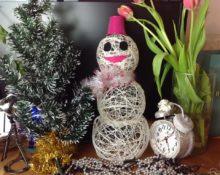
- light elegant pendant balls and shades for chandeliers;
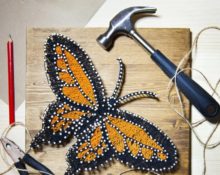
- paintings made of woolen threads.
How to quickly make a craft from threads - a master class for adults and children
Let's start with the simplest. Probably in the house full of scattered pencils, pens and brushes. This is especially true for houses where little artists live. For some reason, their drawing supplies do not want to be located in the place allocated for them. And a wonderful stand, made with your own hands (with the help of mom), will force the baby to put his pencils in a cozy house.
Material for creativity can be very diverse. For a pencil cup you will need: cardboard, old glass or plastic bottle without a neck or toilet paper roll, scissors, glue, woolen threads.
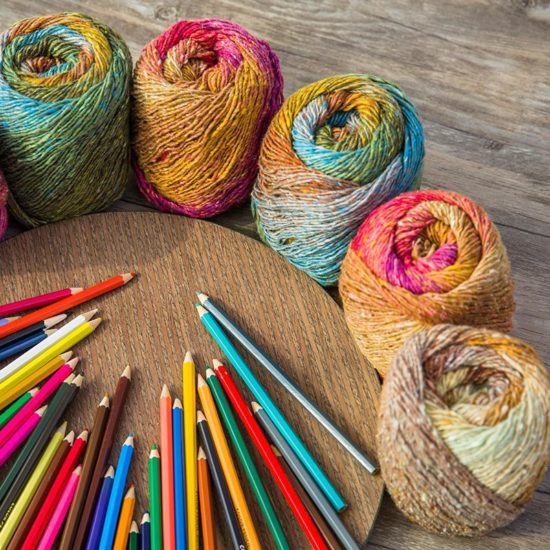
First you need to make a blank for the pencil holder. To do this, cut out the bottom from cardboard and glue a glass or bottle to it so that the walls of the product completely cover the bottom of the craft. Now we coat the walls of the future house for pencils with glue and carefully wrap the threads around it. Wool may be plain or multi-colored, thin or fluffy. Having reached the top of the product, we additionally secure the tip of the thread. ANDthe product can be considered ready-made, but for beauty it should be decorated. Can be used as decoration beads, feathers, sequins. Finely chopped wool, dusted with glue applied on top, will give the pencil holder volume and fluffiness. Can glue drawn muzzle, wings and tail, and an adorable little bird will appear on your desk, with which you can have fun playing and also have fun putting pens and pencils in it.
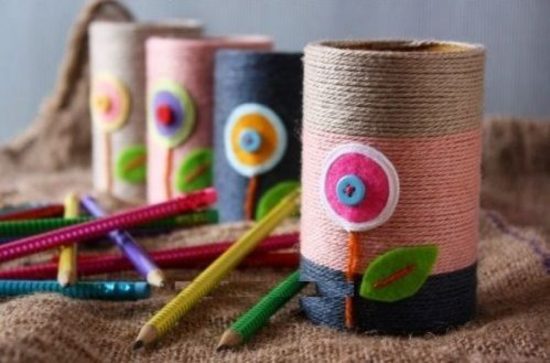
Or you can make the bottom a little larger than the glass itself and place small toys there (for example, from Kinder surprises), artificial berries or flowers. In this case, the pencil holder will become even more interesting.
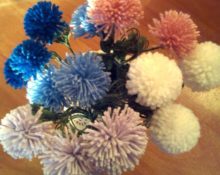
The same way you can make a vase and put flowers you made yourself in it. Such bright and elegant plants will not wither and will delight their creators for a long time.
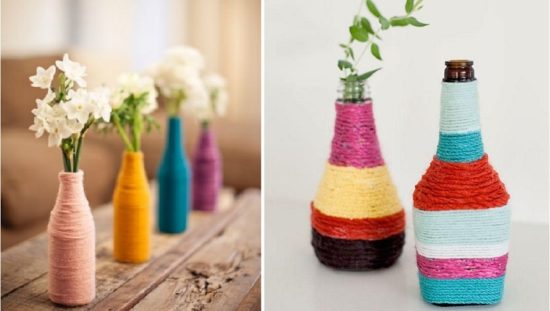
The flowers themselves can be created in several ways. Probably, crocheting will be the most optimal, but for small needlewomen this may become too complicated a process.
Therefore we will make beauty out of paper and wool. For such a craft, you will need newspaper and bright threads for the flower itself, fairly stiff wire and green threads for the stem.
- First you need to finely chop the wool threads.
- Now we strongly crumple a piece of newspaper, dip it in glue and roll it in small pieces of thread, like cutlets in breadcrumbs, only a lot so that there are no bald spots.
- We dry the resulting buds and work on the stems of our plants.
- To do this, the wire needs to be generously lubricated with glue and tightly wrapped with green threads and set aside to dry along with the flower heads.
- After all the parts have dried, you need to secure the bud by piercing the paper with wire and install it in the created vase, which has also dried by this time.
Making an openwork ball will also be easy. To create it you will need threads, an ordinary balloon and glue.
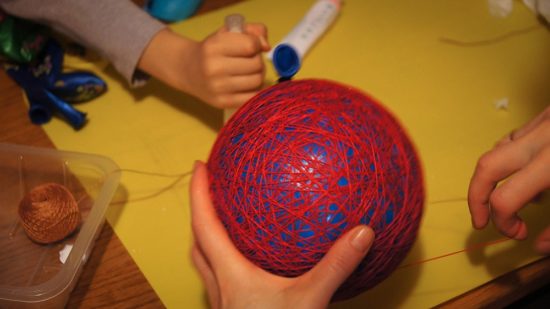
First you need to inflate the ball to the desired size and coat it with glue. Then apply a large amount of wool threads to it. This amount depends on how openwork the finished item should be. As usual, wait for it to dry completely and deflate or pierce the ball. Carefully remove its remains from the craft and the wonderful ball is ready. Several of these balls can be used to make an excellent hanging arrangement. Decorate them with delicate feathers.
If you do not seal the top and bottom of the ball, you will get a unique candlestick, you just need to inflate a very small balloon and remember that the threads will burn if they come into contact with fire. So this craft will only become a decorative element. You can place light bulbs in these balls and create unique lampshades. A half-wrapped ball will be an excellent basis for an elegant basket.
Master class on complex but very interesting crafts made from woolen threads for “advanced” students
Having learned how to make such balls, you can try to make a nest for a chicken. Usually such nests are given as gifts for Easter. They look very cute.
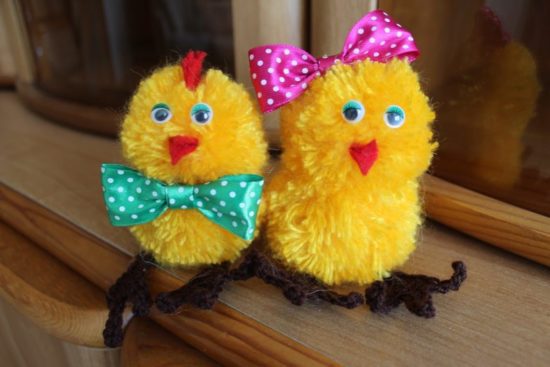
To make such a craft You need to supply polystyrene or foam rubber, threads, glue, scissors.
- From a piece of foam rubber or polystyrene, cut out an egg-shaped blank and remove all surface irregularities. The workpiece can be wrapped in cling film to brighten up all the rough edges.
- Using ordinary needles or pins, you need to mark the boundaries of the craft so that a chicken can be planted inside the manufactured shell. It’s good if you can make an original pattern using needles. Now we smear the surface of the “egg” with glue and wind the threads, leaving the entrance to the nest free.
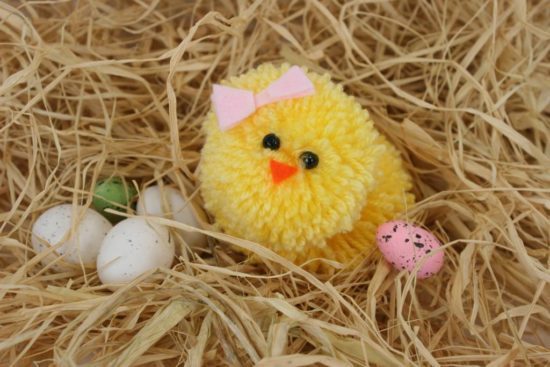
- While our creation is drying, we make a chicken. To do this, we make two pom-poms from bright yellow threads - one for the head, the second for the body, and fasten them together. We glue the eyes and beak onto the head.
- Making a rug for our chick. This could be a small piece of fabric with flowers glued on.
- When the openwork house is completely dry, carefully remove the workpiece. We lay a rug down the nest and plant the chicken.
The walls of the nest can also be decorated with flowers or beads.
Subtleties of working with wool threads
Wool threads do not require special knowledge and skills. Also, there are no subtleties or tricks here. It is enough to handle them carefully and throw away small pieces in a timely manner so that they do not get into your nose or mouth.


 0
0