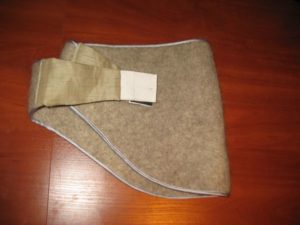
 Nowadays, on store shelves you can find a huge variety of belts designed for various purposes. Most often, belts are used to support clothing items and give a beautiful contour to the figure. In our article we will talk about other products whose purpose is a therapeutic effect.
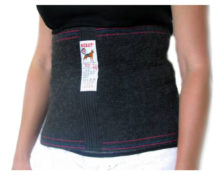
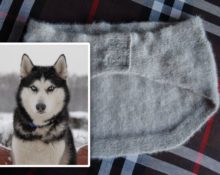
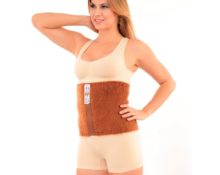
For this The best choice is dog fur, which retains heat perfectly and warms up the lumbar area.. Due to its structure, styling features and high density, it has healing properties, perfectly warms the back area, stimulating blood circulation. It also helps treat lower back pain, rheumatism and inflammatory processes as a result of hypothermia. The collected wool can be spun and then knitted into useful accessories. But most often in practice a felted belt is used.
We will teach you how to make such a belt with your own hands at home.
Felting dog hair at home
If you have a dog at home, then with regular brushing you can collect material for making 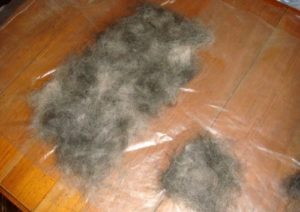 belts The wool that remains on the comb must be cleaned of excess debris and dust and folded carefully.. After several such procedures, you will have the required amount to begin felting. This process is simple and does not require special skills. For convenience, use the step-by-step manufacturing plan.
IMPORTANT! Do not throw away wool, it is very useful and will come in handy in the future. Carefully collect it in a bag or bag.
Materials and tools for work
Before starting the process of felting and further manufacturing of the belt, for work it is necessary to prepare all the tools and consumables from which the product will be made. To do this we need the following.
- Dog hair, cleaned of dust and small particles, approximately 50–70 grams.
- Any film from store goods or a cut bag.
- A soap solution made from soap and warm water.
- A smooth wooden stick of the required length (a rolling pin or a handle will do).
- Spray bottle for spraying the mixture.
How to felt dog hair
After you have prepared everything you need, you can begin the process of felting wool. Follow 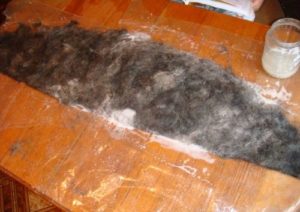 all actions according to plan.
- To begin, lay the film on a flat surface. Her the dimensions should be slightly larger than the desired belt, so that you can easily bend the edges.
- Prepare a soap solution by passing a piece of laundry soap through a grater and dissolving it in hot water.
- Spread the wool evenly in small clumps, leaving no gaps. For this it is better to overlap.
- Do this procedure several times, thereby creating a layer-by-layer workpiece (at least 4 layers).
- After this, wet everything with hot soapy water. This provides straightening and helps the coat stick together.
- Now you can begin mechanical action. Cover the top with a piece of film and wrap the resulting piece around the stick. Securely secure the product with a rope.
- After this, roll and beat the roller carefully. There is no need to rush; felting must be of high quality. But at the same time, all actions should be carried out carefully so as not to damage the material..
- At the final stage, it is worth adding wool to those places that were damaged or torn during mechanical action, rinsing and drying them unfolded in the sun.
IMPORTANT! Be diligent in all stages of felting. It is better to make more layers and felt the belt more carefully. This will ensure high density and strength of the future product.
Making a belt
The most difficult stage is completed, now all that remains is to give the desired shape, sew the wool to the fabric and 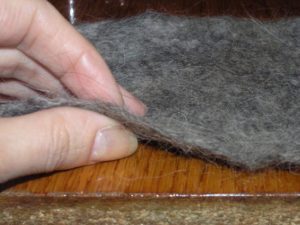 attach special holding devices.
At this stage, you can be guided by your own wishes and preferences. We will only tell you the general plan for constructing a pattern and sewing.
IMPORTANT! The belt should fit snugly to the back and be securely fastened. However, it should not cause inconvenience.
What you need for work
The first step is to decide on the choice of material on which everything will be attached, and the necessary tools.
- Felted wool, prepared earlier.
- Knitted fabric or any material you like.
- Wide elastic band for the belt and two elastic bands for fastening.
- Velcro, fastener or button for fastening.
- Threads, needles, scissors.
- Tape measure.
In addition, you will need to take measurements and prepare a pattern. Comfort to wear largely depends on this.
Pattern
To sew a quality item, you need to prepare the pattern correctly. To do this, it is enough to know your waist circumference. Based on this size, draw a blank on graph paper.
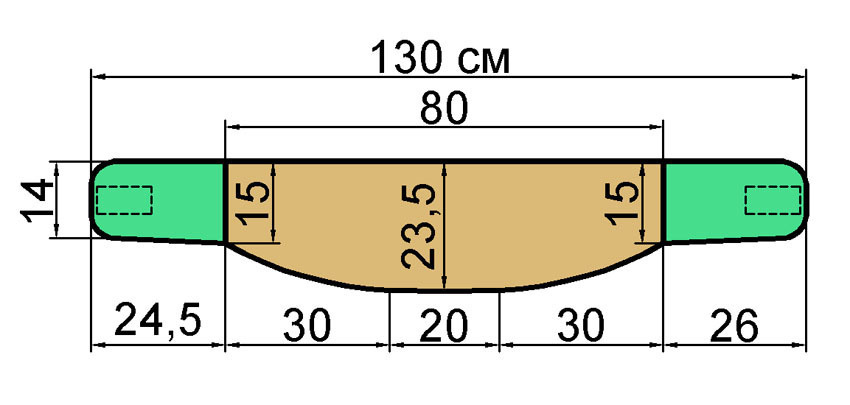
The widest part is in the lumbar region. It resembles a large circle or oval, gradually tapering at the edges. Two elastic bands should be sewn on the side over the fabric. The optimal width would be 5–7 cm; the length must be adjusted depending on the individual size of the person.
Sewing a belt
Now everything is ready to sew.
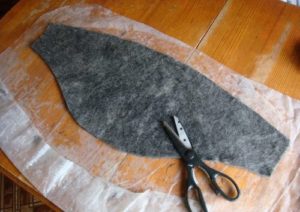
- Transfer the pattern to the fabric and wool blank and carefully cut the material with scissors.

- Sew wool and fabric together. Iron all seams and additionally comb the felt to remove any stingy hairs.
- Sew the elastic along the contour.
- Complete the resulting product with fabric straps on the sides.
- Attach rubber bands to them.
- To secure it to the belt, you can attach Velcro or sew on buttons. Adjust the resulting product to your girth or for the person you are going to give it to.
Wear it and take care of your health! And felt mat scraps can be used for bandages or bracelets in case of joint pain.


 0
0