Whatever people draw, it would seem impossible to come up with something new in this area. And yet they came up with an idea: imagine that you can draw with what warm sweaters, hats and mittens are usually knitted from!
Wool watercolor - what is it?
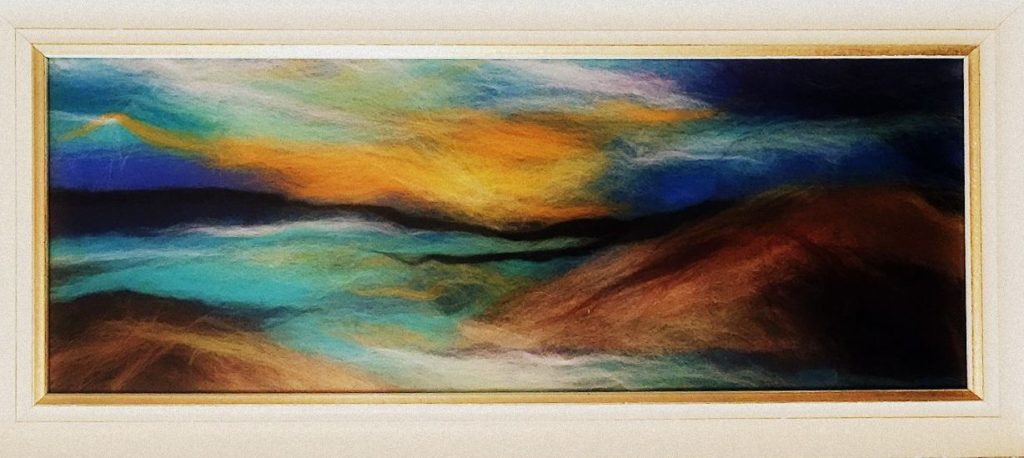
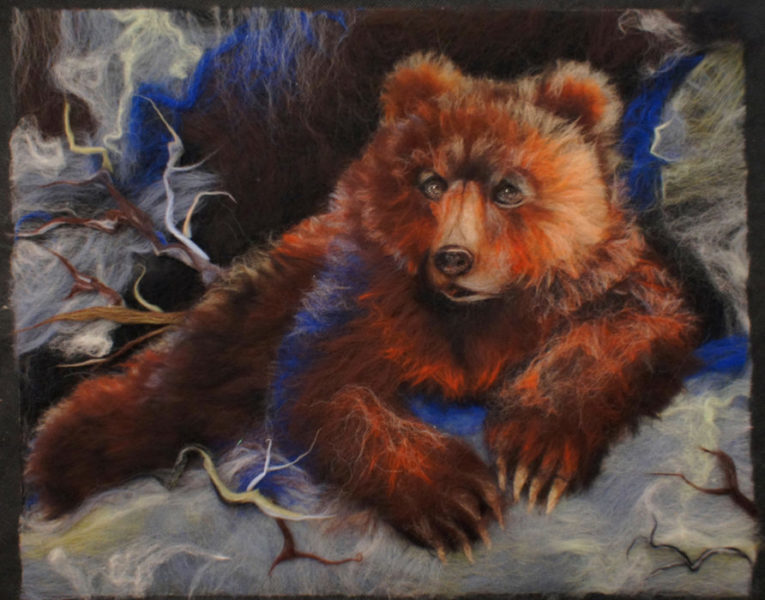
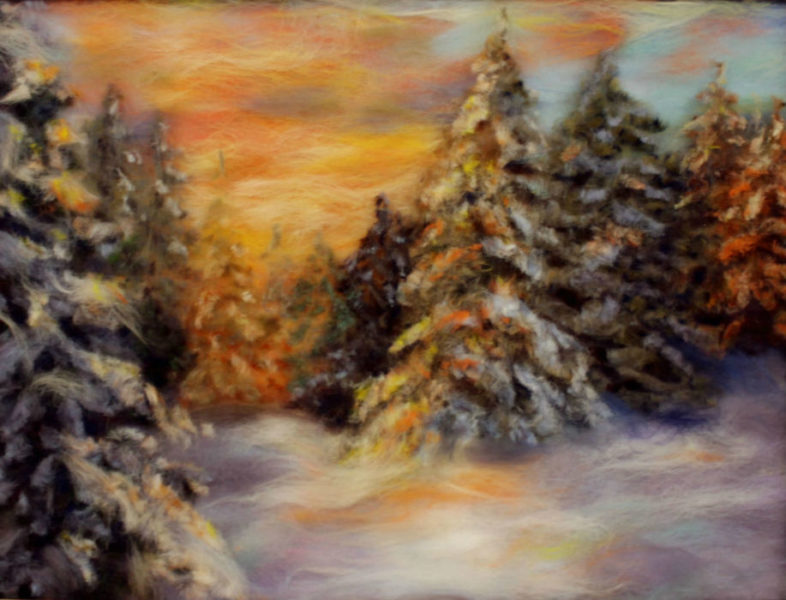
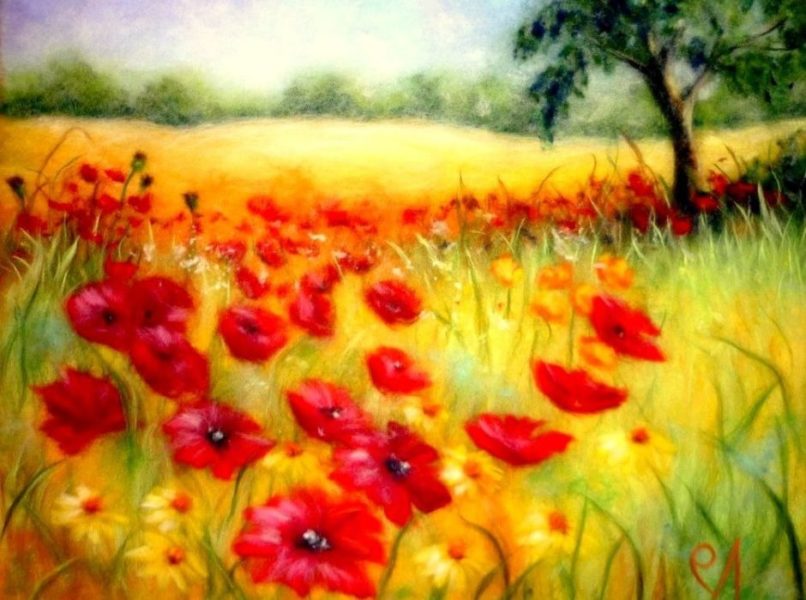
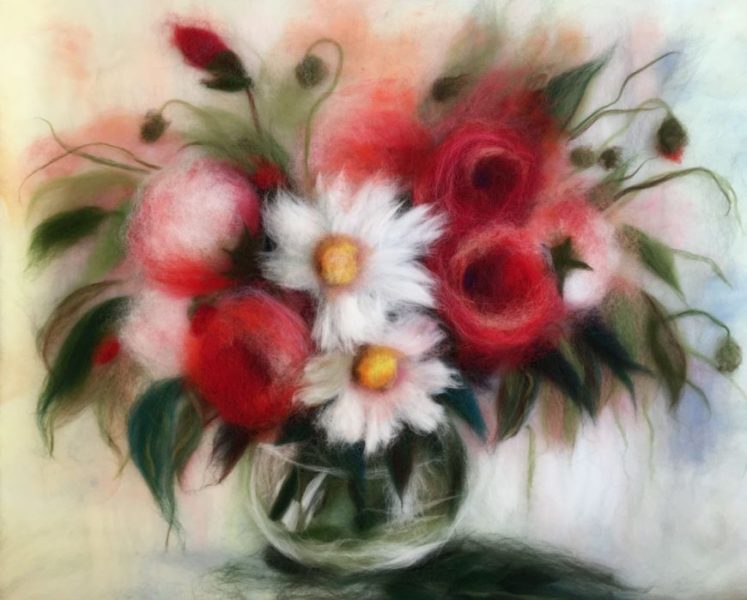
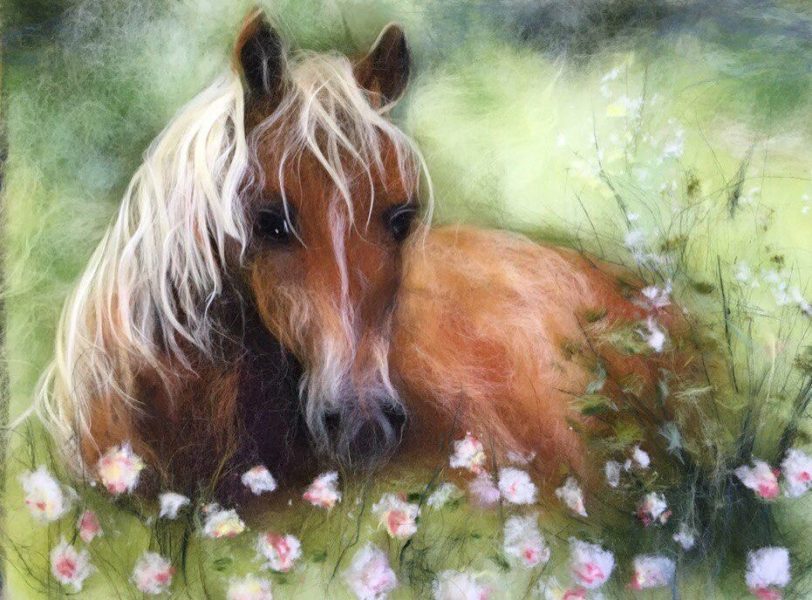
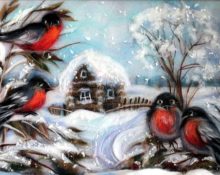
Wool watercolor - a modern type of decorative and applied art: “drawing” using wool fibers of various colors and shades. Due to the fact that the wool is laid out in layers, both volume and texture of the “pattern” are formed, and a color effect is similar to artistic works using the watercolor technique with characteristic stains. Today's range of natural wool available for sale is a wide range of colors. This color variety allows you to create truly picturesque works - landscapes, still lifes, abstractions, even portraits.
Who is this type of creativity suitable for?
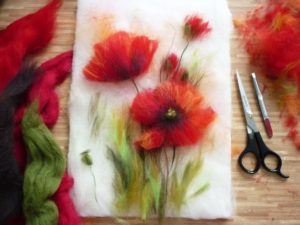
The peculiarity of wool watercolor is its absolute versatility: Anyone can do it, regardless of gender and age.The technique of this type of creativity cannot be called complex: even children of senior preschool age can easily master it. Teenagers, expectant mothers on maternity leave, and pensioners are willing to do this. This is a great hobby even for working people who want to spend their free time alone with their creative side. "I".
Wool watercolor, even if you don’t take into account the beautiful result of the work, which is quite suitable for decorating the interior of a home, is a useful hobby. It:
develops artistic taste (you need to find or independently create a sketch of the future work, choose colors harmoniously);
supports fine motor skills of the hands, therefore, it trains our memory, activates the imagination, develops cognitive abilities (yes, in adults too!);
promotes relaxation, allows you to take your mind off the flow of everyday problems, calms you down.
The result of the work usually has a motivating effect: even if a person does not know how to draw, he is capable of creating a completely artistic work! And a person who knows how to create beauty has every reason for self-respect!
The only “contraindication” for practicing wool watercolors is an allergy to the material. Be especially careful when offering this activity to children! But not everything is so hopeless: there are craftsmen who sneeze while working - the problem can be solved with the help of a cheap medical mask, sold in any pharmacy. True, you need to get used to it, but soon you will stop paying attention to it.
6 tools you need to create a wool painting
Make sure that this type of creativity does not require the purchase of any “sophisticated” devices and accessories. To create a complete wool painting you will need only six items. Chances are you already have them at home!
Frame. A frame under glass is the basis of your future creation. To start, you can take a very ordinary photo frame.
Viscose napkins or non-woven fabric. You will attach the original background material of the painting to viscose napkins or a piece of non-woven fabric.
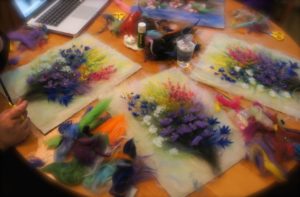
Tweezers. This popular cosmetic tool will help you work with small fragments and align the details of a painting.
Manicure and stationery scissors. Manicure scissors are useful for cutting off excess “shaggy” hairs sticking out where they shouldn’t. Large office scissors are used for “rough work”—large cutting.
Iron. An iron with different heating modes is useful for ironing the base, fragments of the painting during the work process and the final ironing of the entire creation.
Glue. A stationery glue stick (dry) is perfect for fixing the fragments that form the work. Its main advantage is that it is extremely difficult for them to “mess up” and ruin the work.
Types of Wool Used in Wool Watercolor
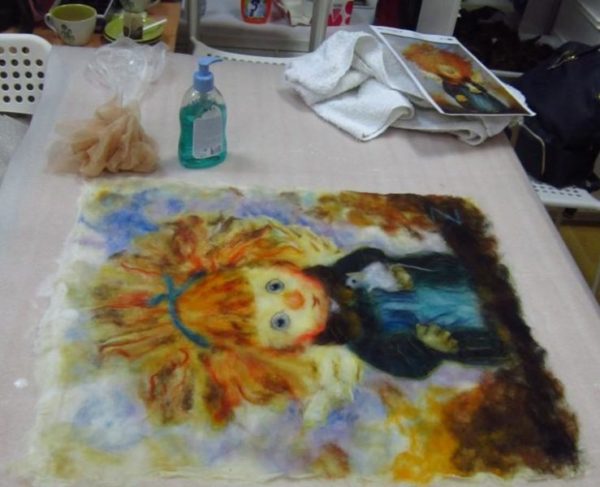
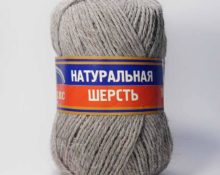
Sheep wool is traditionally used to create works: unspun, carefully combed, dyed in a variety of colors.
It is because of the “combing” that the name “combed tape” has taken root in Russia. Otherwise it is called “tops”.
If you come across the term “blend” - this is the same top, but consisting of multi-colored fibers. For beginners, it is better to purchase plain skeins (ribbons) separately.
Domestic brands:
Semyonovskaya. Offers Australian merino wool and thicker wool from Russian-bred sheep, produces a line for handicrafts "Valyashka";
Pekhorka. Merino and alpaca wool, according to the reviews of the masters, is very decent;
Trinity. Argentinean and Australian merino wool. But be careful with the products of the Trinity Worsted Factory - according to experienced craftsmen, they are “capricious”, in other words, the quality of the fibers is not uniform. Thin is thin and spreading, and semi-thin is more like the most common coarse one;
Camtex - the most budget option, but also the most unprofitable, according to reviews, in the package “wool from the entire sheep,” that is, fibers of various thicknesses, including coarse guard fibers.
A general disadvantage of domestically produced products is that it is difficult to find material with low fineness (with really thin fibers).
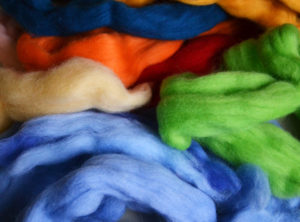
This type of creativity requires finesse 16-19 microns - thin fibers allow the work to look airy and elegant, and it is easier to work with such material. In our country it is difficult to find thinner material 21 microns.
In online stores you can find foreign-made products:
Italian,
German,
English,
New Zealand
Here it comes in different tones. However, you can start learning wool watercolor using our material.
Also remember the terms (these types of wool are also used to create paintings):
carding - uncombed, cotton-like wool, it is used to lay out the background or substrate for the details of complex paintings;
sliver — an intermediate stage of wool processing between carding and combing, used for laying out the warp;
mohair - airy, thin, silky to the touch wool of Angora goats.
To decorate the design, you can add viscose, acrylic and silk fibers.
What is the basic “wool set” of a person who is passionate about this creative hobby?
Let's do the math:
7 colors of the spectrum, remember the rainbow - you will need 3-4 shades of each of them;
at least 2 shades of white (“natural” and snow-white);
3-4 shades from pale gray to pure black.
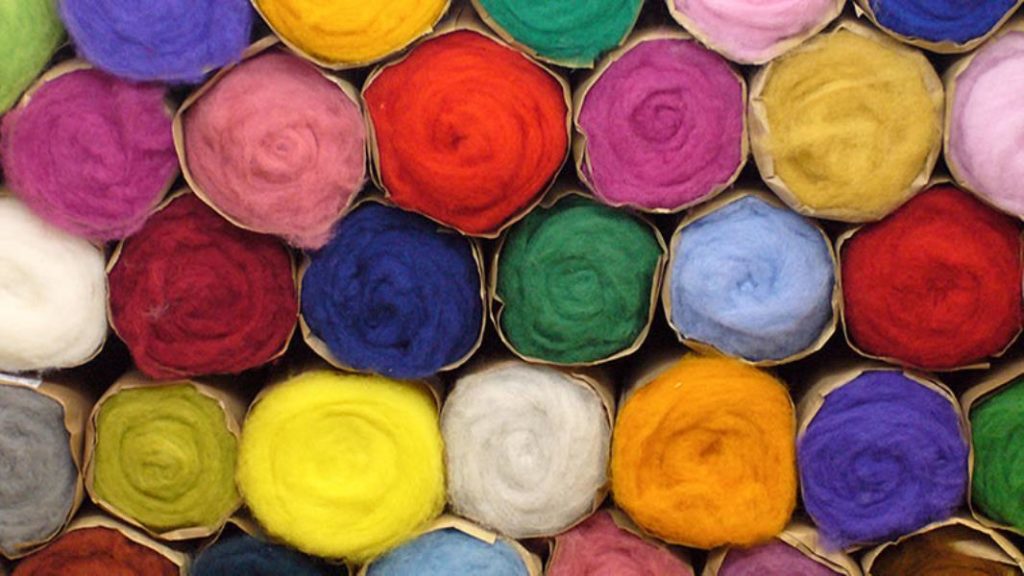
In total, you need 26–34 different shades. It’s not cheap, and it will be a shame if you get excited, buy material, and then suddenly burn out. It would be wise to try first: this is painstaking, extremely careful work, albeit creative. If you like it and enjoy the process itself, then buy the material without any questions. If the slow laying out of hairs only irritates - perhaps you will find yourself in another type of creativity.
To test yourself, buy a ready-made kit for wool watercolors with esToisom and instructions and try to create a job. You will feel whether it suits you or not. But in general, you shouldn’t buy ready-made sets all the time - they will be expensive, and besides, you don’t choose the plot of the picture yourself. It doesn't look like creativity.
Do-it-yourself woolen watercolor - a master class on the simplest painting
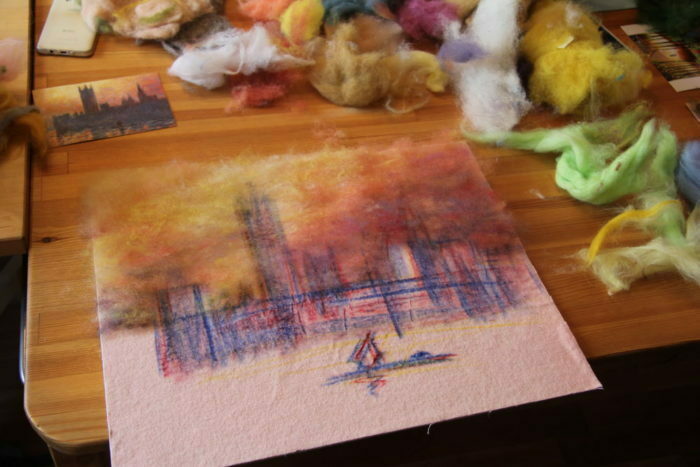
How to create your first job? Let's try to do this in 12 steps.
First of all, we choose a sketch - we draw it ourselves, and if we don’t know how, we select and print a picture from the Internet. Don't take the first one you come across - choose the one you really like.
Let's disassemble our frame and put the glass aside for now.
On the base of the frame, usually made of cardboard or wood, we place a napkin or non-woven material cut to size, and carefully secure it with paper clips.
Selecting wool for laying out the background. We wrap it tightly around the index finger of the non-dominant hand (left if you are right-handed), pinch it off with strands.
We lay the strands on the base and carefully secure them with glue. Make sure that the edges of the laid wool extend beyond the edges of the base by one or two centimeters.
From the corners we apply a darker background tone, gradually introducing gradually lighter shades towards the center. Don't forget to secure the strands with glue!
We wait until it dries, place a piece of paper on the finished base and iron it with an iron. Without fanaticism! The image is usually fixed after a couple of “ironings”.
The most crucial moment is to pinch and lay out the strands that make up our drawing. We also iron each finished fragment.
Use manicure scissors to trim off excess hair.
If you want to make the drawing visually more voluminous, you can roll the strands in your palms for this purpose, but strictly in one direction. If you roll it back and forth, the strand will only become frayed.
When you consider the process complete, iron the painting through the sheet again, then the excess volume and “shaggyness” will go away. If the contour has moved somewhere, carefully straighten it with tweezers and trim off the excess with nail scissors.
Carefully place the glass on the finished creation, cutting off any hairs if they stick out at the edges. We return the frame to its rightful place. Ready!
For your first work, do not choose a sketch that is too complex with many shades. Let your creation be simpler, but it is guaranteed to succeed. It motivates!
Good luck, woolly watercolorists!


 0
0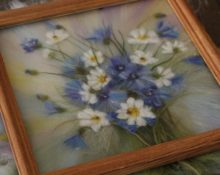

“We lay the strands on the base and carefully secure them with glue.” , “Don’t forget to secure the strands with glue!” These words are from an article about wool watercolor, but it doesn’t say what kind of glue it is. please tell me what kind of glue should I use?