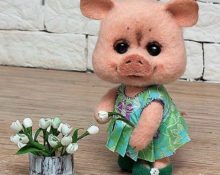
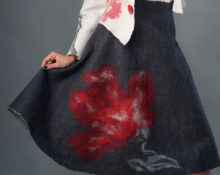
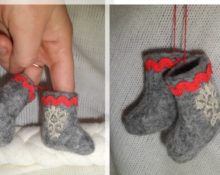
Not every needlewoman will risk doing wool felting.. Meanwhile, this is a very exciting activity and not at all as difficult as it seems at first glance. You can start by felting a snowman. After all, a craft made from white wool will ideally resemble snowballs, from which snow women are usually sculpted, which will be impossible to convey with appliqué or sewing.
To save materials, we recommend using a frame made of foam rubber, polystyrene foam or padding polyester. There are two ways to felt - dry and wet. Today we will learn about dry felting.
How to make a snowman from wool using the dry felting technique
Even a novice craftsman can make a snowman from carded wool (it is preferable to use this material). Of course, you will have to spend several evenings in a row on the craft, but you will always be satisfied with the result.
What you will need
First you need to prepare everything you need:
- a piece of padding polyester for the frame;
- gypsy needle with thick thread;
- white carded wool, a little red for the mittens and orange for the nose;
- beads for eyes;
- dry pastel;
- 50 g cotton wool.
In addition, stock up on needles for felting: one coarse and four thin “stars” size 38, a sponge, glue, a brush, and a nail file.
Instructions
We begin work by felting the body of the snowman. We will have to felt three balls of different sizes, two handles, mittens and a spout.
Felting the body
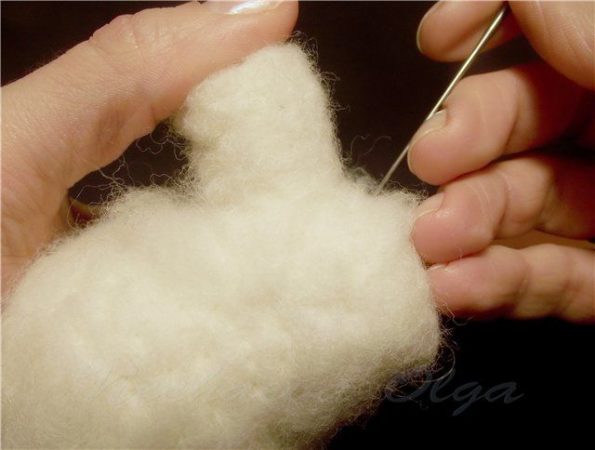
Roll a strip of padding polyester into a roll. We tuck the ends so that it resembles a ball as much as possible, and secure it with a thick thread. Tighten the workpiece tightly with threads so that there are no gaps.
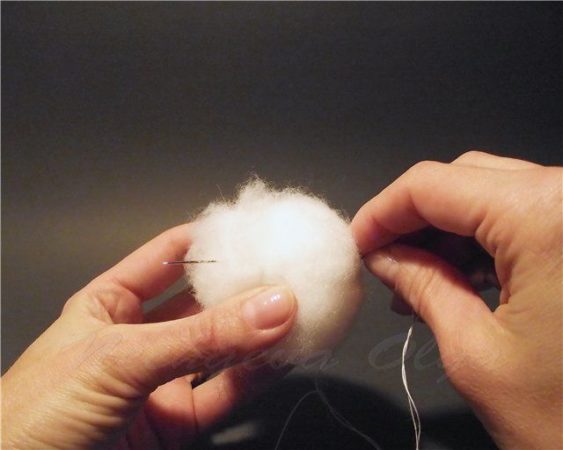
Carded wool most closely resembles cotton wool, so we take it, fluff it up, apply it to the ball, pressing it with a “star” needle. We roll until our ball becomes smooth. If dents form, they should be filled with wool and rolled. After using a thin needle, we take a thick one and continue the felting process until the surface becomes smooth and dense.
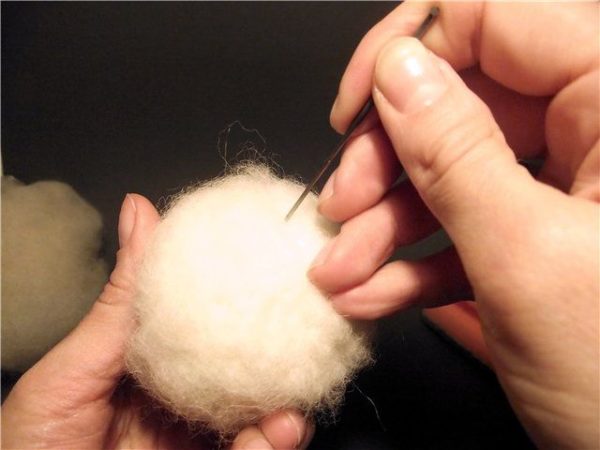
In the same way we make the second ball, a little smaller.. And then we sew the blanks together. Cover the junction of the balls with pieces of wool and level the base. If you think the snowman is not rounded enough, add more fur in the right places.
Felting pens
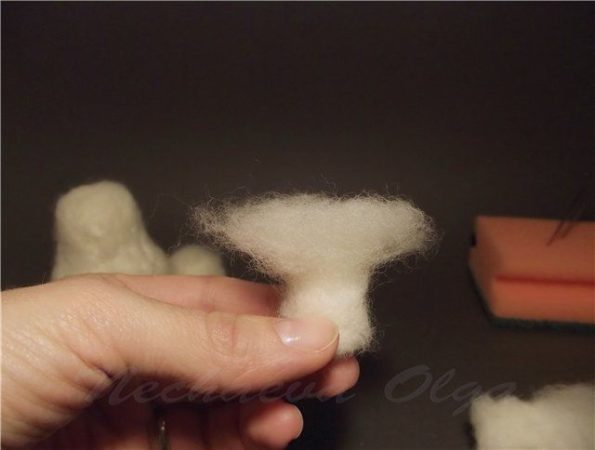
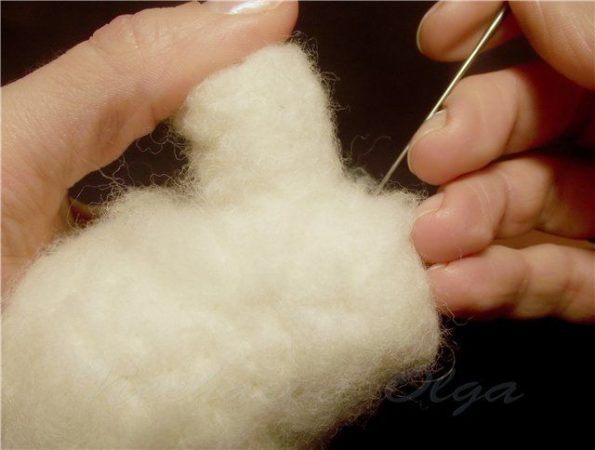
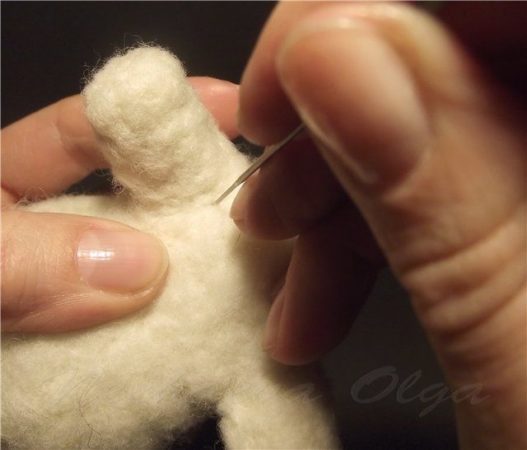
Let's move on to felting the handles. We fluff two identical pieces of wool and felt them each separately, turning them in our hands to give the shape of a hand. Move from the right hand to the left, then back to the right again. This way the handles will be as uniform in density and size as possible.
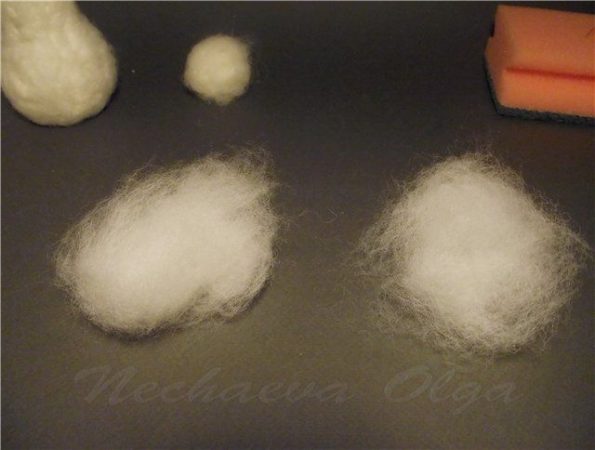
Fluff the edge of the handle and attach it to the body, securing the parts with wool. Do the same with the second hand.
We're laying our heads down
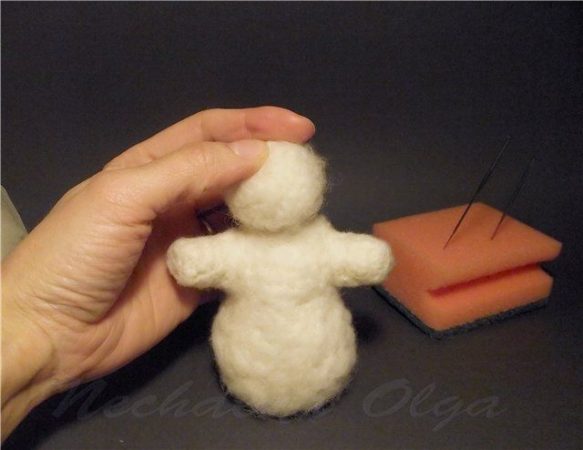
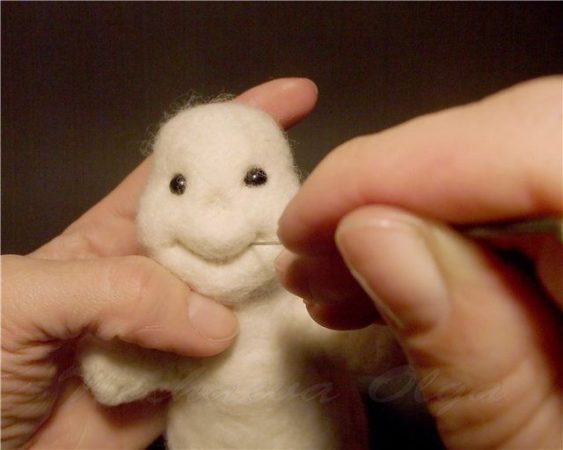
We connect the third, smallest ball to the body and lubricate the joint with wool. On the face we make indentations for the eyes. Glue the beads. We form a chin from an oval wool, and cheeks from two round ones. We make a depression with a coarse needle in a semicircle for a smiling mouth.
Fluff four small pieces of wool and place them on a sponge. Using needles, we tap tightly at the top and bottom, forming smooth edges. Then we compact it again on each side. First of all, we attach the lower eyelids, then the upper ones. It is advisable to make a slight squint so that the snowman does not sag, but smiles.
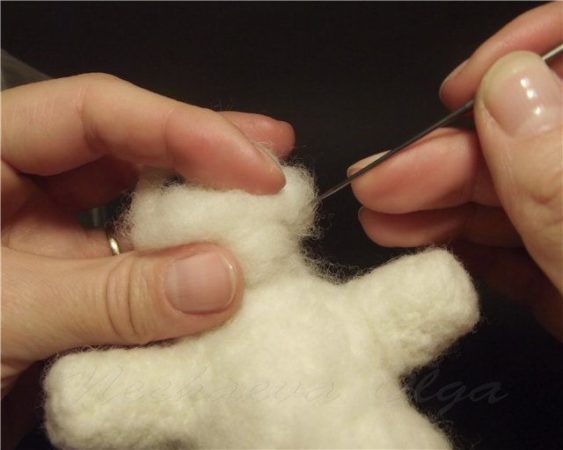
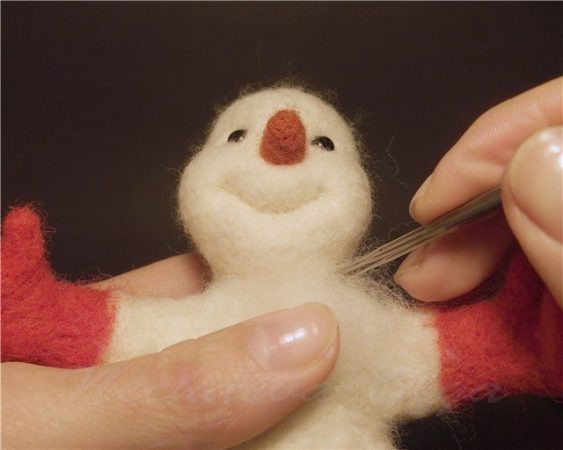
Use a needle to mark the place for the nose. We will make it in the form of a carrot. To do this, we form a carrot from a small orange bunch, turning it in our fingers and tapping it with a needle on all sides. After this, we roll the nose to the face, tucking the orange hairs inward so that the border with the white hair is clear.
Felting mittens
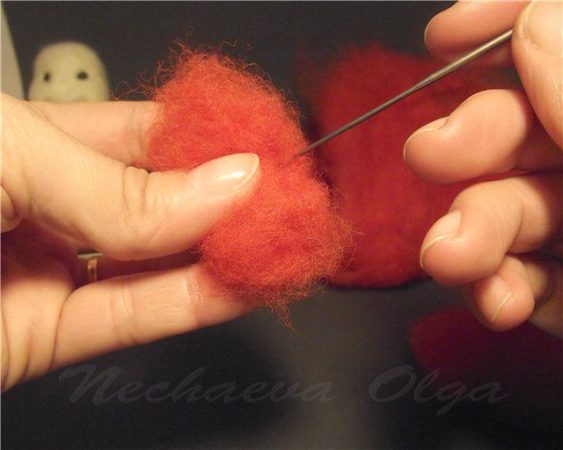
Let's try to felt mittens from two identical pieces of red wool. We take each piece in our hands one by one and gradually give it the desired shape, constantly turning the mitten in our hand.
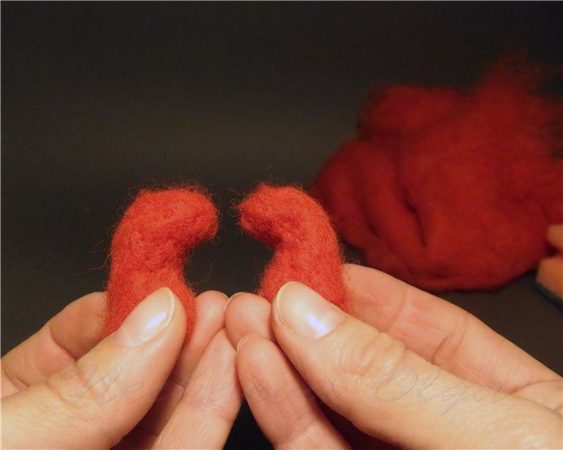
After making both mittens, compare them. If they are not the same, adjust them to fit. Leave the place where the mitten is attached to the handle fluffy.
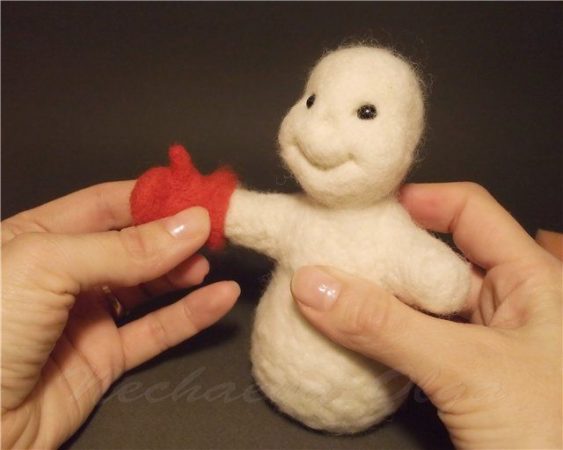
Sanding the snowman
We only made the snowman. This is not the end of the work. Now our product should be thoroughly sanded. To do this, take a small piece of wool, fluff it up and gently roll it to the body with a needle.
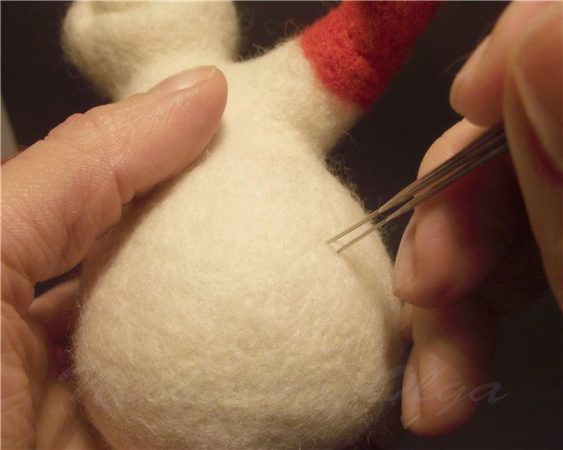
We place each new piece next to each other to form something like fish scales. Thus, you need to cover the entire surface of the toy. It is convenient to work with three thin needles, which we took when making eyelids.
We lower one arm of the snowman, carefully working out the connection with the shoulder. Don’t forget to form buttons from three felted pieces of white wool and connect them to the body.
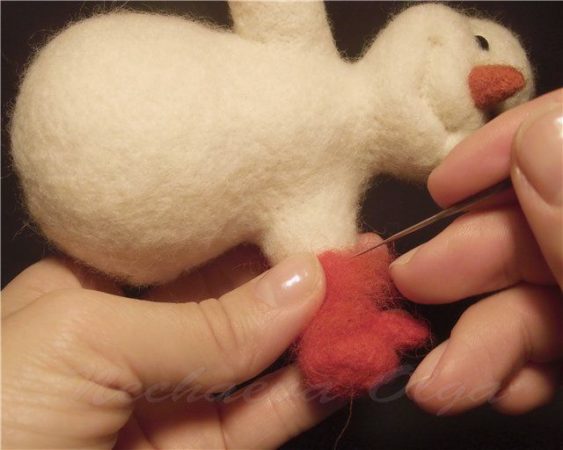
When the body is completely sanded, we begin sanding the mittens with red wool.
Tinting the snowman
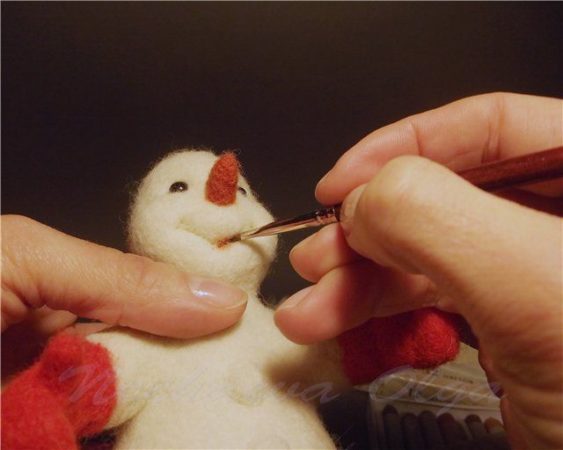
Another important process is tinting. To do this, take dry pastel in an earthy shade. We rub it on a nail file, and then use a brush to tint the snowman’s body.
DIY decoration
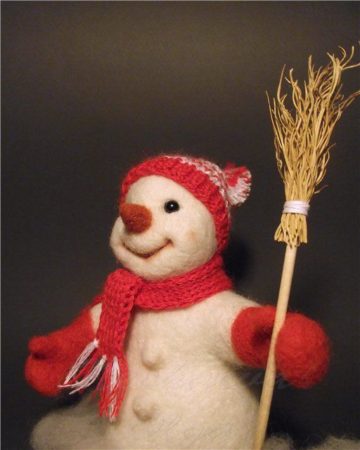
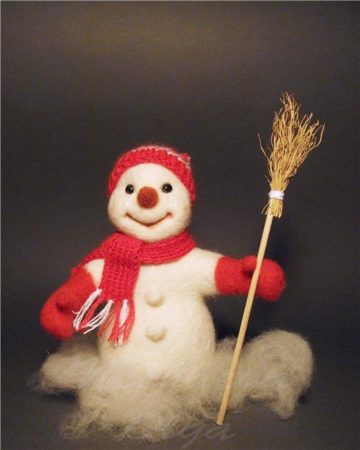
In principle, the craft is ready. All that remains is to put a scarf and hat on the snowman. You can knit them with knitting needles. Now we will admire the result of painstaking and lengthy work.


 0
0