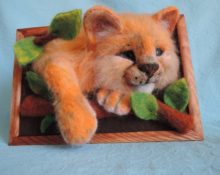
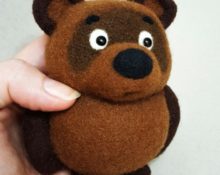
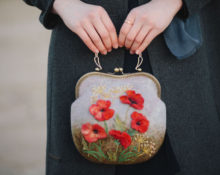
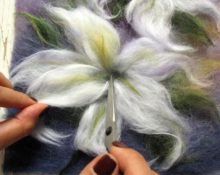
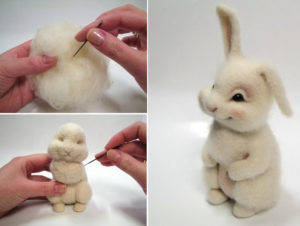
 Nowadays, for housewives and those who like to do everything with their own hands, there is a wide range of techniques and methods of needlework. In our article we will talk about such an interesting way of creating things as felting from wool.
We invite you to independently understand the felting technique and learn how to create real masterpieces.
There are two main methods: dry and wet felting. They differ, according to their name, in the use of water or operation without it.
We will talk about the technique of dry felting wool and describe a detailed plan for comfortable and fast work. This method is great for creating jewelry, dolls and various toys. If you want to create clothes, then you need to resort to the wet felting method.
History of dry felting
Before we get started, let’s learn about the origins of the dry felting method. 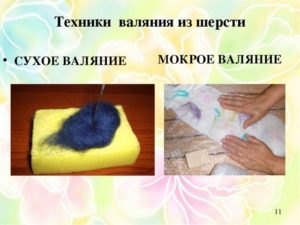
The first mentions of this type of needlework date back to ancient times. Initially, people noticed how sheep's wool, under mechanical stress, stuck together and rolled into solid carpets.Even before domestication, people collected the remains of animal hair and created the first products from it.
With the development of mankind, technology has also changed rapidly. Manual labor was replaced by machines and production equipment. In the 16th century, the first workshops began to appear, and in the 19th century, special presses were developed and created.
Nowadays, people have learned to felt wool using needles and introduced needle-punching machines into production.
REFERENCE. At different stages, the method of mechanical action, which is associated with the structure of the hair, was always taken as a basis.
Dry felting technique
Now we should pay attention directly to the production technique. 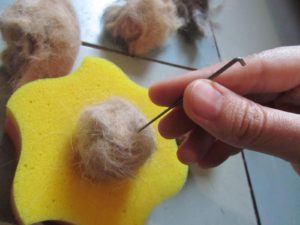
The felting method was made possible due to the structure of hair. If you look at it under a microscope, you will notice special scales or notches along its entire length. They are evenly distributed. It is thanks to this feature that individual hairs allow the fur to bunch into dense clumps. And then form a dense mat or felt.
This is what all production techniques are based on.
Unlike the wet method, dry felting involves the use of special needles. They tangle the hair together and create felt. After this manipulation, the product is given the desired shape. This method is great for creating small parts and decorative items.
IMPORTANT! The manufacturing process requires attention and concentration, since the needles are very sharp and can easily damage the skin.
Materials and tools
The first step is to prepare everything you need to work and create your product. For this 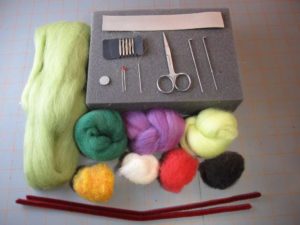 we need the next set.
- The most important material is wool. You can collect it from pets or buy it. Depending on the size of the product, different quantities may be required.
- Set of needles for felting. You should choose your tool carefully. The needles differ in their shape and size, as well as in the placement of notches that knock the hairs together. To make the right choice, it is better to consult a specialist.
- Special substrates for comfortable work. This is where your product will be placed. For this sponges or mats work great.
- To keep your skin safe, you should stock up on a set of thimbles.
- Special comb for combing wool and collecting it into balls.
There are different selection criteria for certain jobs. Try using different tools to feel the difference and choose the ones that suit you.
ADVICE. If you already have experience, you can use the set of tools that you like best. For your first attempts, try starting with standard sets.
How to dry felt wool
If you have prepared the tools and stocked up on the required amount of wool, you can begin 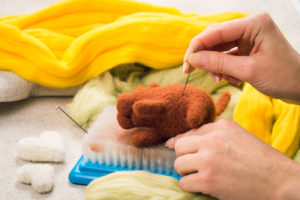 work. The process itself is simple and does not require any special skills or knowledge from you. However, you may not be able to achieve the desired result the first time. Try again until you have more experience.
The action plan will consist of the following manipulations. Follow the step-by-step instructions and you will get the desired product.
- Take a small piece of wool from the spun sliver.
- Roll the wad between your palms to form a ball or oval.
- Then roll it into a tight cylinder, after which you proceed to the main stage of dry felting.
- Now take the needles and begin to knock the hair together.Start compacting the product primarily in the central part.
- After the needle stops going inside, take a tool of a smaller diameter and continue working.
Checking readiness is quite simple. The finished product should not change shape or wrinkle when subjected to mechanical stress or hand pressure.
How to felt a ball using the dry felting method
It’s worthwhile to dwell on creating a small ball. Such blanks will serve as excellent 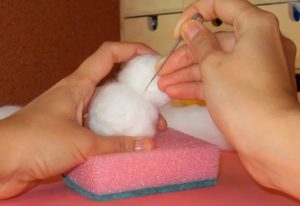 the basis for any toys and most products.
The principle is practically no different, its technology remains the same. We need to create a dense felt piece.
- As before, take a small part of the total skein.
- Roll it between your palms to shape it.
- Place it on the brush and start felting using needles.
- To do this, gradually pierce the product deep into the bristles of the brush, tangling the hairs together.
- Then remove the product and shape it into a ball. Then pierce the material evenly from all sides with needles. Work the needles strictly perpendicular to the wool to avoid breaking them.
Try to create masterpieces, and gradually you will get better and better. Delight yourself and the whole family with new interesting toys.


 0
0