The lands of the ancient Slavs are considered the birthplace of wool felting. This means that the desire for this craft is in our blood. Like their ancestors, today's people are attracted by the scope of imagination and the absence of prescribed rules in this exciting activity.
Dry wool felting basics for beginners
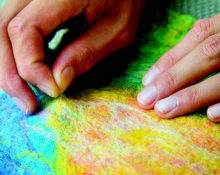
Our contemporaries, unlike their ancestors, prefer a different method of felting - "dry". This choice was influenced primarily by the birth of a steel needle.
Without special needles, this creative process is impossible. They differ from ordinary ones by the presence of notches. Penetrating into the layer of wool, the notches tangle the hairs and form a durable fabric.
There are different types of needles. They differ in cross-sectional shape, direction of notches, and thickness. All needles are assigned numbers: The higher the number, the thinner the needle.
Thick needles are used to felt the coarse wool at the beginning of the work.
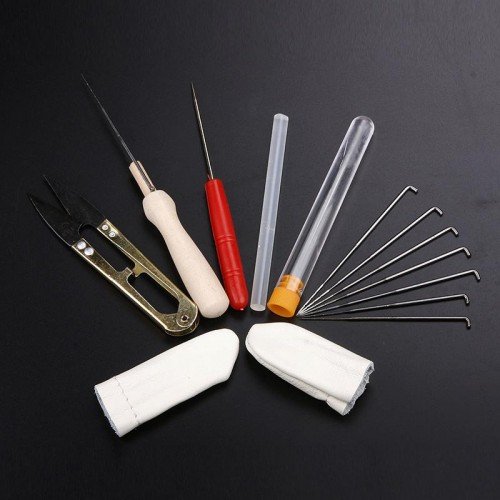
Most in demand medium length needles. This is explained by the possibility of their use at all stages of the process.
Using thin needles, small details are drawn at the final stage (finishing).
To start working using dry felting technique, at the first stage, a few universal triangular needles are enough (No38).
Needles often break, especially among novice needlewomen. It is necessary to have a reserve. Take care of this in advance.
Dry felting technology involves using only natural wool fibers.
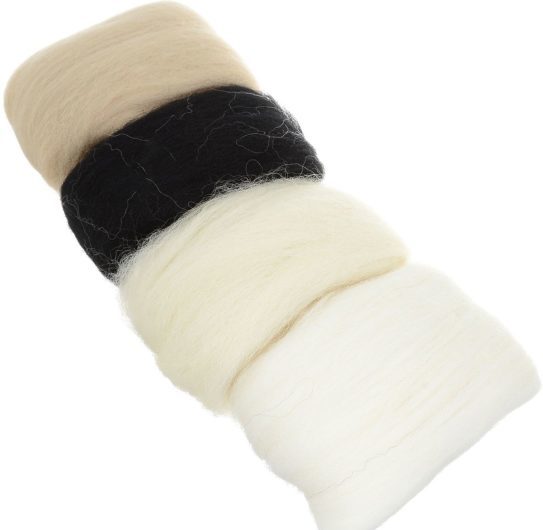
Used for felting the bases of toys and stuffing rag dolls. Sliver It is a coarse wool containing plant impurities.
Comb tape – pure wool product in the form of long fibers. It is suitable for dry felting, but is inconvenient. Before you start felting the product, you need to mix up the thinnest threads well.
Carding – ready-to-use wool mass. Outwardly it resembles cotton wool. Consists of short, randomly located fibers. Does not require preliminary preparation, falls off quickly. Recommended for beginner needlewomen.
To avoid injury and needle breakage, use a special felting backing. Most often, foam sponges are used in this capacity - automotive, household.
If you are fascinated by the creative process - get yourself with a special, more convenient brush.
Who is suitable for felting as a form of creativity?
This type of creativity is suitable for almost everyone - both adults and children. Psychologists review classes felting How art therapy. The structure of the wool calms and puts you in a positive mood.
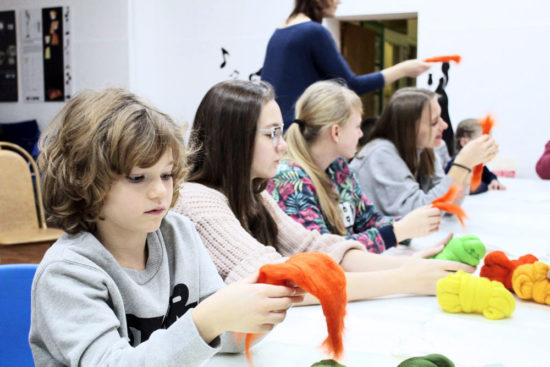
Children from three years old can do wet felting. In addition to pleasure, it brings health benefits, promotes the development of patience, attention, and accuracy.
From three to seven years We recommend training in the wet felting technique. Suitable for school age dry. By this period, fine motor skills have already been developed and the child can cope with sharp needles.
This type of creativity is not recommended for people who are allergic to wool or have serious problems with the spine and joints.
What can be felted from wool using the dry felting technique?
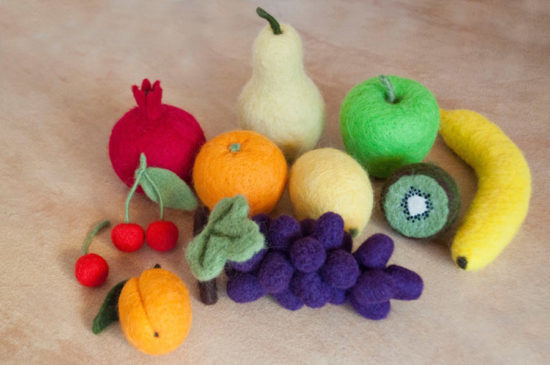
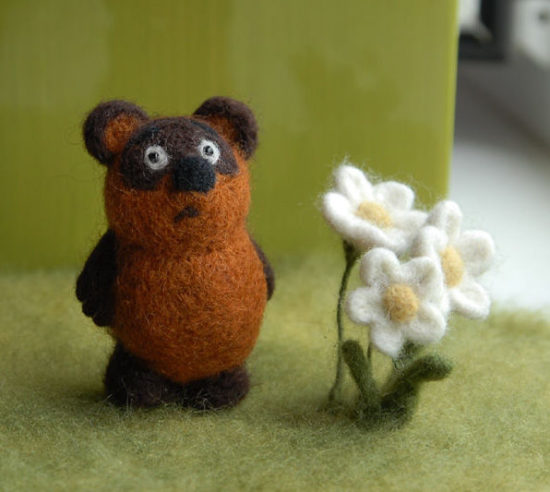
The dry felting method is used to create three-dimensional products: dolls, sculptures and unusual figures, toys, jewelry and accessories, decorative elements. The method is used for applying patterns and designs to wool textures. Using needle-punching technology, artistic felt is created - a non-woven tapestry. The variety of felt products is simply amazing.
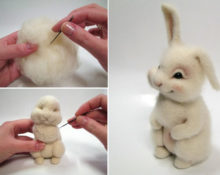
A simple and interesting master class on felting toys for beginners
Let's start small: learn how to felt a simple toy.
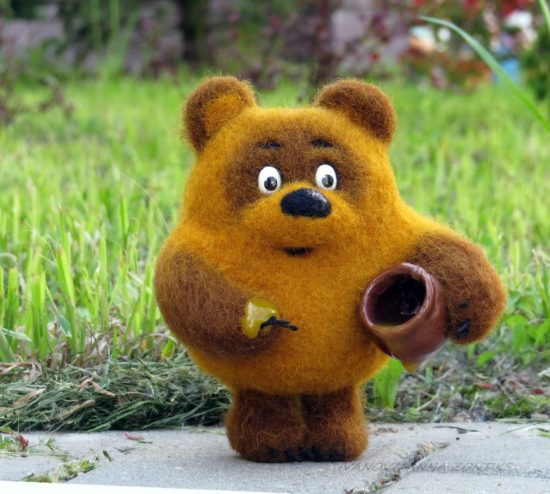
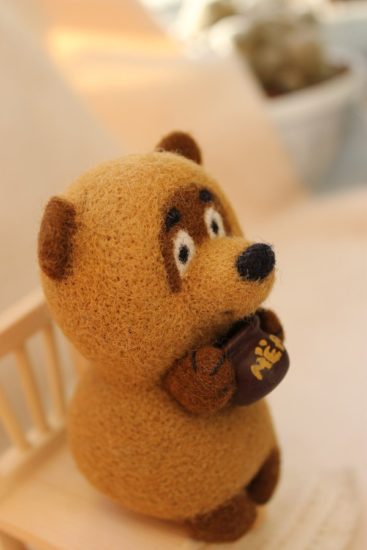
Most of us have been familiar with the bear cub since childhood. Winnie the Pooh. Honey lover and philosopher with out-of-the-box thinking – this is how we know it and will try to recreate it in a woolen toy.

During all the work, it is advisable to have an image of a bear cub before your eyes. This will allow you not to miss the details and will help convey the character’s character to the toy.
Materials and tools:
- Carding four shades: white, light brown, brown and black.
- Felting needle No.38.
- Sponge for backing.
- Glue "Moment Crystal".
- Blanks for eyes (small black buttons).
Sequencing
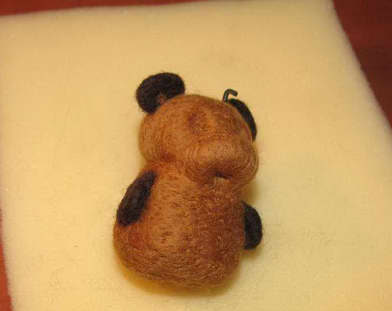
1. We felt the blank for the toy - the head and body (one piece).
Take a light brown ball of wool and form a ball. Squeeze it tightly and, placing it on the backing, begin to pierce it with a needle. To prevent the needle from getting tangled in the fiber and breaking, it is inserted at an angle.
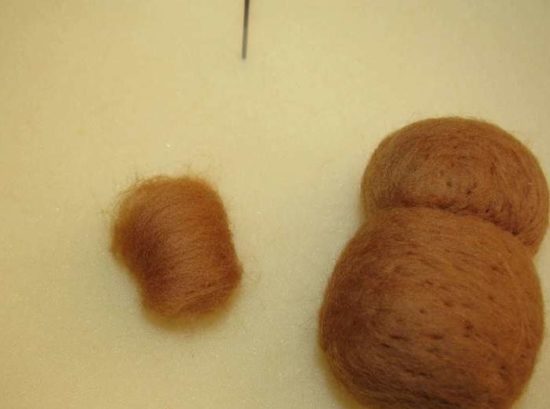
Pierce the wool throughout the workpiece. The figure of Winnie the Pooh should resemble a balloon. Penetrate the needle as deeply as possible. There should be no voids left at the base of the toy.
Gradually increase the volume, adding fibers and falling. Take your time - the needle may break.
When the workpiece corresponds to the intended size and shape, and the needle is difficult to insert into it, proceed to the next stage.
2. Forming the head.
It is necessary to distinguish between the head and body of the bear cub. To do this, outline the neck, referring to the image. Focus your needle work on the selected area - pierce a circular furrow.
Eyes. Poke the recesses for the eyes (you should get depressions). Take two pieces of brown wool and lightly nail them with a needle into two cakes, without bunching up at the edges. Form the same two parts, but with a smaller diameter, from white wool.
Make all paired parts (paws, ears, eyes) at the same time. This is necessary so that they turn out the same.
Get in touch to the head, in place of the recesses for the eyes, there are brown details, and on top - white. The little bear's eyes are almost ready, all that remains is to glue the buttons in place of the pupils. Do it closer to the finish line.
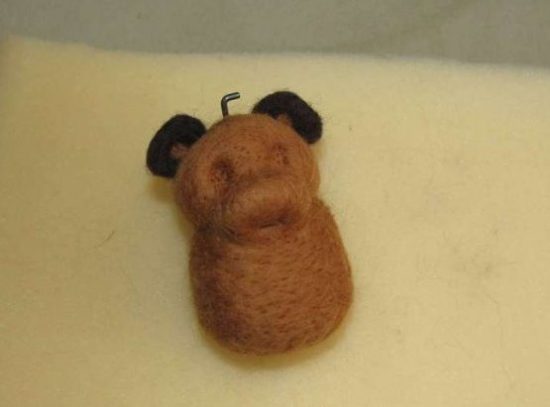
Nose. Model the nose from a small ball of black wool. Get in touch him to the bear's head. Adjust the shape of the nose with a needle, referring to the image of Winnie the Pooh. Outline the nostrils.
Mouth, eyebrows. Shape the hollows for the mouth and eyebrows in the same way as the neck. Felt black wool into the recesses.
Do not make ears for the teddy bear, and do not glue on the eyes until you finish the toy. They will interfere with work.
3. Paws
Use carding Brown color. For the upper paws, form two rolls. While they are loosely felted, bend them and add wool.Slightly lie down paws to the body - this is just an outline. It is needed to be able to correct the situation if necessary.
Make the lower legs according to the same plan, but keep in mind that they are slightly longer than the upper ones.
If everything is in order with symmetry, good lie down paws to body. To prevent them from seeming like a foreign element, add fur to the places where the paws are attached. Round all the legs.
4. Tail
Take a small ball of wool fibers. Fold it into a cone shape and model a ponytail. Get in touch him to the bear's ass.
5. Ears
Form two identical pieces of brown wool into two semicircular cakes. Felt both pieces alternately and compare the sizes.
Round and seal the outer contour of the ear. Inner fluffy edge lie down to the bear's head. Don't forget to add curves to the ears!
6. Shutdown
Felt the toy more tightly, align the legs, smooth out the joints.
Glue on the eyes. If you use small buttons on the legs, use a needle to punch small holes in the eye sockets. Treat them with glue and attach buttons.
The toy is ready! Perhaps Winnie the Pooh has a completely unexpected appearance. Don't be upset, this is not a marriage, but your creative take on a “cartoon” character.
Don't stop - create and imagine!
 0
0