Felting wool ‒ the oldest craft on earth, it appeared much earlier than spinning, knitting and making various types of fabrics. In ancient times, cattle breeders domesticated wild sheep and used their thick wool to make hats, outerwear and shoes. Ancient people kept warm under pieces of felt and covered their homes with them.
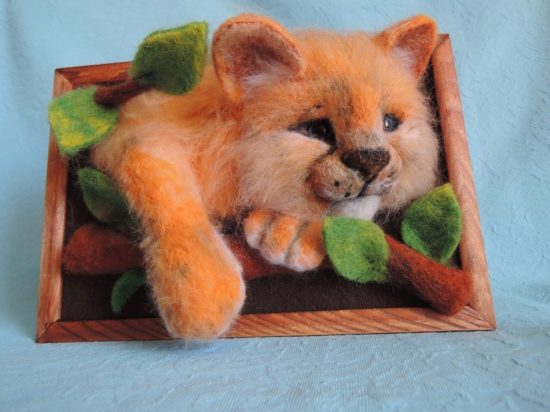
What is the dry felting technique?
A simple type of working with wool has gained immense popularity among modern handicraftsmen. This direction of artistic creativity allows craftsmen to create voluminous toys, a variety of jewelry, warm, comfortable shoes and clothes.
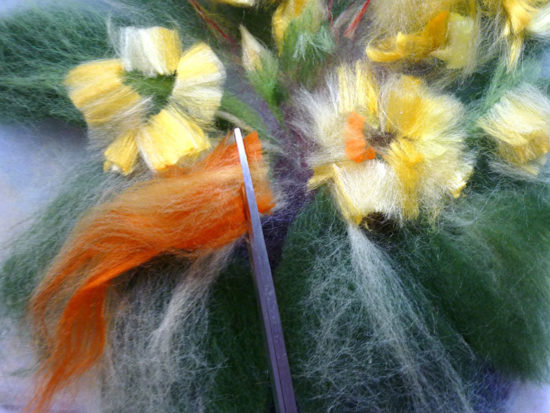
Anyone who has absolutely no knowledge of the dry felting technique, having delved into the manufacturing technology, will be able to independently create bright wall panels, paintings of extraordinary beauty and many other unusual, sometimes unique things.
The advantage of sheep's wool is that the scales of its hairs are open.It is this scalyness that helps them adhere well to each other (fall off).
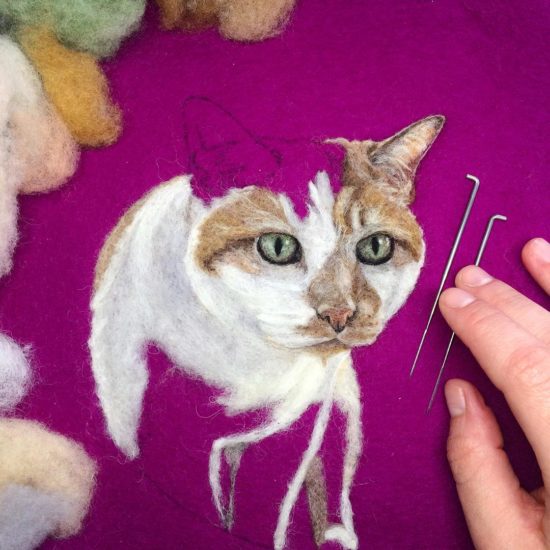
The main stages of the felting technique:
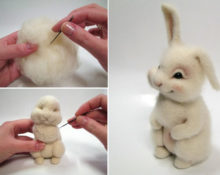
- pinch off a small bunch of wool, rub it between your palms and roll it into a tight cylinder or lump;
- stick a special thick needle inside and moving it rhythmically towards the outer walls, compact it from the inside. Then change the needle to a thinner one and continue working on the details. You will compact the future product from the inside, simultaneously leveling the surface and creating relief;
- To make the process go faster, professionals advise work with several needles at the same time, connected into a bundle, and inside the lump you can put a sliver or a piece of foam rubber. At the same time, you will save more expensive wool;
- continue felting untiluntil you notice that the shape of the wool, its appearance and density no longer change when pressed. When finishing work, sand the surface.
Is dry felting suitable for teenagers?
Felting is a fascinating process; it can be done not only by adults, but also by teenagers, even primary schoolchildren.
Under the guidance of felting masters, children will be able to master a new type of creativity. After educational master classes, during which wonderful woolen toy masterpieces will be born in the hands of little needlewomen, children become interested in felting for a long time.
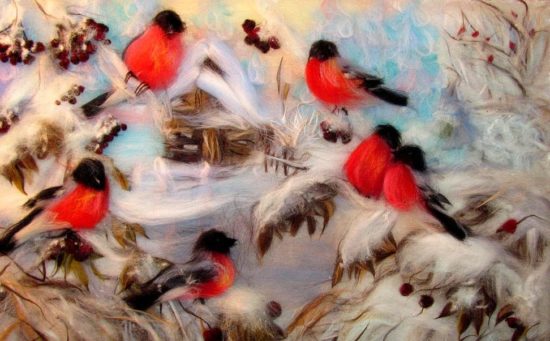
With the help of an ordinary needle, children's hands can create wonderful toys, souvenirs and gifts for parents or friends.
Felting is an unsafe form of creativity. It is not suitable for children under 10 years of age. They can get distracted and severely injure a finger with a sharp needle or tear the skin with notches on it.
Dry felting of wool paintings - master class
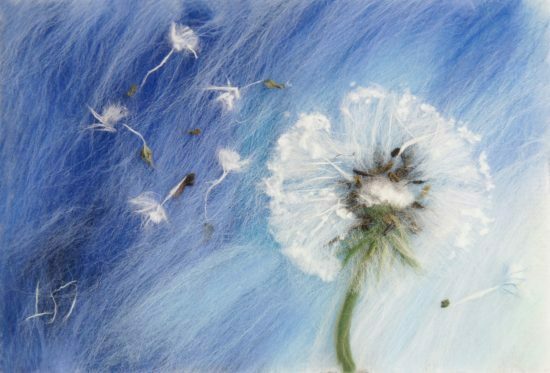
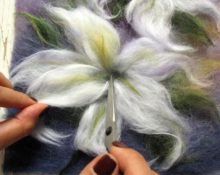
In technology "dry felting" You can make a picture with voluminous, convex figures and bright colors. Our lesson is designed for children from 10 years old, teenagers, youth, parents and the older generation. We invite everyone who wants to master the art of felting and decorate their home with their own felted paintings.
Let's consider materials and tools
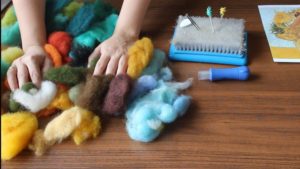
For dry felting you need to have:
- Sheep wool (carded or combed tape is best), special barbed needles: №36 - rude, № 38 - asterisk, №40-42 ‒ thin and №32 ‒ reverse, rough and needle holder for them. But many craftsmen do not use an expensive holder, content with needles wound with an elastic band.
- Silicone thimbles. Beginner felters should use them to avoid injury to their fingers when working with needles.
- Professional craftsmen advise using special mats (brushes) for felting. Such a tool is not cheap, so many hand makers use a thick car sponge or, sometimes, even a dishwashing sponge. It's also very convenient!
- To fluff or comb the wool on the finished product, use special brushes. They can be bought at pet stores.
- Also purchase twisted, durable, but soft material from a craft store. wire with lint, it takes the desired shape when making the frame of toys, and wool clings well to its fibers. To felt flowers, you will need soft, pliable wire. It can be “obtained” from a wire, cable, or bought at a specialized craft store.
Step-by-step instructions for making the painting “Winter Evening in the Forest”
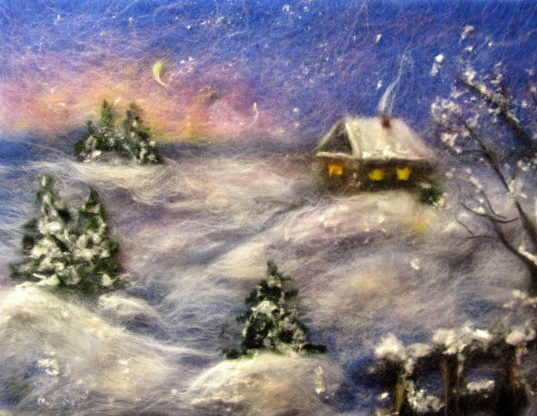
To work you will need materials:
- frame;
- multi-colored wool;
- non-woven fabric;
- tweezers for working with wool;
- scissors;
- sketch of a painting on paper.
Sequence of work stages
- Remove the glass from the frame and secure the fabric to it using clamps. The non-woven fabric will hold the wool well. To form the base of the picture, lay the undyed carded card on top of the frame in an even layer, using the pinching technique. Using tweezers, pull out the carded hairs and carefully lay them out on the surface of the fabric.
- To fill in the background, alternate light blue and dark blue wool fibers, overlapping the ends of each other along the base of the picture. Make a soft yellow wool moon and place it in the top left corner. Trim any hairs protruding from the circle. Next, lay out thin, delicate strands of light gray or coral wool to create a frosty haze around the moon against the blue sky. What is winter without snow? Create white snowdrifts by laying out dense strands at the bottom of the picture.
- Now let's fill in the right side. In the background, using tweezers, we place a tall spruce (a trunk of different shades of brown and green branches, weighed down by a snow cover of white wool). In front of the spruce tree we will “build” a wooden hut for hunters, light coffee color. Gray smoke comes out of a black chimney. Make a door rectangle from dark strands. The windows reflect the light of the moon, make them yellow.
- From the house to the right, lay a soft gray path trodden in the snow. It leads into the forest located on the left in the distance. Trees in the forest can be seen against a background of white snow. Line the outlines of trunks and branches with dark wool, straightening the hairs with tweezers and trimming them to form a crown.
- Complete the picture with gentle reflections from the moonlight, shining yellow on the white snow.
You have created a real winter landscape in a painting made with your own hands using the wool felting technique.
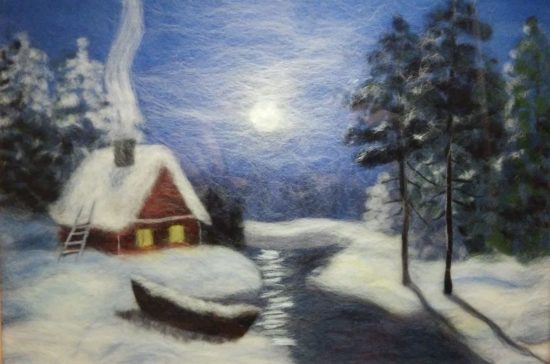
Beautiful paintings made of wool
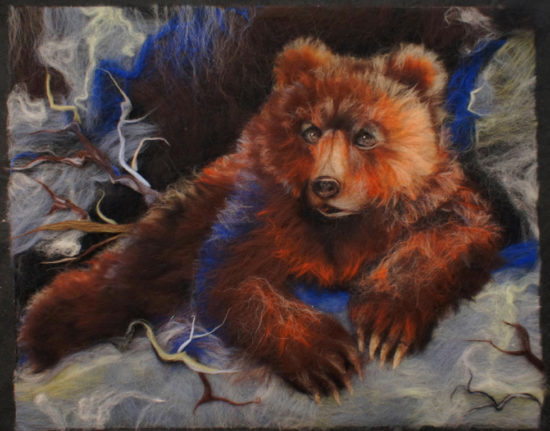
You will definitely fall in love with this ancient art. Having mastered various felting techniques, you will create many beautiful paintings that will be admired not only by your family, but also by your neighbors and friends.
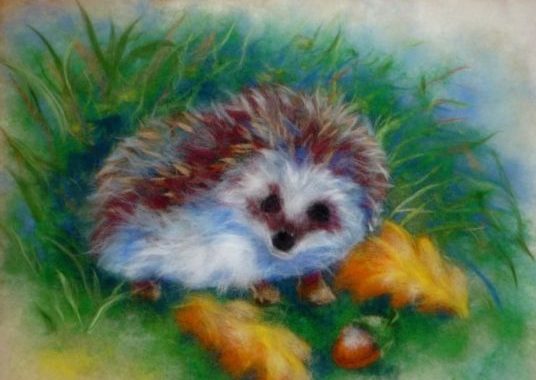
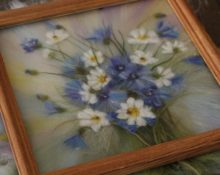
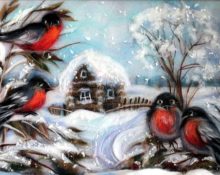
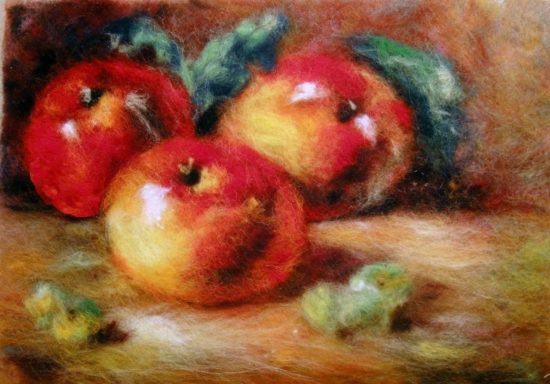
Working with wool is the singing of the soul. Paintings from this soft, pliable material can be created on any theme: still lifes, architectural compositions, landscapes, graphics, sculpture. All areas of painting can be conveyed using the technique of dry or wet felting, resulting in unique installations of unsurpassed beauty in the painting.


 0
0