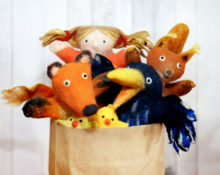
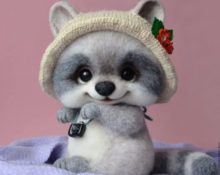
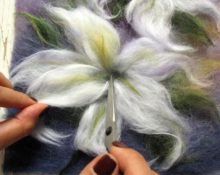
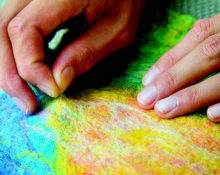
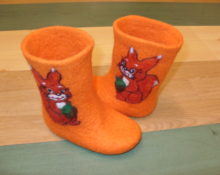
Felting - this is a special type of needlework when voluminous toys, interesting accessories and even drawings on felt or fabric are created from special wool. The use of natural materials and enjoyable leisure time for the whole family are guaranteed!
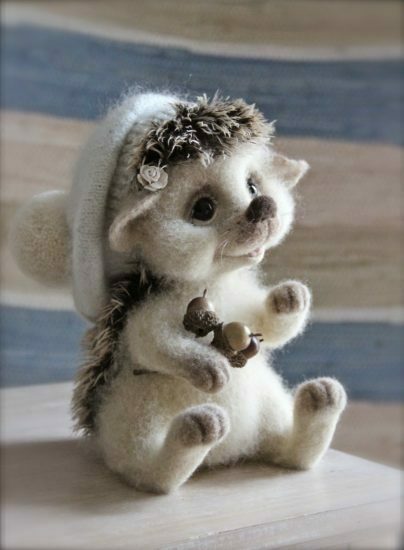
Why can felting wool toys be useful?
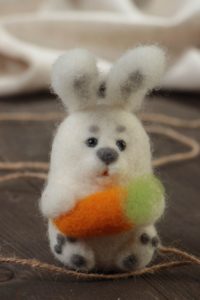
The technique seems like a complicated process only at first glance., requiring incredible skills and supernatural skills. This popular hobby even children can do it, the main thing is to master the basic techniques and start by at least creating a simple caterpillar. After the first toy, things will go much easier!
There are two methods of felting: wet and dry. In the first method required form applied using water and soap solution. In the second – the material is knocked down using special needles. In any described method the process captures all attention without a trace, concentration increases and fine motor skills develop.
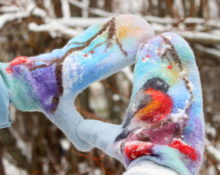
The result of labor is given as a gift for memorable dates or used in everyday life. Made from multi-colored natural material decorative jewelry, toys, funny mittens and even slippers. Therefore, this hobby is considered not only entertainment, but also a practical activity that can generate income by selling your own unique things.
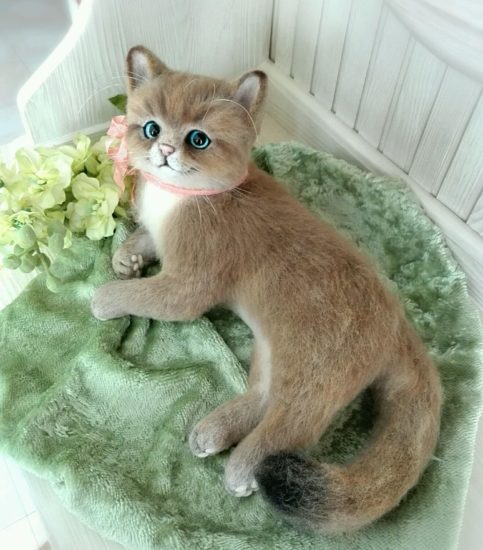
Felting has been known to mankind for a very long time, according to archaeologists, more than 8,000 years ago! According to legend, the first felt appeared on Noah's ark. The sheep floated in cramped quarters and lost their wool, which became wet and trampled under their hooves. At the end of the trip, a felt carpet was found in the stall.
What skills are needed to felt a wool toy with your own hands?
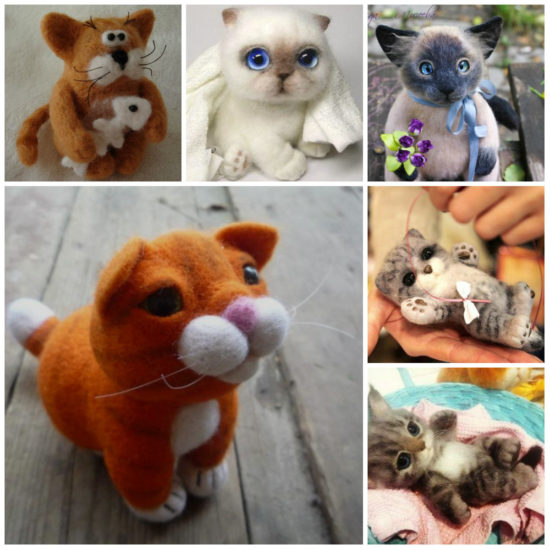
Skills are acquired through learning, so you need to stock up on materials, choose the work scheme you like and get started! On the Internet or in a regular specialized store for needlewomen, you need to buy material in the desired colors (preferably with a reserve) and needles.
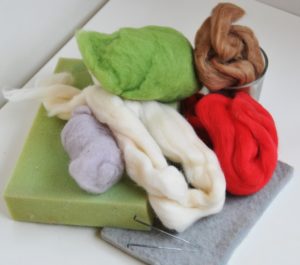
- Needles. Dry felting is carried out using L-shaped needles of various thicknesses and edges. Work begins from a thick instrument, then gradually switch to a thin version. This is determined by touch; as soon as you feel that the needle enters with difficulty, then it’s time to change it. The faces also differ greatly in shape and functionality, since the more faces, the wider the area of interaction with the material.
- Substrate. It can be foam pads, special brushes or felt.
- Wool. The choice is unlimited: for every color and taste and even wallet. Artificial and natural materials are available for sale, and for beginning craftswomen it is recommended to buy ready-made kits, they provide detailed instructions and contain all the necessary tools to create the chosen toy.
If the choice fell on the wet method To create felt crafts, you will need wool, water, film and a large towel to collect excess water.
For those who like to knit, there is a technique for wet felting knitted items in a washing machine. That is, first an item is knitted, for example, a future bag, and then put through a cycle (or even two) of washing with a strong spin.
Felting toys for children made of wool step by step
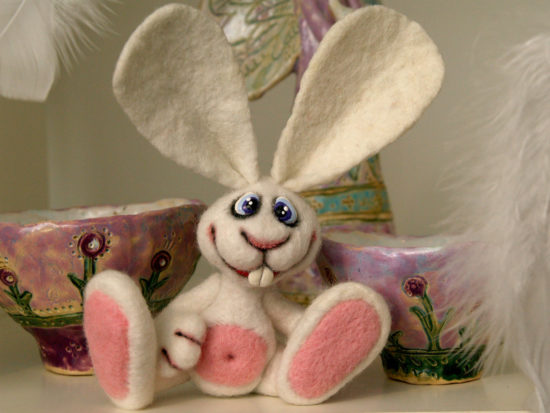
The process is painstaking, therefore, it is important to consider it step by step from beginning to end, so as not to miss even a small detail that will ultimately affect the results of your work.
What kind of wool is needed for felting toys?
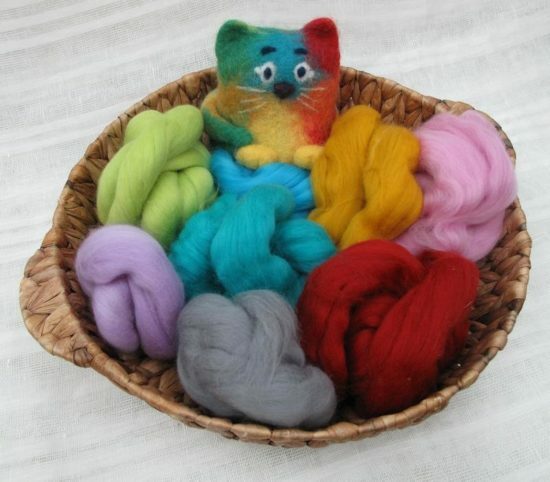
More often used sheep's wool, distinguish Australian merino sheep, distinguished by their thin fleece. Material with a coarser structure is used to create felt boots and toys with a shaggy cover. For the background and base, bleached material is used. It is recommended to use fine floss for filling.
The most budget option – sliver, This is an undyed material at a modest price. This usually serves as a base, on which a thinner colored layer of merino is then laid.
It is not forbidden to take camel or goat wool. Mohair, angora, cashmere look great in finished products.
Selection of equipment
At the moment there are two techniques:
- Dry felting. Using a notched needle, tangle the fibers. The technology is very similar to creating sculptures from plasticine.
- Wet technique. The prepared material is soaked in a soap solution, ironed, rubbed and wrinkled in all directions. This is how a felt cloth is obtained, from which various decorative and household items are made.
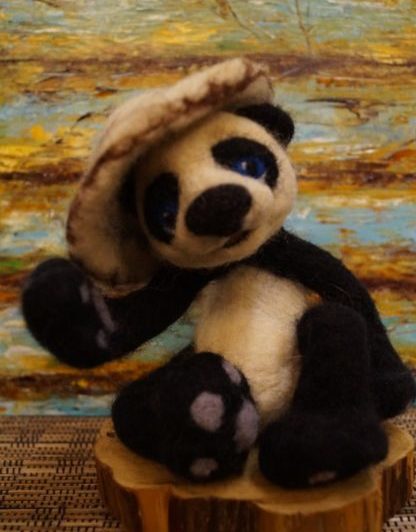
To create a three-dimensional toy, the first technique is used; it allows you to sculpt truly cute and funny animals and even fantastic creatures.
All small paired elements are made simultaneously to create perfect symmetry. You need to tear off two absolutely identical pieces and make movements, switching from one part to another.
What other materials will be needed?
The hobby does not require a huge amount of materials, the main thing is: a bunch of wool and a needle. Everything else remains at the discretion of the needlewoman. Some items are needed only for certain types of work or for the safety of a novice felter.
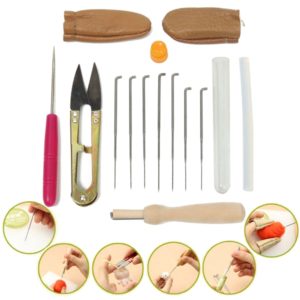
We will try to provide as complete a list as possible:
- faceted needles of various thicknesses;
- needle holder;
- pad or backing;
- sufficient quantity of material;
- synthetic fibers for volume;
- rubber finger protection thimbles;
- slicker;
- glue;
- thin wire if you need to make a toy frame;
- forms for the felting process;
- impregnating compositions;
- dry pastel for creating a drawing.
The list can be supplemented with decorative elements: ribbons, beads and other cute little things.
detailed instructions
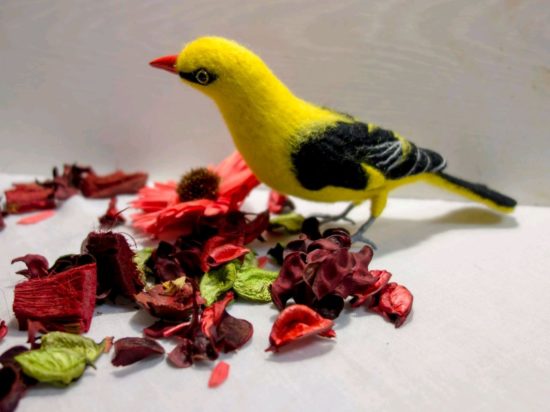
Given the particular popularity of owls, it is recommended to start with a simple master class, where, as a result, It turns out to be a funny bird.
What is necessary:
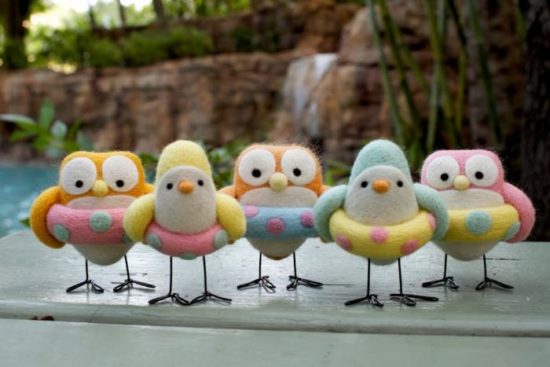
- substrate for felting;
- from needle a tool with reverse action and No. 38 (universal size) will be sufficient;
- eyes and beak You can buy ready-made ones, make them from buttons or mold them from polymer clay. In this master class, the beak is made from wool;
- threads medium thickness brown shades. Regular sewing needle;
- scissors;
- glue (for example, “Moment”);
- brown pastel or eye shadow. They are used for tinting;
- wool for felting, you should take a carded card, its texture resembles cotton wool, and it is easier to work with;
- color solutions: mostly brown shades, with some gray white flecks added, plus a little bit of yellow material for the beak.
Master Class
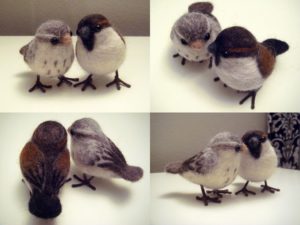
- The preferred lumps are broken up and mixed to create spotting.
- Place the lump on the backing and begin felting, inserting a thick or universal needle deeply.
- You need to give it the shape of a slightly flattened egg.
- Stop at the stage when the workpiece springs and does not acquire final hardness.
- Add light wool to the belly area, and a dark piece to the back.
- Pin with a needle.
- Mark the eye sockets and the place for the beak with a needle, that is, make indentations.
- Glue in the eyes.
- Felt the beak separately: take a yellow lump, roll it between your fingers and shape it with a needle on the backing.
- Give the final shape on the muzzle by placing the ball on the intended place.
- Sand the beak. It looks like this: you need to use a needle to walk over the surface with very frequent and small movements, giving it smoothness.
- Walk with simple movements over the entire figure, leveling the corners and checking the symmetry; no need to sand, just compact.
- Using a needle in reverse, we fluff up the brown areas of the body without touching the white belly.
- Using a thread and a regular needle, embroider feather strokes and stitch the neck line to emphasize the separation of the head and body.
- Using a brush, apply shadows to the eye sockets, the area under the beak and highlight the neck line.
- The final stage: wet your hands with water and rub the toy in a circular motion.The protruding strands will be twisted, which will give the owl an original and tousled look.
The resulting souvenir will cheer up both mother and child!
Christmas tree decorations made of wool - how to felt?
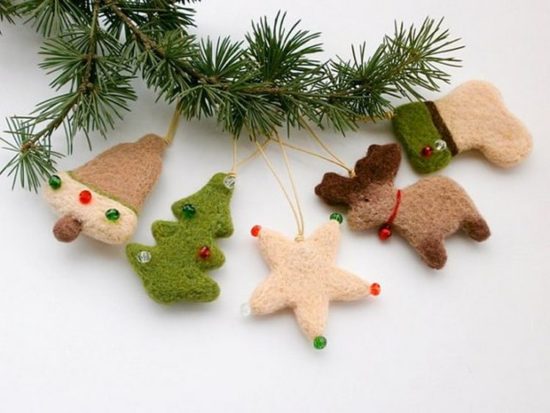
Balls for decorating a Christmas tree can be felted in a simple and original way. The essence of the method: wrap the base made of padding polyester or holofiber in wool, place it in a nylon shell and wash it in the machine.
Give preference to simple elements: balls, flowers, stars, ovals and hearts.
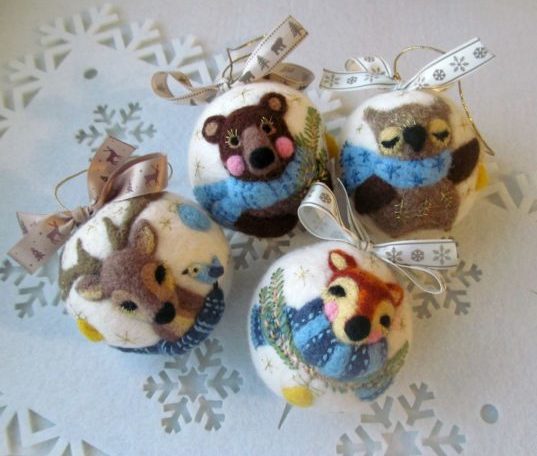
Master Class
- Prepare templates, cut out a circle from padding polyester. We calculate the diameter like this: multiply the desired size by two. For example, if you need a toy 7.5 cm, then cut out a blank 15 cm.
- Gather the outer edge of the circle with a “skirt” and put filler (for example, holofiber) into the bag. Tighten the ends of the threads along the edge, trim the ends.
- Parts with complex shapes (hearts, stars, etc.) sew, stuff and tie the threads.
- Wrap the base in strips of wool, very carefully, avoiding bald spots! For strength, fix with a felting needle.
- Place the blanks in a nylon stocking.
- Washing is done at 50 degrees.
- Remove from the car and dry on the radiator.
- If necessary, patch bald spots. The correction should be carried out with a thin needle.
- Decorate with pieces of felt, beads, ribbons, decorative ribbons and ribbons.
Do not use multi-colored material if there is a suspicion that a ball is molting!
The resulting toys can be hung on the Christmas tree, given to friends and colleagues, or placed in baskets as a New Year's design.


 0
0