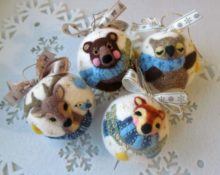
 Felting (felting) wool is a popular and interesting way to create toys and accessories. Many craftswomen want to learn how to make such crafts. Knowing the basic rules and features, it will be easy to master this technique. Felting involves three methods: dry, wet felting and nanofeltting.
What do you need for felting wool?
Before starting work, you should prepare in advance the tools and materials that you will need for creativity. You can purchase everything you need individually or as a set.
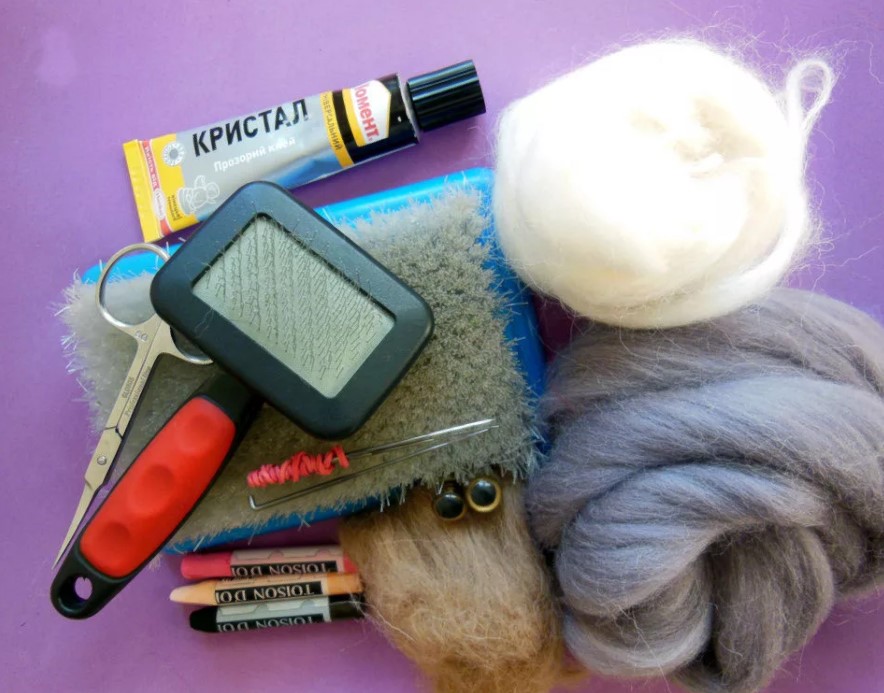
They include only basic tools, but sometimes a rowing belt, for making a specific product.
For dry felting you will need:
- A set of specialized needles for felting.
They start working with a long and thick needle, then move on to medium ones and for the final finishing take thin and short needles. The star-shaped needle No. 38 is universal. - Natural wool.
- Foam sponge 2-4 cm thick.
- Stencil paper, pencil.
- Tailor's pins, transparent glue.
- Beads, buttons, plastic eyes.
Important! It is advisable to purchase an additional set of needles, as they can easily be broken due to inexperience; beginners will need patience and experience.
Types of wool
For dry felting, natural sheep wool or alpaca and camel wool are used. There are five types:
- Rowing tape — the fibers are located in one direction, suitable for making toys and brooches.
- Carded wool — soft with mixed fibers, used for all types of felting.
- Fine wool - used for decorative elements.
- Sliver - rough and unbleached material. Suitable for the base of the product.
- Tow - small fibers remaining after carding. Used for stuffing toys.
Dry felting toys for beginners
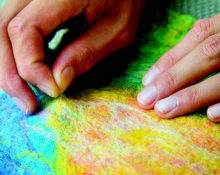
When dry fiber felting tangled using serif needles of different shapes (photo). Carded is considered a suitable material.
Having prepared everything you need to felt the toy, then get to work:
- We draw a diagram of the product on paper and break it down into small parts.
- Then we take a piece of material, taking into account that when rolling it will shrink by about three times, roll it up with our hands and give it the desired shape.
- Place the lump on a sponge and pierce it with a long, thick needle until it becomes dense and elastic. To achieve uniform matting, we gradually turn the product and work from all sides with the same intensity.
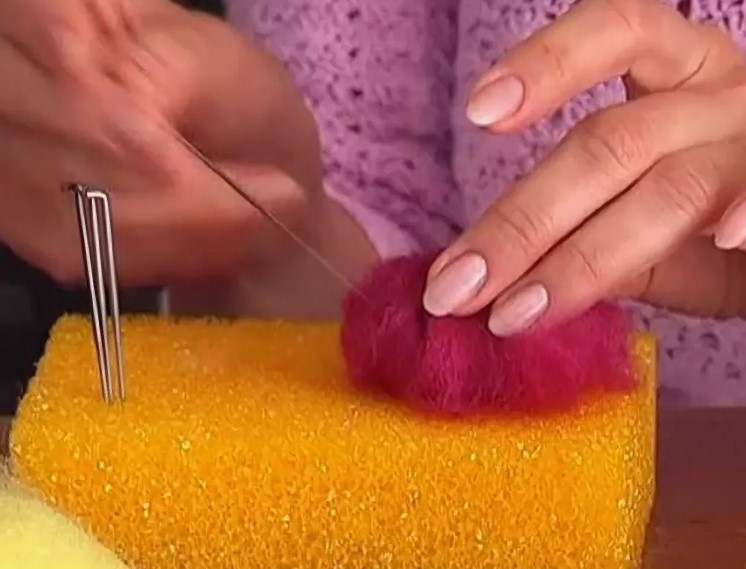
- As the part is compacted, we change the thick one to a medium-thick needle. If, when you press the product, it does not deform and easily returns to its original shape, then it is ready.
- To create a relief, you need to insert the needle into the same place many times. Sand the surface with a fine needle.
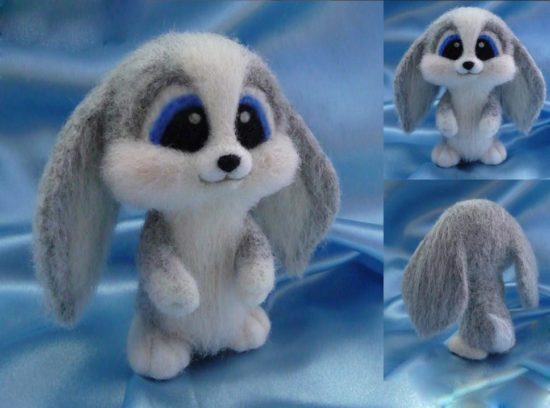
Important! The more tangled the fibers are, the easier they will fall off, so if you choose a rowing tape, you should first mix up the strands.
The process of working with needles for felting
For felting, needles of different thicknesses are used, commercially available from No. 19 to No. 42. They begin work with a thick and long needle, it is inserted and withdrawn into the part at an angle of 90 degrees. The needle inside cannot be moved or twisted as it is quite fragile. The sharp edge is equipped with notches, penetrating into the part, they capture the fibers due to this, and felting occurs.
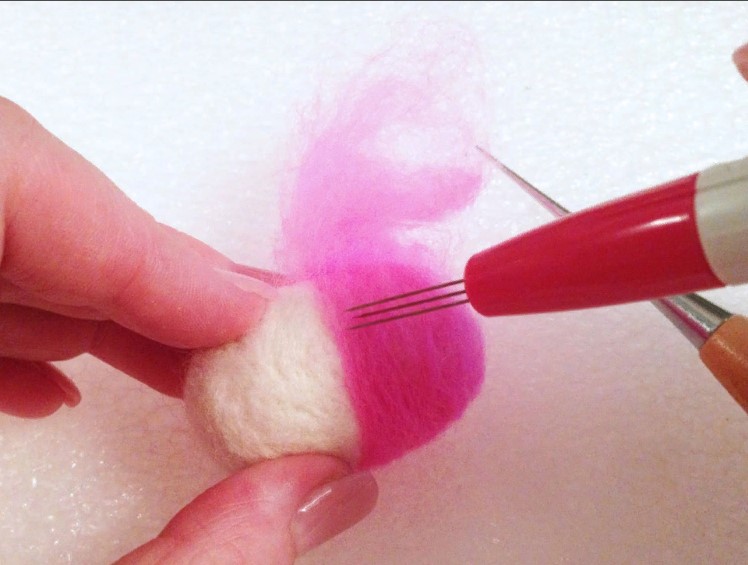
At the initial stage, the needle goes deep into the craft so that there are no voids left inside. As the part is compacted, it is replaced with a thinner one. When working, the product is placed on a special substrate made of material that cannot be felted.
Important! When working with felting needles, you need to be careful and not be distracted, as you can seriously injure your hand.
Rules for connecting parts
Large parts are usually felted in one piece. And small parts, for example, ears, tail or paws, are made separately. When filing small items, loose fibers are left at the edge. Next, they are pinned to the place of attachment and tucked into the middle of the base.
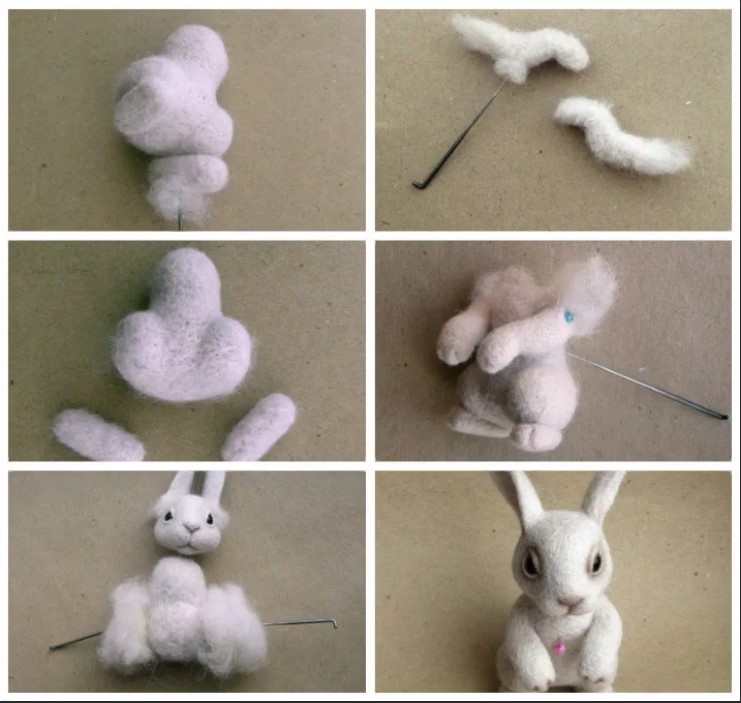
When the parts are tightly in place, small pieces of wool are used to cover and seal the seams. Sand the surface with a thin needle.
How to fluff a product correctly?
They fluff the craft in two ways:
- With a reverse needle - inserting into the product and pulling the fibers out. You should stick the needle in as often as possible to avoid bald spots. To give an aesthetic appearance, the fur is combed and trimmed.
- By rolling tufts of wool onto the craft. The middle of a thin strand is placed at the bottom of the toy, and tucked inside using a felting needle.When the row is finished, start the next one 0.7 cm higher.
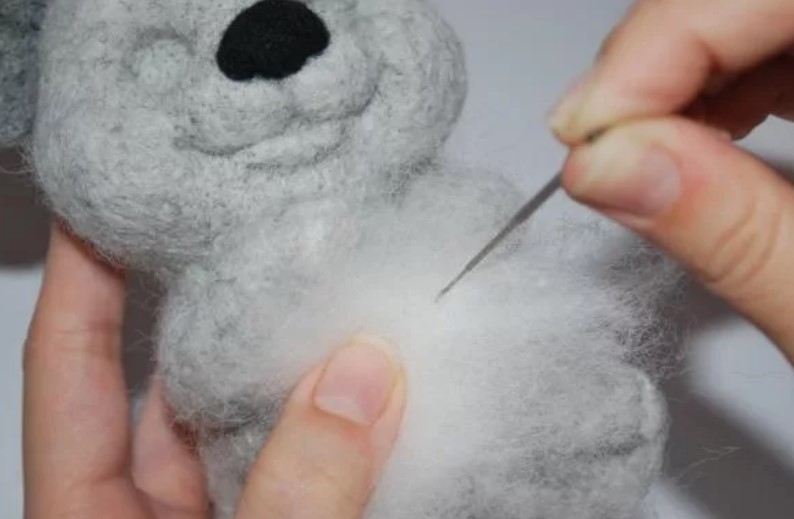
Fluff the product with a reverse needle
How to mix colors?
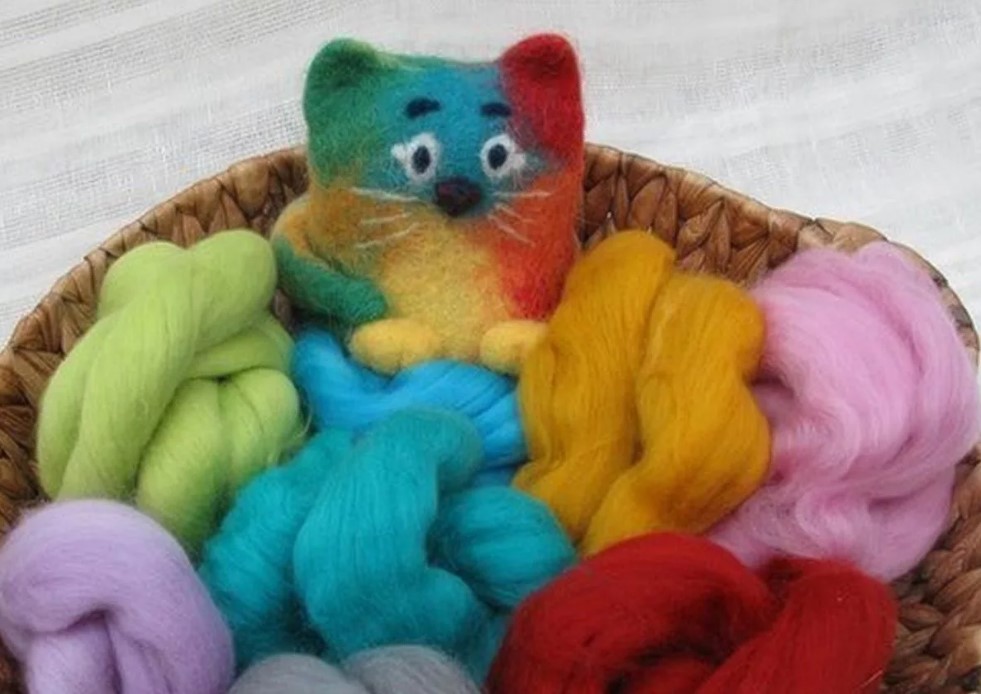
If the toy is multi-colored, you should not add all the shades at once, this interferes with sanding and looks ugly. To add a stripe or speck, you should roll the wool into small pieces of a different color onto the finished work.
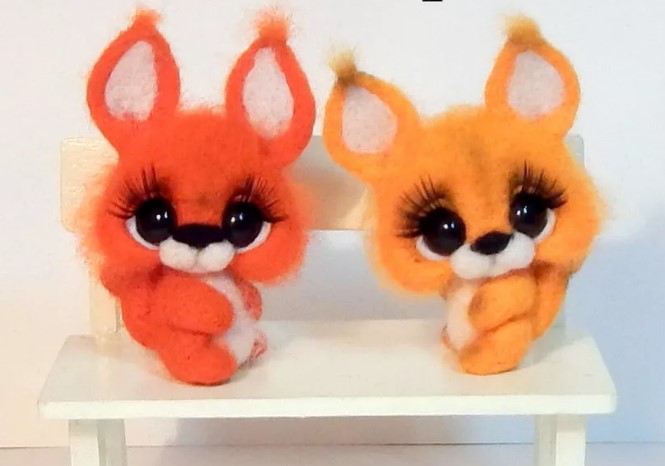
Rules for felting toys on a frame
Felted toys are dense and require a frame only when she has thin limbs or for moving parts. When creating products on a frame, chenille wire is used. It is cut into pieces of the required length and given the desired shape. The twisted wire base is wrapped with wool fibers, secured with a thick felting needle.
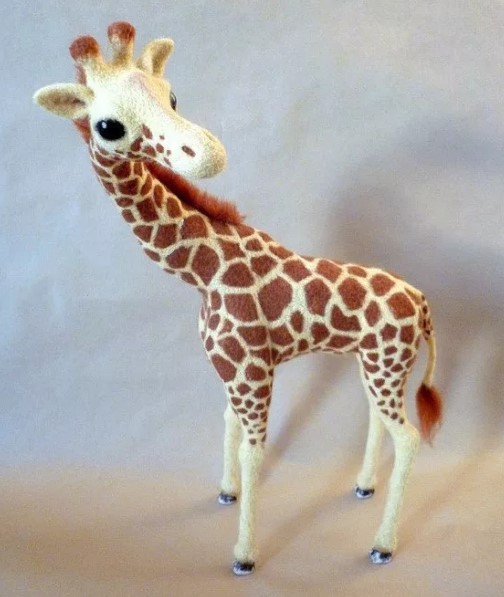
The finished frame is attached to the head or body (depending on the idea), rolling with pieces of wool. Then the surface is polished and decorative elements are added.
When choosing this creativity as a hobby, you should understand that it requires attentiveness and patience. We felt carefully, without rushing, this is a rather long and painstaking process, but the result is worth it.


 0
0