Thank you for visiting us. We are glad to welcome you to our master class!
If you are a beginner and want to find yourself in the fascinating world of felting wool toys, then be careful, careful, and you will succeed! And we will help you.
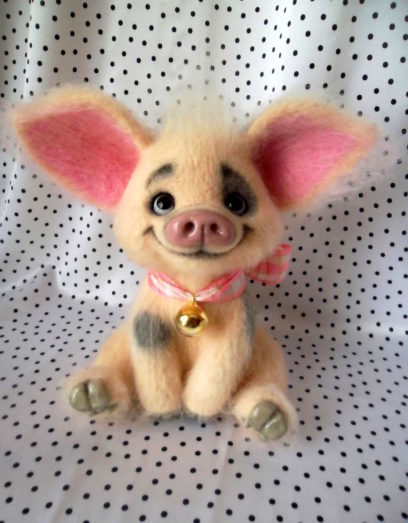
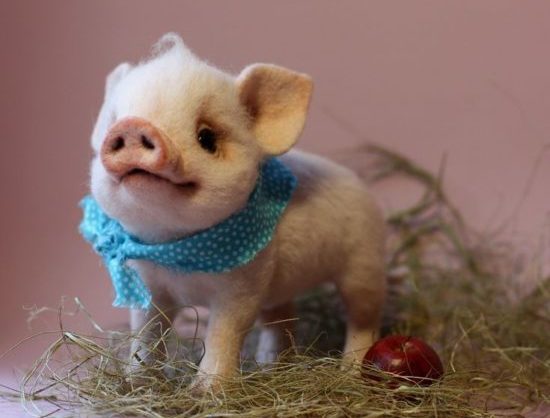
In just one evening you will make a wonderful piglet using the dry felting technique. We are sure that the creative process will bring you pleasure, and the pink pig will become your favorite toy.
What does it take to make a pig out of wool?
For work, prepare materials and tools:
- carded or combed ribbon of soft pink color;
- special needles with barbs: No. 36, 38 and No. 32;
- needle holder or elastic band to tie into a bun 2-3 needles;
- foam sponge;
- a thimble to avoid damaging your fingers (if you are a beginner);
- scissors;
- wire to the size of a pig's tail;
- wire for ears;
- buttons for eyes;
- glue "Moment".
Master class - felting from pig wool
Separate a piece from the wool, identical in size to your future toy.To ensure that the material lends itself well to felting, fluff it, separating it into parts with your hands and thereby tangling the fibers for better adhesion of the wool.
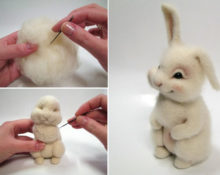
Let's move on to creating our pink pig. If you are already familiar with felting techniques, you can do this on the palm of your hand, placing a piece of wool on it and rhythmically sticking a needle with a triangular cross-section №36. Do this as deep as possible so that the wool feels well inside. The surface of the lump should remain in a loose state for convenience during further work.
We advise beginners to do the work by placing the card on a foam sponge. The needle should be moved strictly up and down to avoid damaging your fingers. The needle can also break if you press it at a large angle during felting.
If you roll the wool, strongly compacting the entire lump, then it will be very difficult for you to attach individual parts to the body of the pig: legs, ears, tail, eyes, snout.
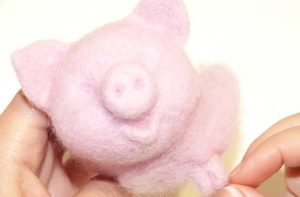
Felt the wool to the desired size, continue to mold it with your fingers, like plasticine. By pressing in the place of the future neck, stretch your head. Then, using a felting needle, form a neck. Having brought the condition of the pig's body to the shape you intended, sand the workpiece with a thin needle No. 38 (asterisk).
If there are poorly finished areas on the future pig, treat them with a reverse needle No. 32. Tuck the fluff that appears during the process into the body using a needle No. 38.
The pig base is ready! We continue to work. Again we tear off a small piece of wool, and having fluffed it well, we begin, tearing off a piece at a time, to form the ears, cheeks, snout, mouth.
Let's consider these processes step by step
- Ears. We take some yarn, felt it with a thin needle, forming tall ears with sharp ends.At the same time, place a glue-coated wire vertically in the center of each ear. Then we cover it with wool and roll it down, forming indentations in the front center, leaving the raw part below. The ears will be able to bend and straighten, and your pig will have a different “face” expression each time. We insert the wires into the animal's head, and attach the ears to the head, pressing them with a needle.
- Making the stigma. Carefully work out the patch, matting it on a foam rubber backing in the shape of a small “snub-nosed” cylinder. Leave the wrong side untreated, this will help to properly attach the patch to the muzzle. Roll the stigma to the head and shape it with a needle №36 recesses - nostrils.
- Cheeks. What kind of pig can be considered real without pink, plump cheeks? To do this, take a skein of wool, apply it on both sides of the patch and carefully press it down with a thin needle. Now our pink dream really looks like a living pig.
- Let's do the mouth. Place a small piece of carded carding on a foam sponge and lay a strip in the center. This will be the lower lip. Fold the strip in half and use a needle to make a semicircle. Having placed it below the snout, we roll a semicircle on the sides of the cheeks, creating a lower lip. Above it, under the patch, we form a depression, working with a needle. The mouth is ready.
- Eyes. Make it with a needle №36 holes on both sides above the patch and glue in eyes - buttons. What a beautiful face our little pig has!
How will our little pig run? It's time to make his legs. Separate 4 identical pieces from the lump and rub each one between your palms, getting 4 long cylinders. Felt the legs on the sponge, gradually turning and rounding their shape with a needle.Go over one side several times, inserting the needle along one line in the middle of the roller, making a fold - this will be the hoof. On the other side of the roller, add a little more material and form a thicker leg, making a leg. Place the legs on their thick side under the tummy.
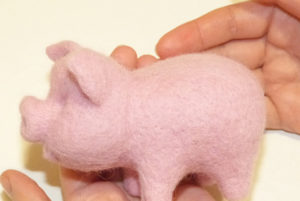
Don't you think that our Khavronya is too thin? Let's make her more well-fed. Apply small pieces, placing them on both sides at the back, and press them down. Now it’s a different matter, the pig has immediately gained weight!
And finally, the ponytail, how would we live without it? To do this, we use wire and coat it with glue. Glue the wool to the metal and press it gently with a needle. Glue the end of the ponytail with the protruding metal tip and insert it into the body. When dry, twist it with a hook or a spring, as you prefer. What a wonderful ponytail!
If you wish, you can fluff the pig using a reverse needle. To do this, carefully pass the needle over all parts of the body and trim the fur short with scissors.
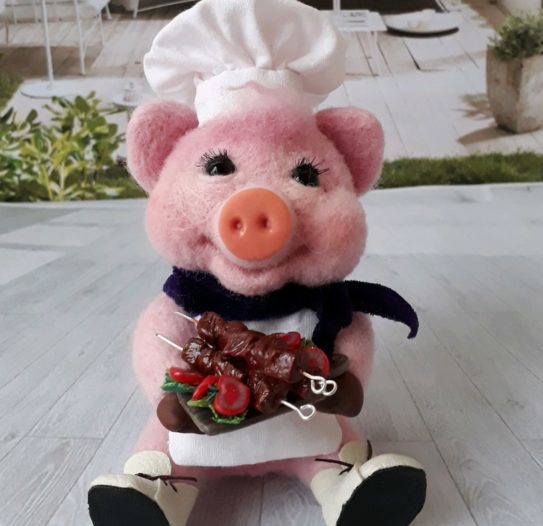
The pink glamorous pig, the symbol of 2019, is ready! It is made with your own hands, very soft and pleasant to the touch, and will always delight you and your loved ones!
A piglet in the interior, how to decorate it beautifully?
You can decorate the interior of your home with these figures.
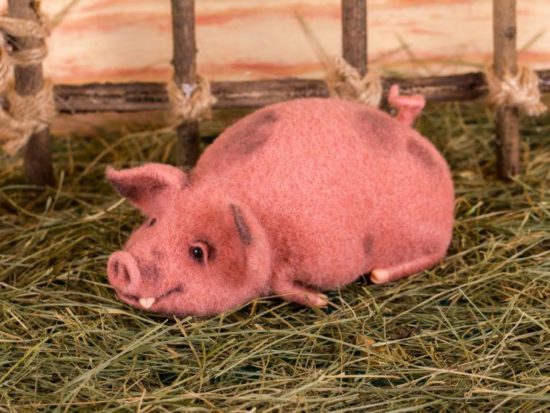
This will be especially appropriate in the coming Year of the Pig. You already know how to play pig. Make a whole cheerful company of piglets: different colors and different sizes, boys and girls. Dress them up in nice clothes. They will definitely bring you good luck.
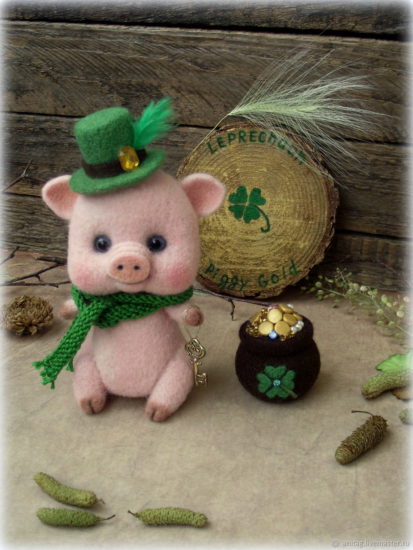
Decorate the room with colorful inhabitants of rural farmsteads, arranging and seating them on furniture, shelves, sofas and armchairs. You can place a piglet on the festive table, this will definitely cause extraordinary delight among your guests. After the feast, give rainbow pigs to everyone present.
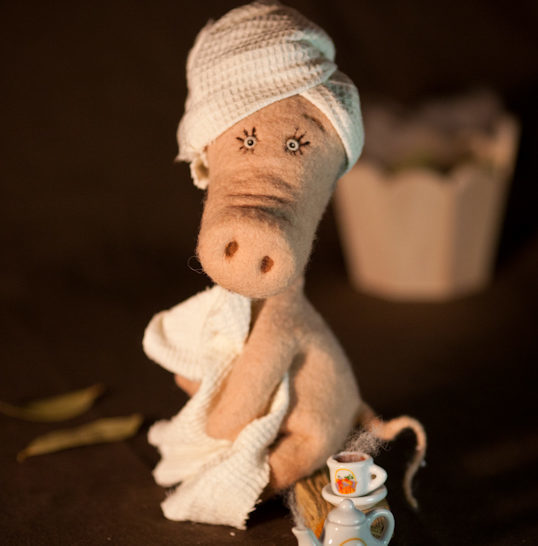
How happy your children will be when such bright, soft, environmentally friendly toys appear in the house. Remember how much they adore the cartoon character Peppa Pig.
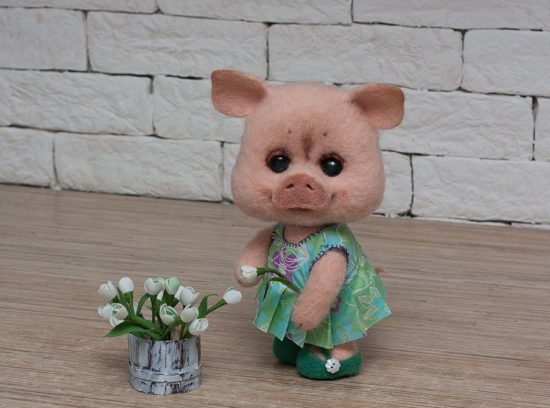
A cute, homemade talisman of the year can decorate your desktop or shelf. Your employees will envy you!
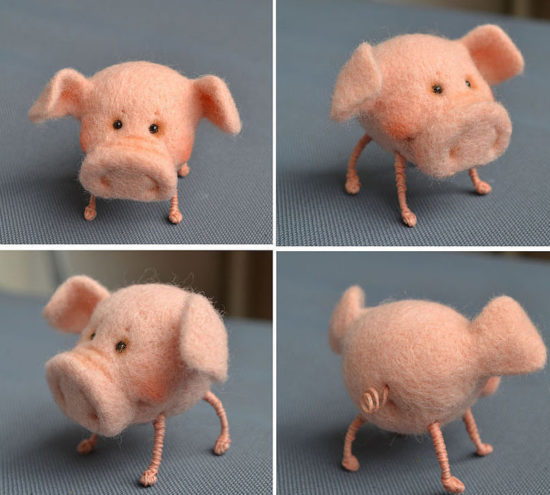
Today you have discovered new abilities, and ours are limitless. Creative success to you, participants of our master class!
Come in, you are always welcome!


 0
0