Nowadays, things made with your own hands are becoming a real rarity and are practically going out of fashion. It is much easier for people to go to a store and buy everything they need for personal use. But despite the rapid development of production rates, the traditions of manual labor and independent production of things are preserved in small volumes.
In this article we will discuss methods for felting hats made from real wool. If you have free time and a desire to try to prove yourself in this area, you can do this by following the instructions and step-by-step plan.
Manufacturing the product will not require you to have any special skills; anyone can handle this task.
Felting a wool hat - what do you need to know?
When deciding to create a wool hat, you need to prepare everything you need for the job. To do this, you need to know exactly a few basic points, without which nothing will work, and the thing will be done incorrectly:
- measurements, determining the scope of future work;
- pattern making to accurately reproduce the desired image;
- preparation of all basic tools and materials: wool, soapy water, spray bottle, rolling pin or round stick, oilcloth, graph paper, scissors, measuring tape.
If you already have experience in felting, you can experiment and try new ways. The more options, the better and faster you will do. In the case of the first attempt, you should adhere to the diagram and manufacturing instructions.
Measurements

The first thing to consider when making household items is taking measurements. It doesn’t matter whether you are making a hat for yourself or as a gift to friends and family, correct sizing is very important. Depending on the style of the headdress, we may need head circumference and height of the desired product. You should also take into account the wool reduction factor, which is usually within the range 1,3 – 1,6. It is necessary because after felting the final item will decrease in size relative to the original version.
The reduction factor must be taken into account. If you don’t do this, the hat will end up several sizes smaller.
Patterns

After taking the measurements, we begin to create a pattern, on the basis of which further work will be based. Depending on what model you want to create, the patterns will be slightly different. For convenience, you can use ready-made patterns or outline the outline of an old hat.
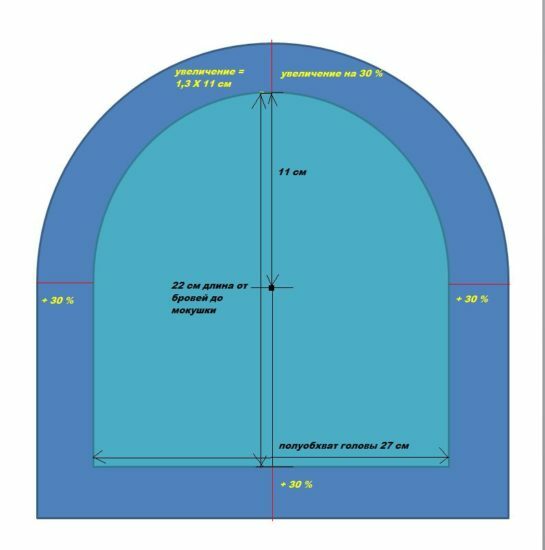
We are considering the regular classic version, which is the most convenient to use. It is built as follows:
- Take graph paper and pencil.
- Draw dome-shaped image according to the measurements taken. For comfort You can use a pattern from an old hat.
- After that increase contour to the corresponding values of the gain.
If your calculations result in a non-integer number, it is better to round it up.
Wool
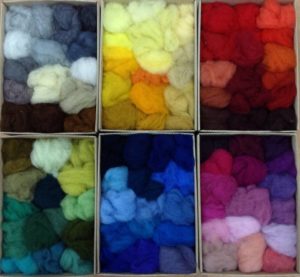
The main material we have to work with is wool. To work, you will need two types: the main one for creating a hat, additional fibers for applying a pattern on the headdress.
You will need wool for the hat 100 g There is a complex calculation system, but it is not entirely accurate, so it is better to take extra material to add if necessary.
Hat styles that you can make yourself
If desired and creative, you can create almost any model. It all depends on your experience and creativity. It is worth noting only the most popular options for this manufacturing method. These include:
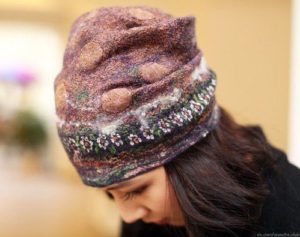
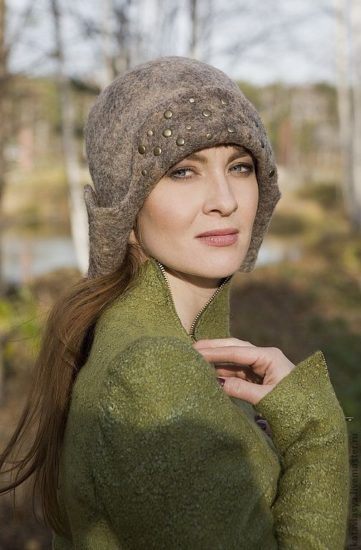
- classic elongated hat;
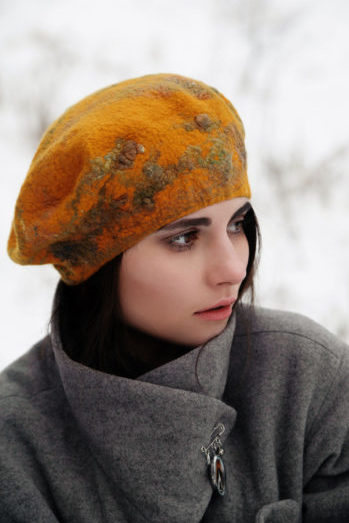
- stylish and irresistible beret;
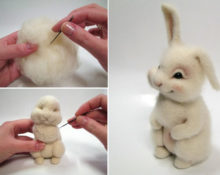
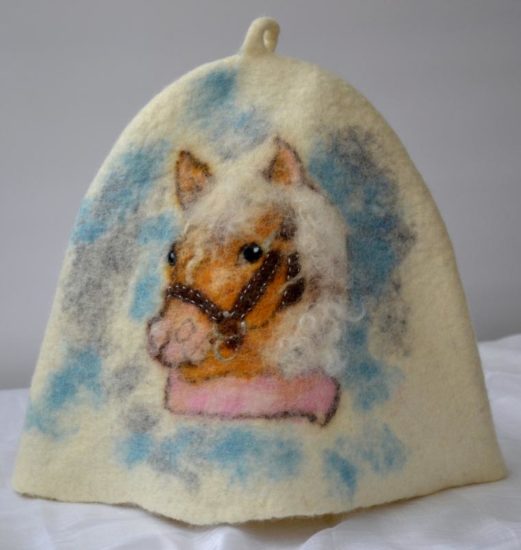
- image of an animal head or cartoon characters.
You can try to create this and much more at home. After taking all the measurements and carrying out the preparatory part, you can begin the main stage of work.
How to felt a wool hat - master class
To ensure that you get a good, high-quality hat, perform all steps carefully and follow the sequence of all stages. For convenience, here is a felting diagram:
- Prepare your work area by laying out the film and template.
- Start laying the wool strands on the bottom layer in rows. In this case, each row should overlap the previous one, covering it by about half.
- So you should lay out 3-4 layers, perpendicular to each other. Make sure the material is distributed evenly.
- Leave overhangs on each layer that extend beyond the edges of the template. This will be needed for further bending of the product.
- Treat the workpiece with a soap solution, spraying it evenly from a spray bottle.
- After this, cover the wool with film on top and smooth the material.
- Turn the workpiece over and carefully fold the edges of the wool around the entire perimeter.
- Repeat laying the wool on the other side.
- Treat the reverse side with soapy water and fold the edges of the product.
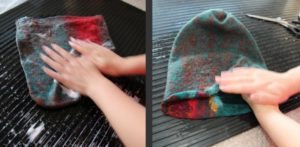
- Once both sides are soaked, start working with the rolling pin, rolling out the wool evenly.
- At the final stage, place the hat on a towel and continue felting until the desired size.
- Let the product dry.
All is ready, Once the product has dried, it can be worn.
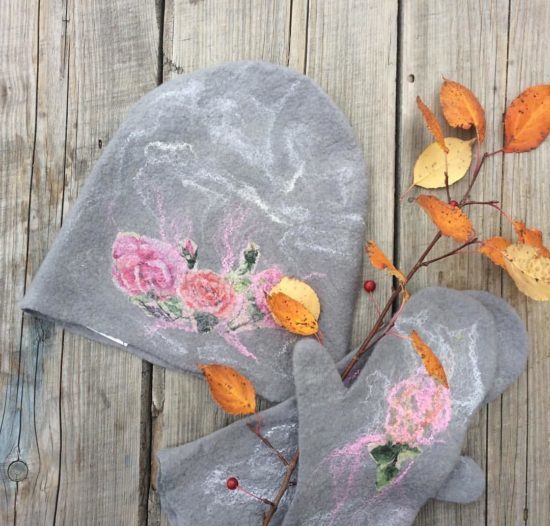
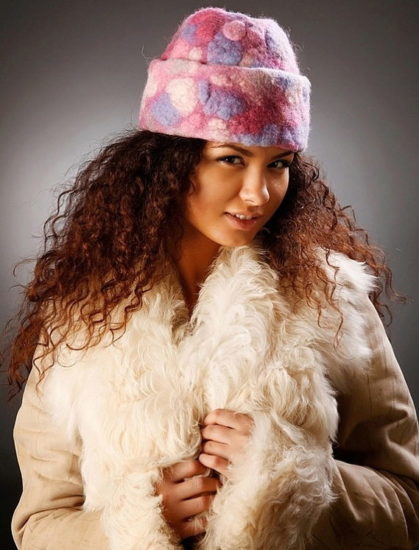
If desired, you can add fibers of multi-colored wool to create a pattern. The felting mechanism will not change; the main thing is to monitor the uniform distribution of fibers at all stages.
 0
0