Felting wool is an interesting and useful activity. This hobby is far from the least important among hobbies and has won the hearts of many needlewomen. You can felt a variety of things from wool, for example, warm mittens that will keep your hands from freezing even in the winter cold.
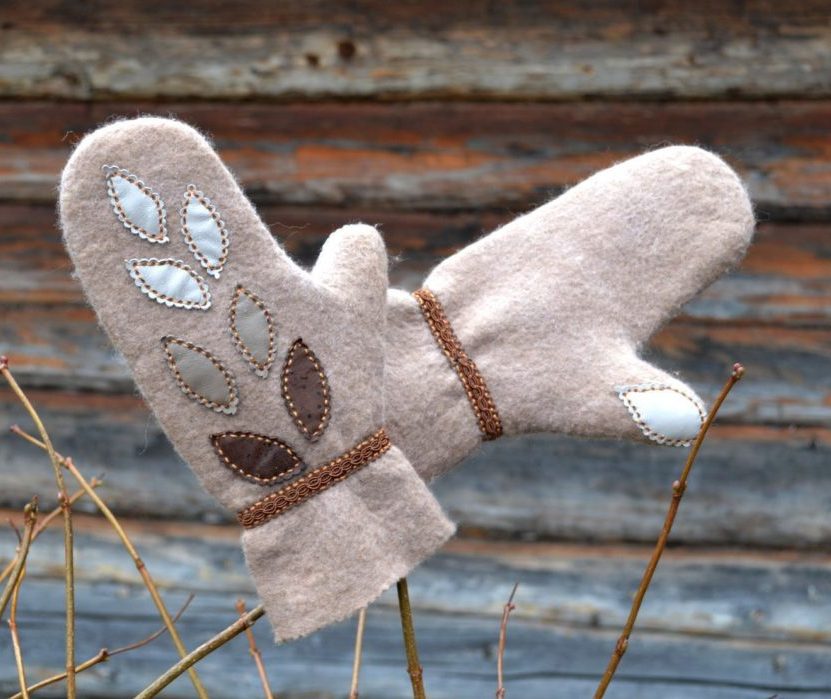
What do you need to know before you start felting wool mittens for beginners?
Before you start making the product, you need to familiarize yourself with the training material. Types of techniques, features of making mittens, required material, time required for the process - It is important to prepare in advance so as not to encounter difficulties at the last moment.
Which technique is more suitable for beginner needlewomen?
There are 2 types of felting techniques - dry felting technique and wet felting technique.
To figure out which technique is right for you, you need to familiarize yourself with them in more detail.
Dry felting technique
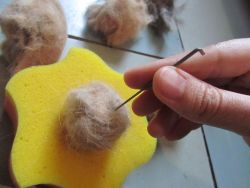
This method involves the use of special needles for felting. They are L-shaped and equipped with small notches.Woolen raw materials are pierced numerous times with such needles, after which the fibers begin to adhere to each other and form a dense, durable material. This is done until it becomes impossible to pierce the wool.
This technique is good for both masters and beginners; it is suitable for making toys, dolls, applying designs to products, etc.
Wet felting technique
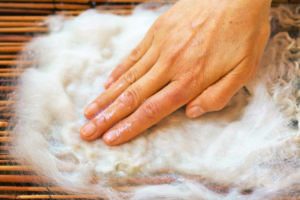
This type of felting requires water and soap (can be replaced with detergent). The wool is laid out along the selected contour, moistened with a soap solution (or water followed by rubbing with soap) and felted using friction.
This method is used to make clothes, accessories, towels, and any flat products.
If you still decide to stick with mittens, then the wet felting technique is better suited.
Master class on felting wool mittens for beginners
Materials
We will need the following:
- A4 sheet of paper;
- pencil or pen;
- material for the backing for the pattern (thick paper, cardboard, etc.);
- scissors;
- wool (60–70g);
- VShM (vibration grinding machine);
- bubble film;
- soap.
If necessary, soap can be replaced with a Fairy-type detergent, but it is better to stick to the classic version and choose baby soap - it is safer.
Instructions
1. Take a piece of paper. Trace the hand of the person to whom the mittens will be intended. Upsize 1.5 times in this form, transfer the pattern onto the backing material.
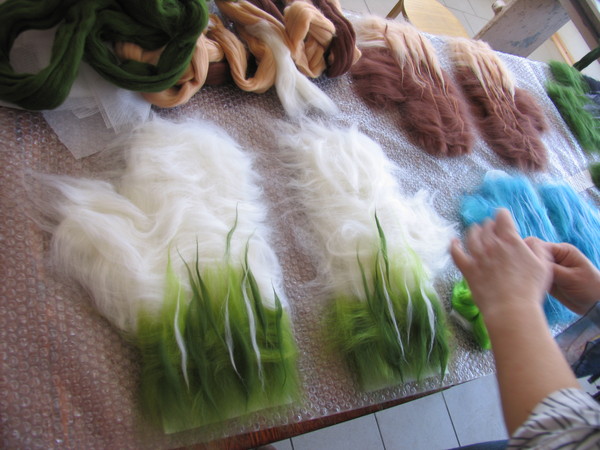
2. Place the pattern on the bubble wrap and begin laying the wool fiber, protruding slightly beyond the outline. First layer - along the template, second - across, third - along again. Last layer You can immediately decorate it with a wool pattern if desired.
3. Lightly wet the wool with water (it’s convenient to do this with a spray bottle) and gently lather. You can process the VSM layers a little during 30 seconds, but don't touch the edges.
4. Carefully turn the pattern over with the wet wool facing down.
5. Place the first layer of wool as in paragraph 2. Gently fold the protruding edges of the wool inward. Keep repeating 2nd point.
6. Repeat 3rd point.
7. Pay special attention to the area between the thumb and the main part, compacting it if necessary.
8. Roll up the pattern with wool, secure it and roll at least 10 minutes.
9. Unroll the roll. Now the time has come for the longest part of making mittens - the felting itself. Start rubbing the mittens through the bubble wrap and stroking them until they become strong enough and fit. The process may take several hours.
To determine if the mittens are ready, try plucking a piece from them. If this cannot be done, the product is ready.
10. After felting, rinse the mittens and dry them. Rescue for freezing hands is ready!



 0
0
