Not a single New Year is complete without decorating the home with a guest from the forest - a green fluffy Christmas tree. If for some reason you were unable to install a live Christmas tree in your house, you can replace it with a Christmas tree made of wool, felted with your own hands.

But even if there is a real Christmas tree, no one will forbid you to install another attribute of the winter holiday on your chest of drawers or desk. So choose a couple of evenings and take up an exciting activity - felting. And the children will definitely join in your work.
How to felt a Christmas tree from wool using the wet felting technique
If you have never done felting before, don’t be afraid - it’s not the gods who burn the pots. The main thing is to start, and then everything will go like clockwork. There are two felting techniques - dry and wet. When dry, they are felted with special needles with notches, hooking the fibers one after another.

When wet, use hot water and soap. Having felted wool using the wet felting technique, it needs to be given enough time to dry, and only then proceed to the next stages of work.
What you will need
Before starting work, you should thoroughly prepare so that you have everything you need at hand:
- 100 g of green wool for felting;
- multi-colored pieces of wool for Christmas tree decorations;
- wire for the barrel;
- film with bubbles;
- liquid soap;
- net;
- clay.
In addition, place it within reach towel, rubber bands, rolling pin, awl, scissors - large and manicure. Also prepare a ruler, dry soap, a medium needle for felting the top, and a tube of Moment glue.
On cardboard, draw an isosceles triangle with an edge side of 10 cm and draw it with lines at a distance of 5 mm from one another.
detailed instructions
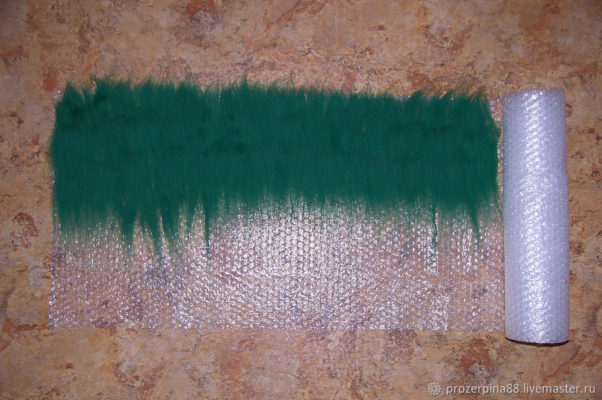
When all the necessary materials and tools are assembled, you can begin to work. Lay out the bubble wrap so that the bubbles are on top. Tear off pieces of wool, preferably of the same size, and lay out one row lengthwise and the second across. Lay out the wool, taking into account that it will shrink a couple of centimeters on both sides.
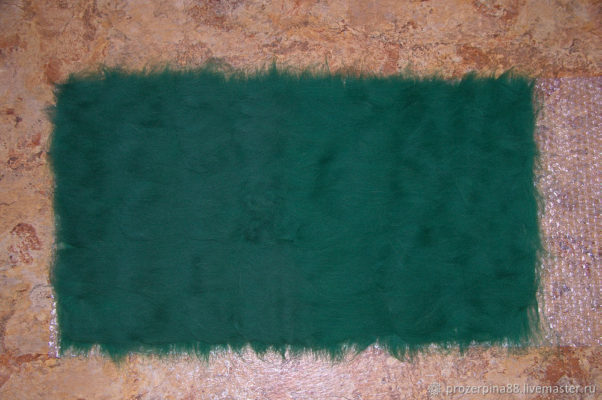
Add liquid soap to the water and wet the wool with the resulting solution.. You can use a spray bottle, but you can simply add water little by little, wetting the material. To ensure that the wool is thoroughly saturated with soapy moisture, press it with your hands.
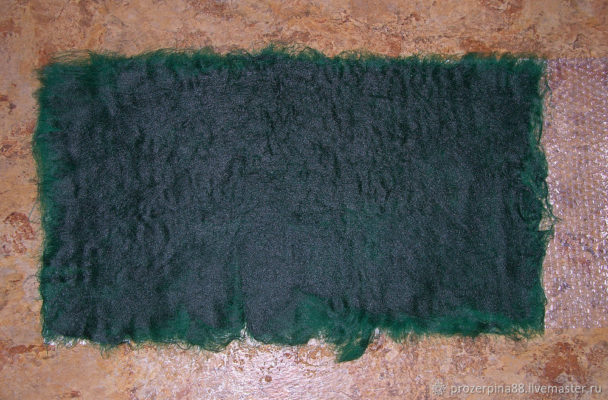
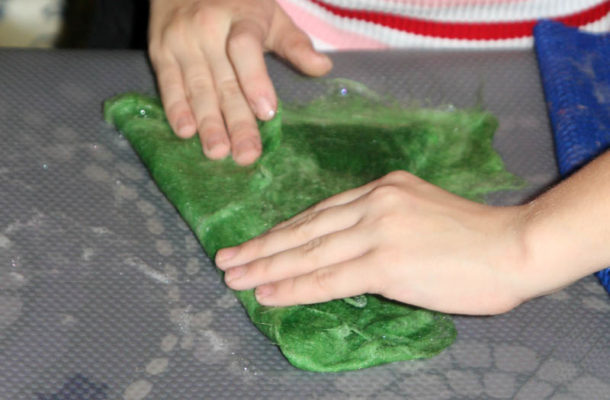
Cover the workpiece with a mesh and rub through it with your palms. Make light movements at first, and then press harder. Remove any fur that sticks to the mesh. Fold the edges of the wool inward and press them through the mesh again.
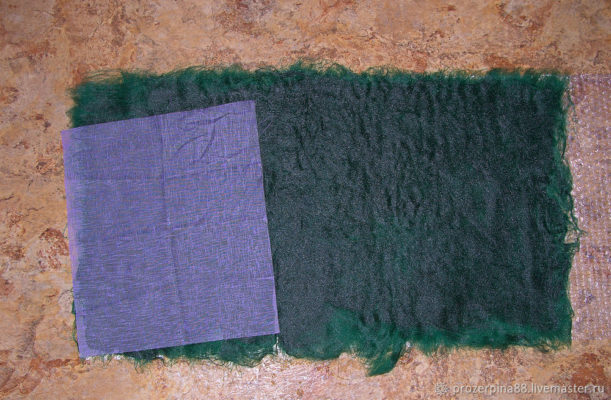
Cover the sheet with bubble wrap and roll it onto a rolling pin. Secure with rubber bands and wrap the towel as tightly as possible on top. Then apply the elastic bands again. You will have to roll the rolling pin for an hour - no less. Increase the intensity of the pressure all the time.
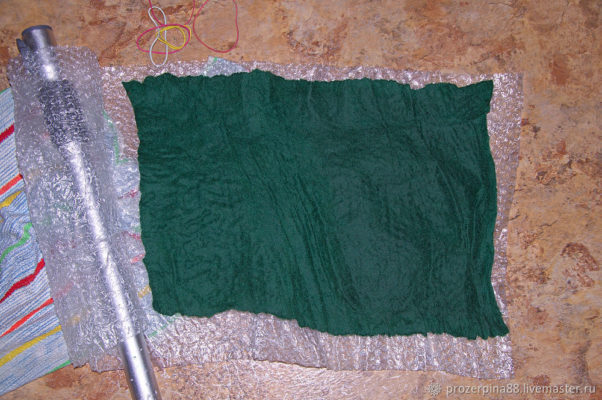
Unroll the woolen fabric. As you can see, it is dense and does not show through. Straighten it, align it around the perimeter and leave it to dry until the morning, maybe even on a radiator.
The next day, choose which side the wrong side will be on, and draw a straight line on it with a dry bar of soap. From this line, using a cardboard template, draw triangles: three pieces with a side of 10 cm. Then cut the template along the line by 5 mm and cut out three triangles of 9.5 cm each, then three pieces of 9 cm each, etc. If you reach the end template, you still have fabric left, you can add three triangles with a side of 10.5 cm and then in the direction of increase.
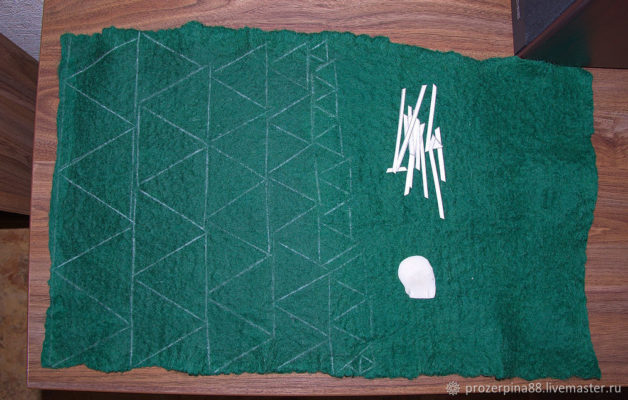
After cutting out the triangular parts, start assembling the Christmas tree. Using an awl, make holes in the center of each triangle and string them one after another onto the wire. Start working with the largest parts, and then move towards smaller triangles.
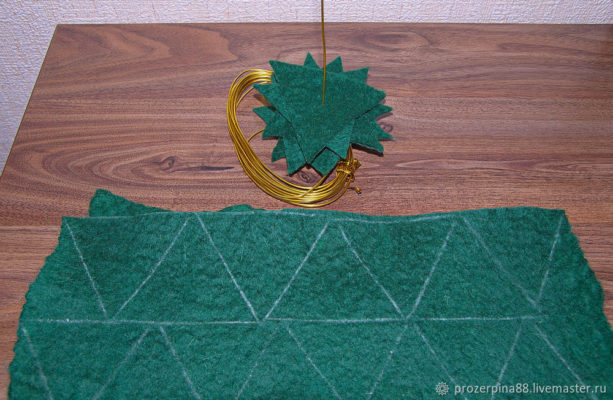
Form a stand from a piece of clay soaked in water and insert a wire-trunk into it. If the wire is too thin, double or triple it. The trunk should be a couple of centimeters longer than the Christmas tree blank. The clay hardens quickly. Once dry, paint it with brown nail polish.
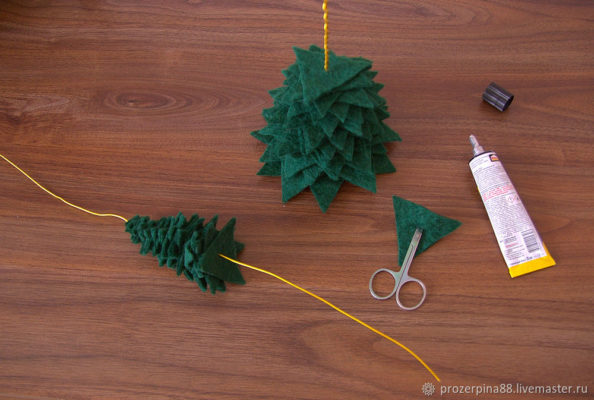
String each triangle onto the resulting trunk in the required order, coating the wire with glue and pressing the wool blank. If there are soapy streaks on the branches, wipe them off with wet fingers. The green beauty is ready. All that remains is to decorate it.
Decorating our Christmas tree
Who can imagine a Christmas tree without a red star? So we are making, though not a star, but just a cone. And, of course, we will make multi-colored Christmas tree balls.
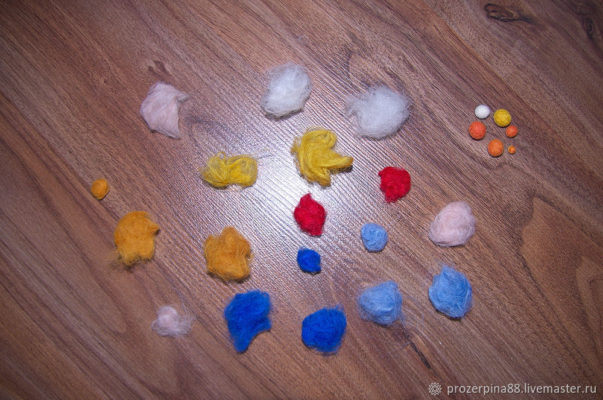
Moisten pieces of multi-colored wool of different sizes with water, Lather with soapy hands and roll in a circular motion into a ball, as if working with plasticine. At first, make light movements, but gradually press with your palms more and more until the ball becomes hard. Then use a felting needle to give it a perfectly round shape. Leave all the balls to dry until the next day.
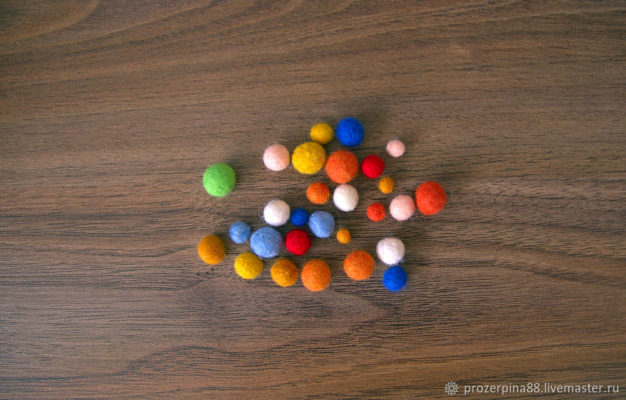
You need to sew on the balls with thread in the color of the Christmas tree. Pierce the toy right through with a needle, hiding the knot at the bottom. Sew to the tree using no more than five stitches. Then secure the thread with a knot and move on to the next ball under the layer of wool.
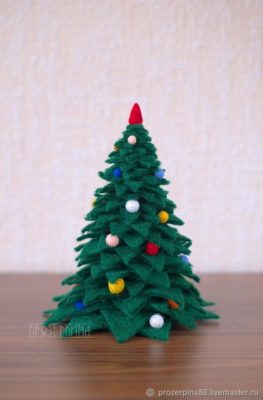
Cover the protruding piece of wire with a red cone. Pinch off some red wool, form a cone with a felting needle, make a hole with an awl and glue to the top of the head.
In addition to wool balls, our Christmas tree can be decorated with a garland by wrapping a thread of beads attached to the bottom. Be sure to grab the beads in several places so they don't fall apart.
If you have bells, bells or other small toys, you can also decorate your woolen beauty with them. You can rummage through your craft box and fish out unnecessary beads, buttons, bows and ribbon flowers. All this is perfect for decorating our decorative Christmas tree.


 0
0