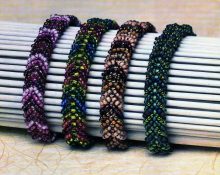
Absolutely all women love to decorate their fingers with rings, regardless of age. And changing jewelry every day is even more so. But if in the case of jewelry this is not so easy to do, then costume jewelry is quite capable of satisfying the fair sex’s craving for variety. And when we are talking about rings made with your own hands, even more so. Such products will cost pennies, but in appearance they will be able to compete with silver and even gold. Trinkets woven from shiny and colorful beads look especially attractive.
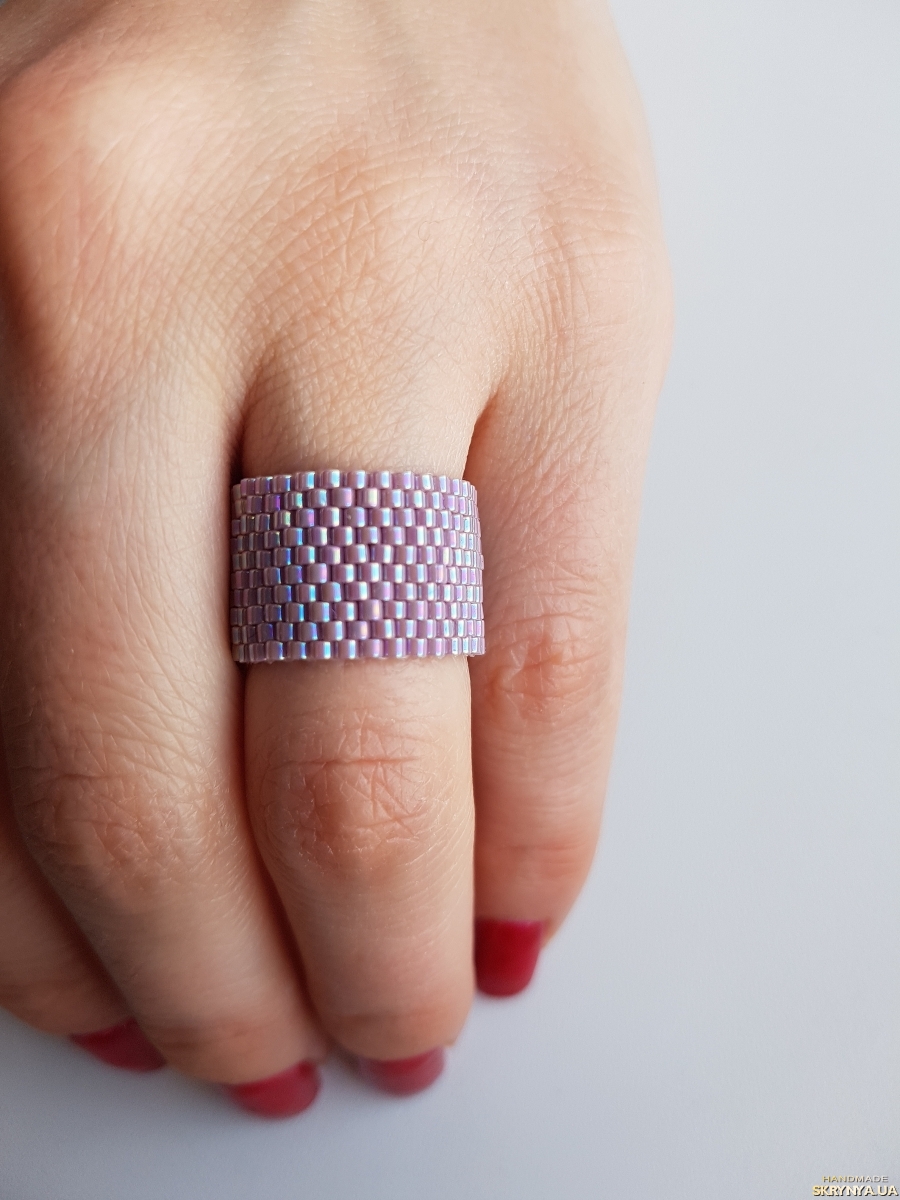


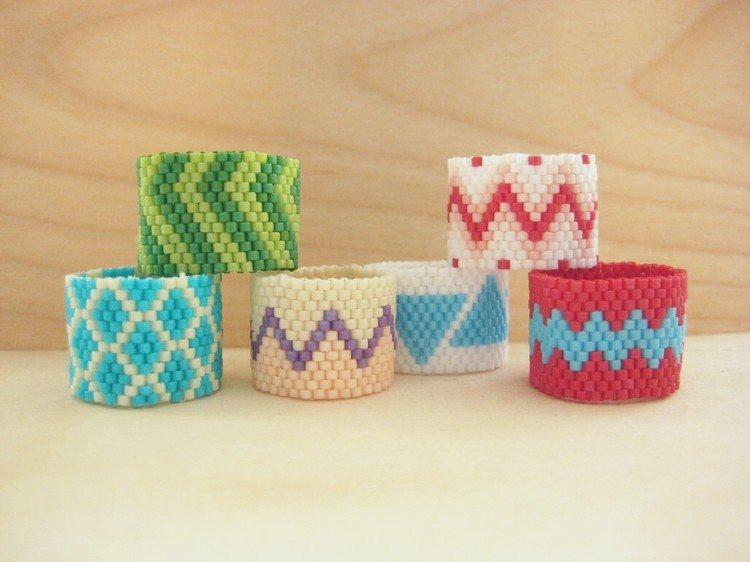
Wide
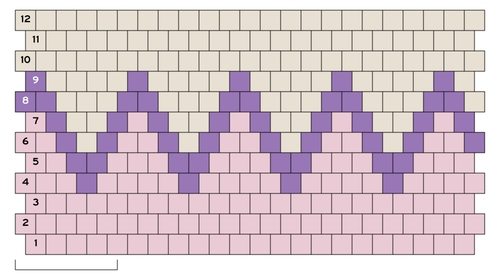
You will have to work using the mosaic technique, which will create an elastic and durable canvas. A fishing line is suitable as a base. You can make a lot of designs on such a ring, but the main thing is to choose a suitable design. A suitable option is shown in the photo:
With crystals
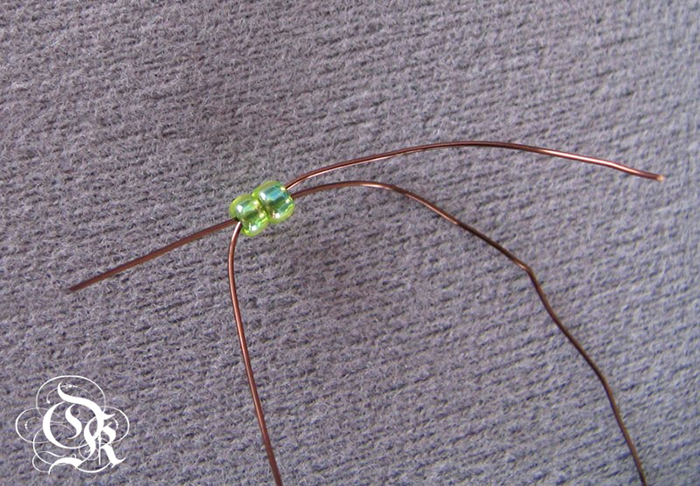
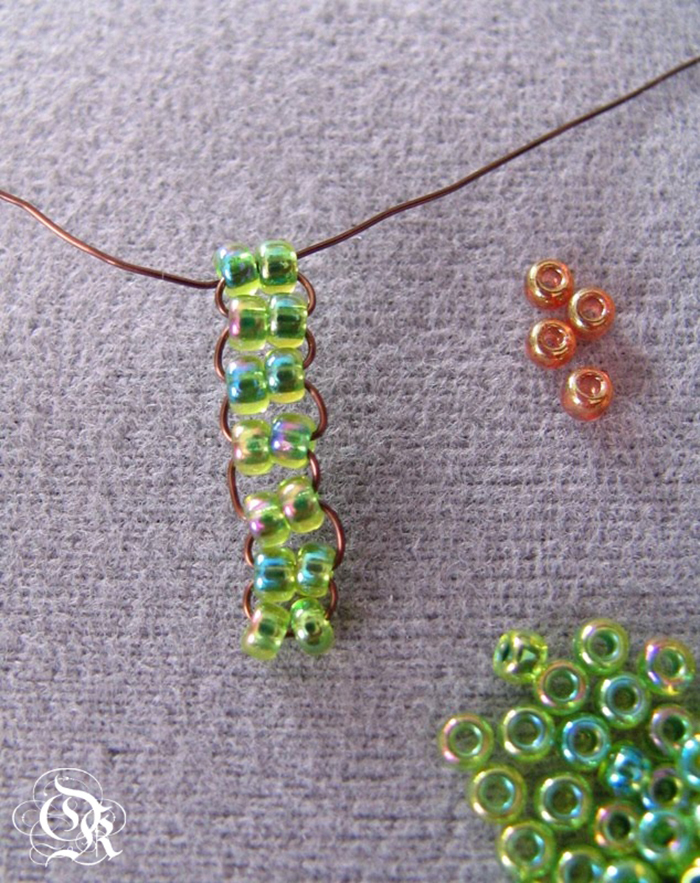
This product looks elegant and presentable thanks to the addition of special beads of an unusual shape. For the process you will need:
- crystal beads - 24 pcs.;
- fishing line;
- beads.
It will take no more than 20 minutes to work on such a ring.The base is assembled from two beaded threads, the main element according to the following scheme:

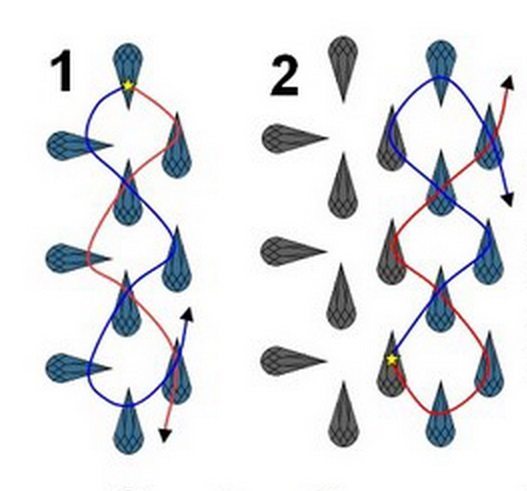
Wave
This ring will appeal to lovers of sophisticated and unusual jewelry. To create you will need the following materials:
- Czech beads No. 8, 11 and cylinders No. 11;
- beads 3 mm;
- monofilament;
- thin needle.
Important! It is better to take consumables in several shades.
Step by step instructions:
- Headband. You need to take bead No. 8 and string it on a thread. Next are 4 more pieces, and after that two No. 11 and two cylindrical, and again two of different sizes. We collect small elements in an amount that is enough for the width of the girth of a finger. The resulting bezel must be closed into a ring without attracting the first bead.
- Pattern formation. The thread needs to be released from the third bead, add a small one to it and send it to the first. Next, string another No. 8 and send everything through another one. Next we take No. 11 and send it to the next one again. Then you need to take a cylindrical bead, then a bead and repeat everything in a mirror image with respect to the beginning of the work.
- Rim around the edge. Formed in a circle by adding 1 piece. No. 8 through one of the first row.
- Rows of different beads. Next, you need to form rows using elements of different sizes, guided by the order that was in the first line. The line will gradually move and form a wave-like pattern. Laying the bezel is done by inserting one bead at a time between those that were added in the previous row.
The resulting product can be a worthy addition to every look.
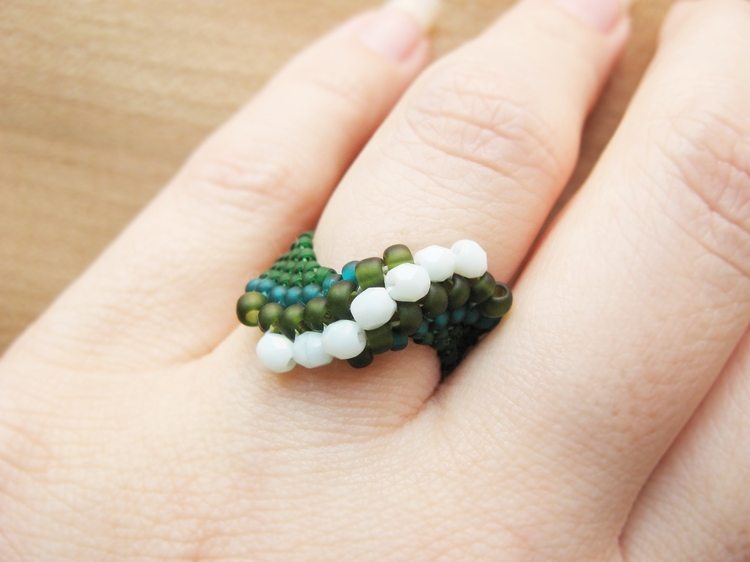
It is enough to spend several hours a day at work and there will be no free space left in your jewelry box!
 0
0